
Web Browser
Contents
Sailfish Browser is based on the well-known Gecko engine from Mozilla. For Sailfish release 4.4.0, Sailfish Browser was upgraded to support Gecko ESR78.
In addition to the engine, the user interface of the Browser has been improved on the Sailfish 4 releases, bringing all the typical functions of mobile phone browsers to Sailfish.
Several ways to open web pages
Tap the Browser launcher icon on the application grid. It is usually located on the top row.
 Pic 1: Browser icon in app grid
On the first launch of the Browser after installing Sailfish, the Browser will open up to the two views below. First, you will need to give the required permissions for the app to work (all of them). Next, the view on the right appears. We call it the Start view. It has the cursor ready in the address & search box (if not, tap there) and the keypad is visible, so you can easily start typing the web address. Alternatively, it is possible to tap one of the bookmark icons in the middle.
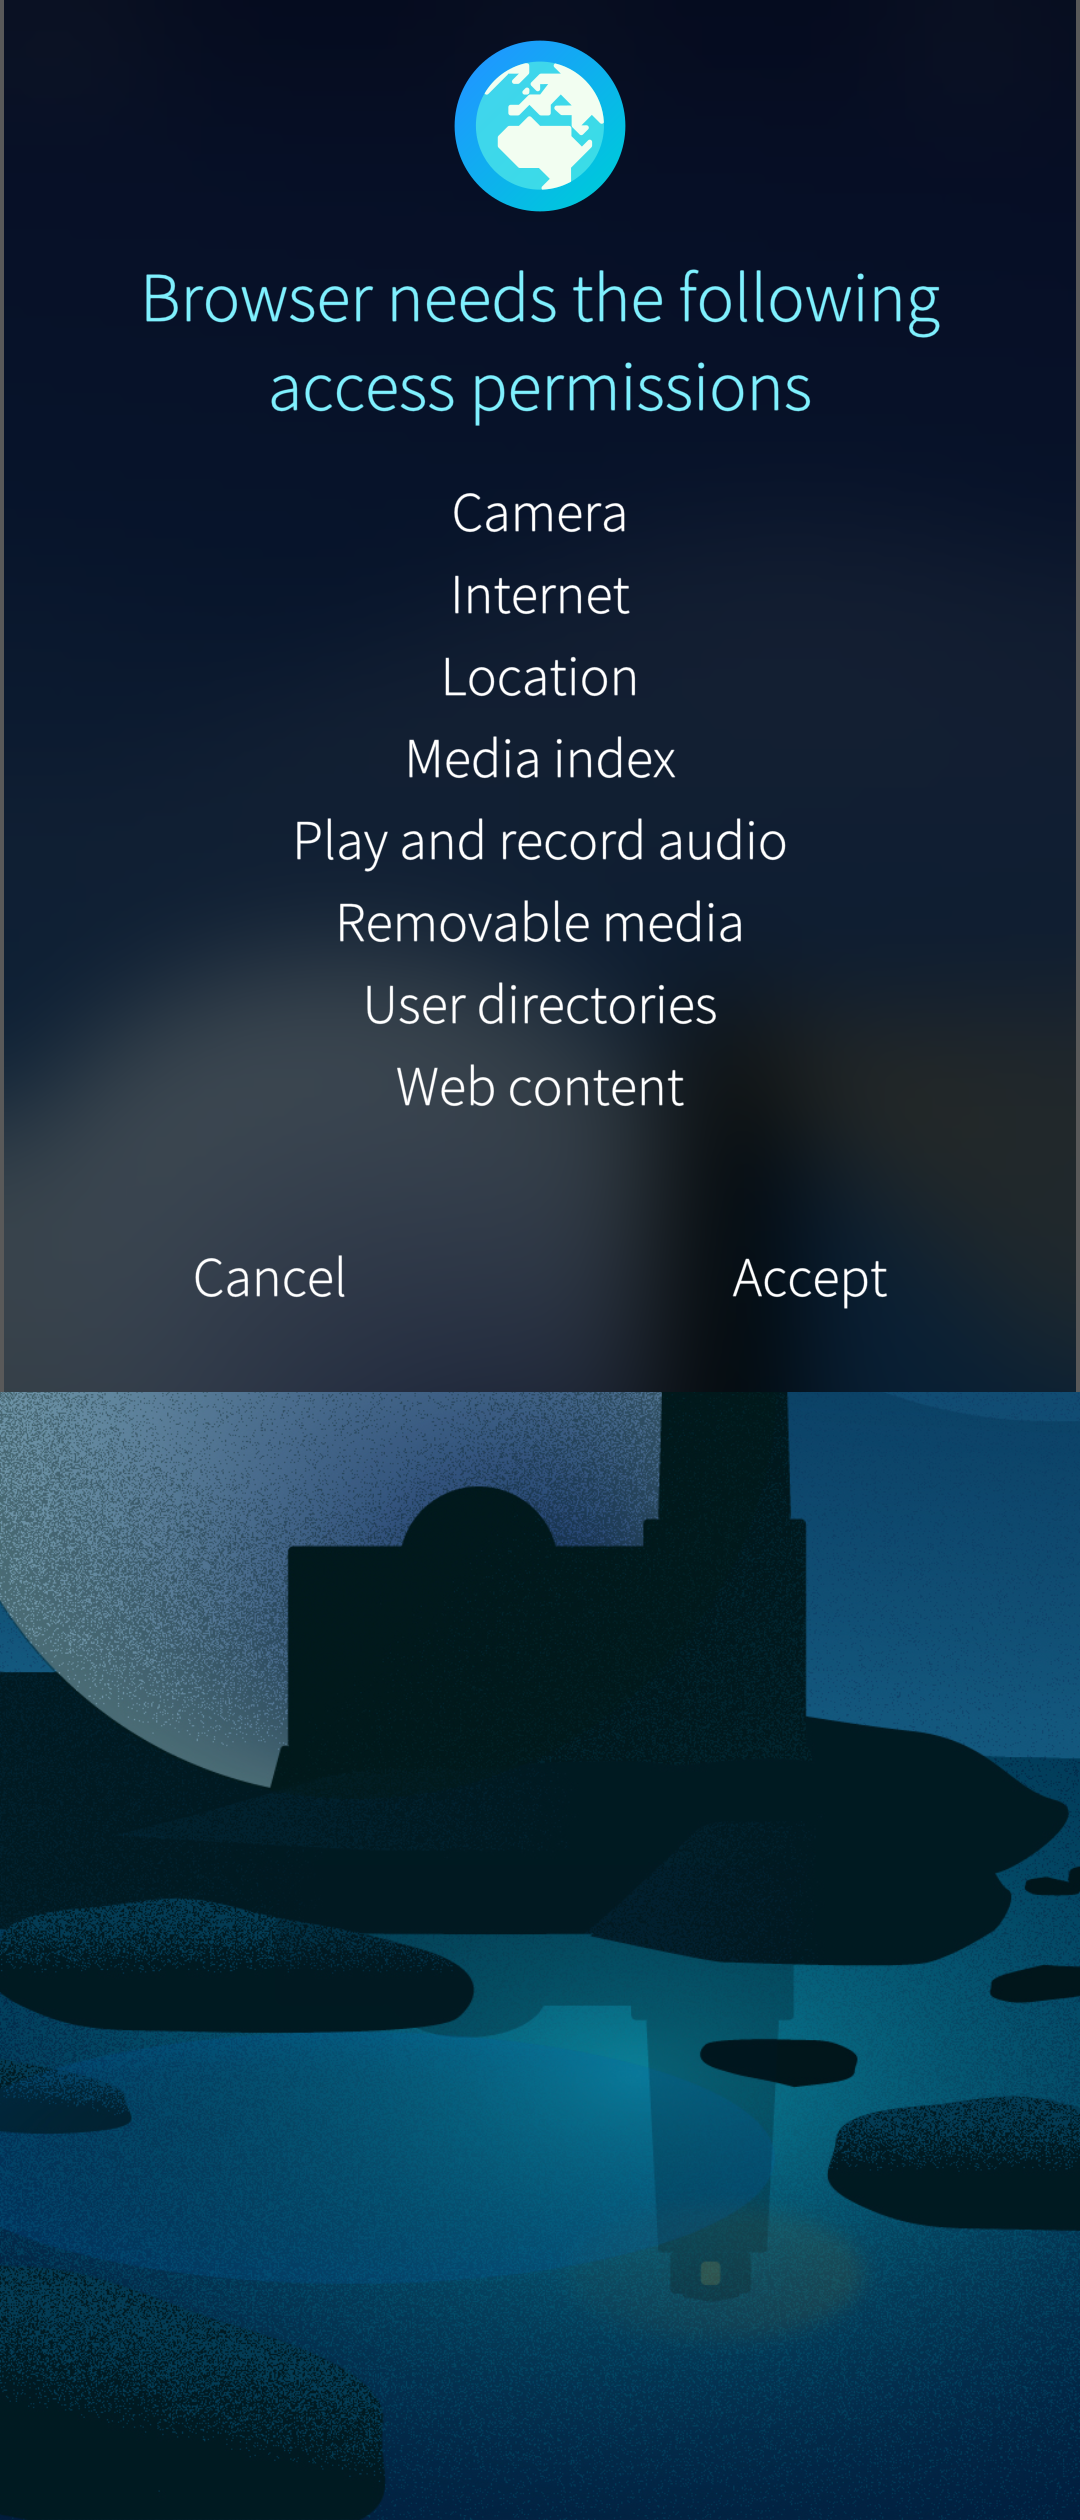 Pic 2: Browser needs these permissions
 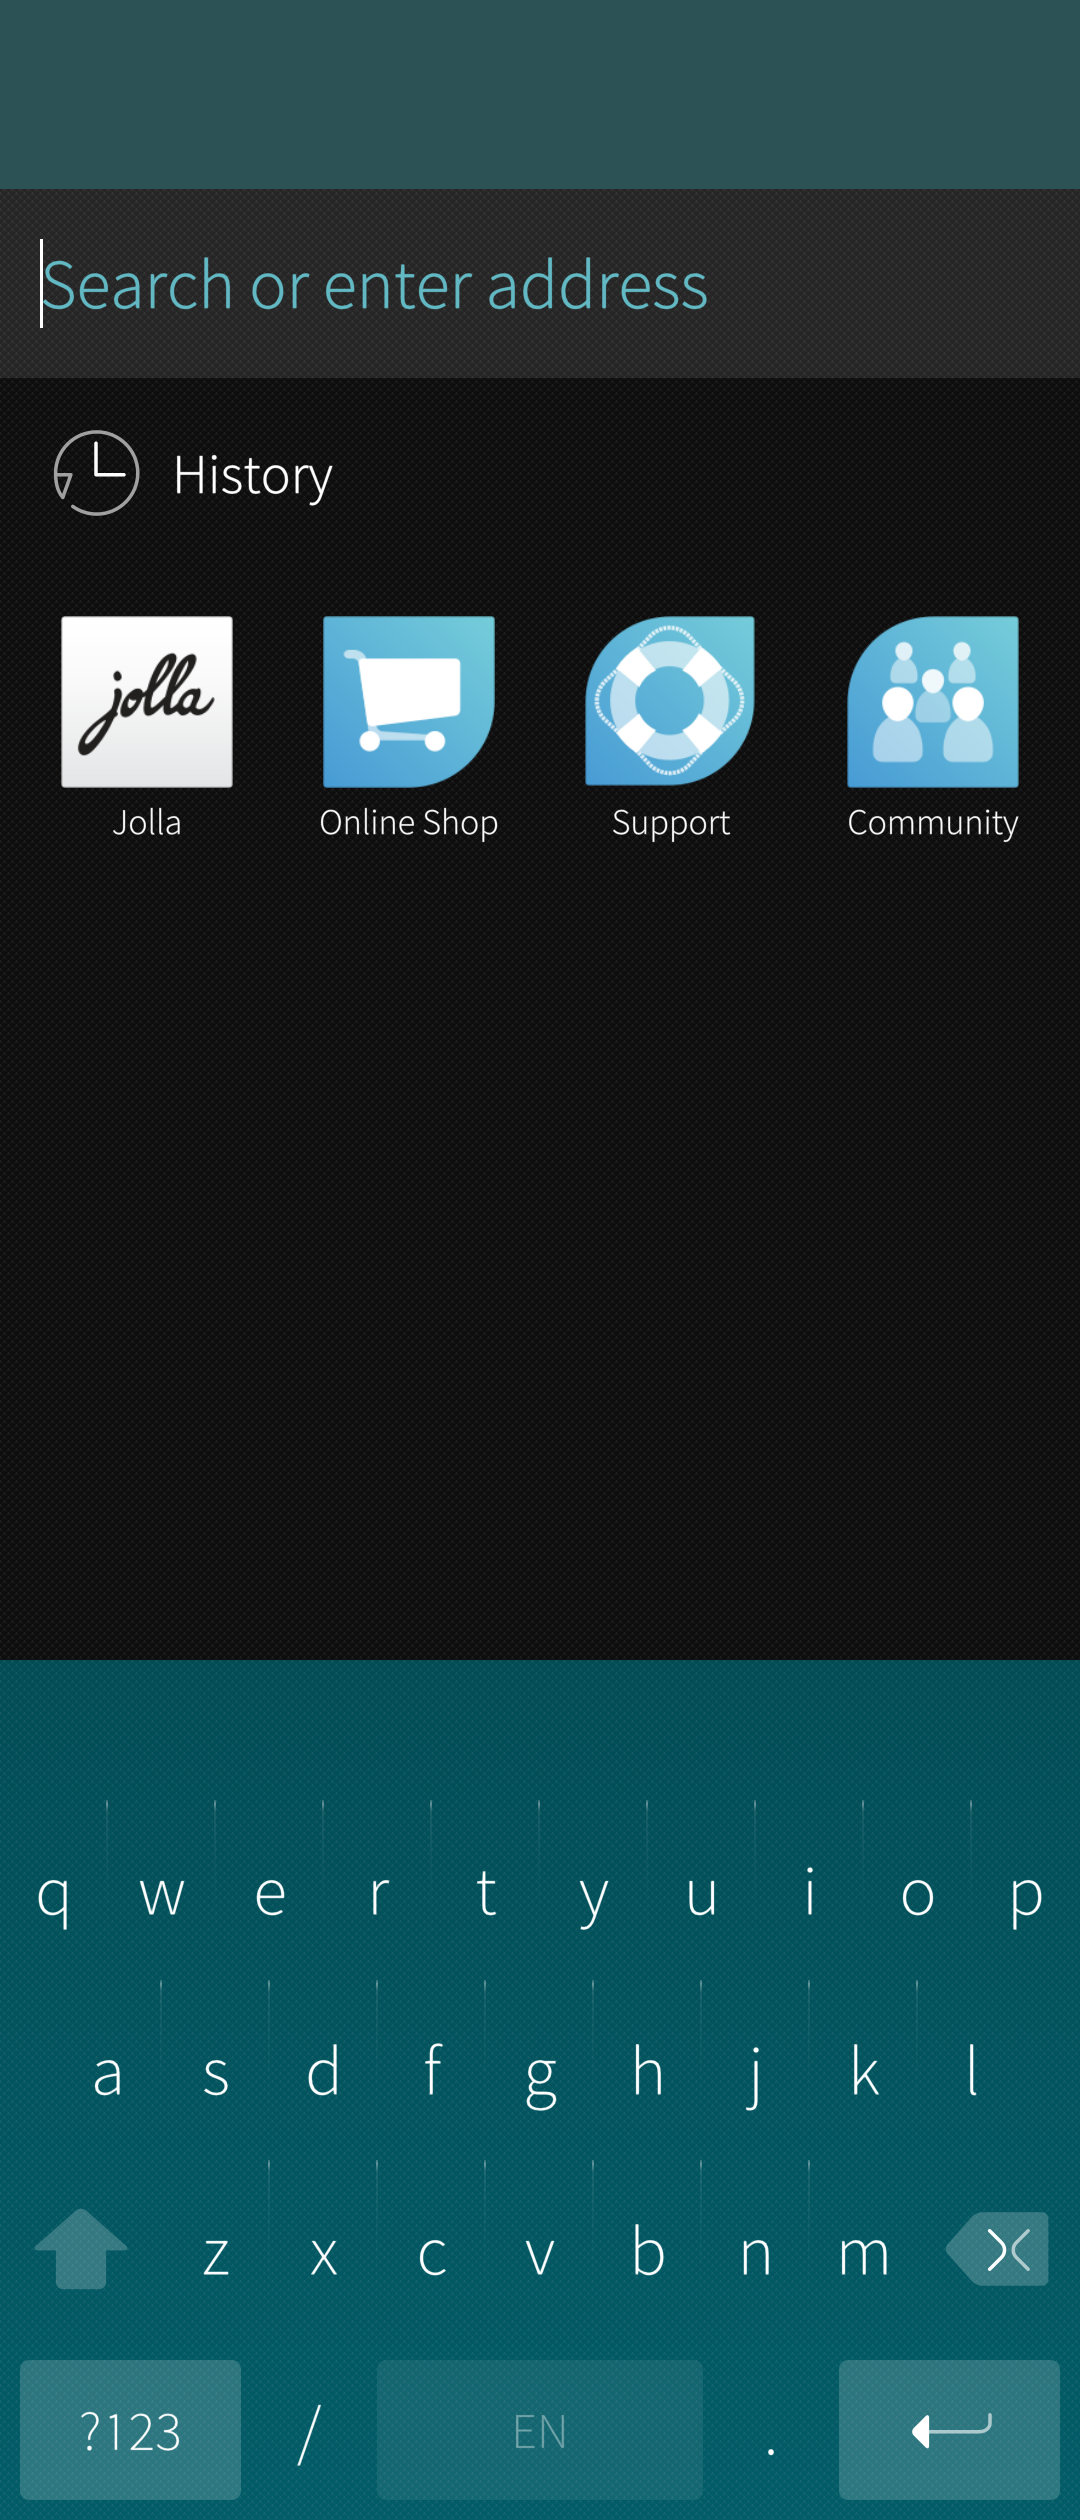 Pic 3: Browser ‘Start view’
The next time you open the Browser, it will display the website visited the previous time, the home page you have set or the “Start view” (on the right above) - depending on the value of settings “Home page”, “Close all tabs on exit” and if the previously visited page has not been cleared yet.
The table below shows how it goes on Sailfish OS release 4.4.0 (there may be changes later).
| Setting “Close all tabs” on exit | Browser has the previously visited page | Setting “Home page” | Browser opens up to this view |
|---|---|---|---|
| OFF (default) | YES | “Start view” | Previously visited page |
| OFF (default) | YES | Home URL set by you | Previously visited page |
| OFF (default) | NO (history or tab cleared) | “Start view” | Start view (type URL or tap bookmark) |
| OFF (default) | NO (history or tab cleared) | Home URL set by you | Home URL set by you |
| ON | irrelevant | “Start view” | Start view (type URL or tap bookmark) |
| ON | irrelevant | Home URL set by you | Home URL set by you |
Typing a web address (URL)
When you open the Browser, it will display (by default) the website visited the previous time (an example below on the left) or alternatively the Start view (below on the right).
If you tap the black toolbar (see the picture below left), you will get to the picture on the right where the current web address (URL) is shown highlighted. This allows you to start typing directly - the first character typed will replace the whole highlighted URL.
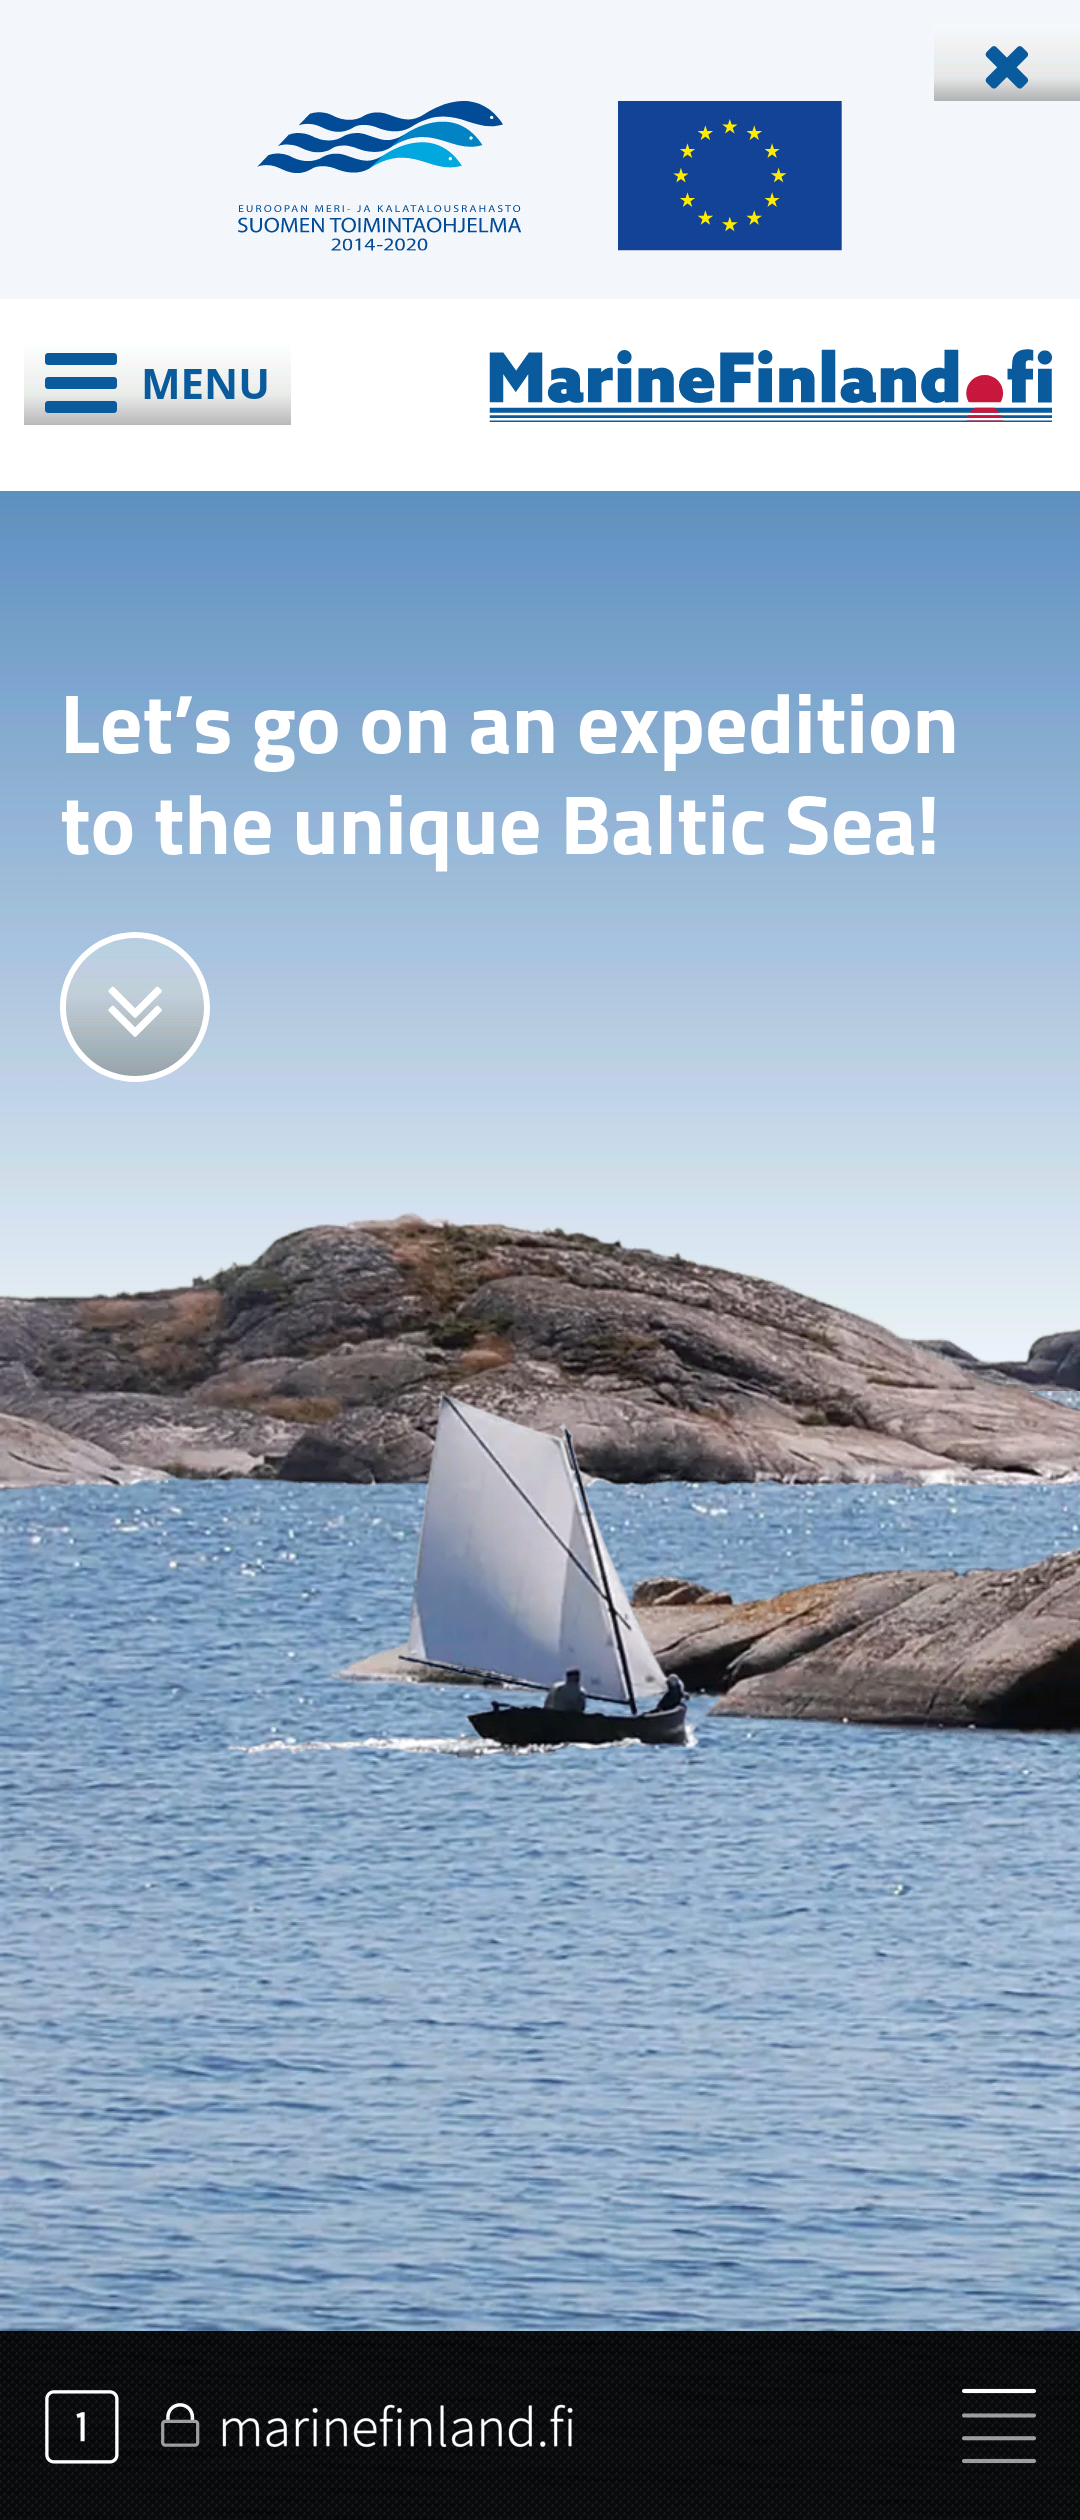 Pic 4: Website marinefinland.fi
 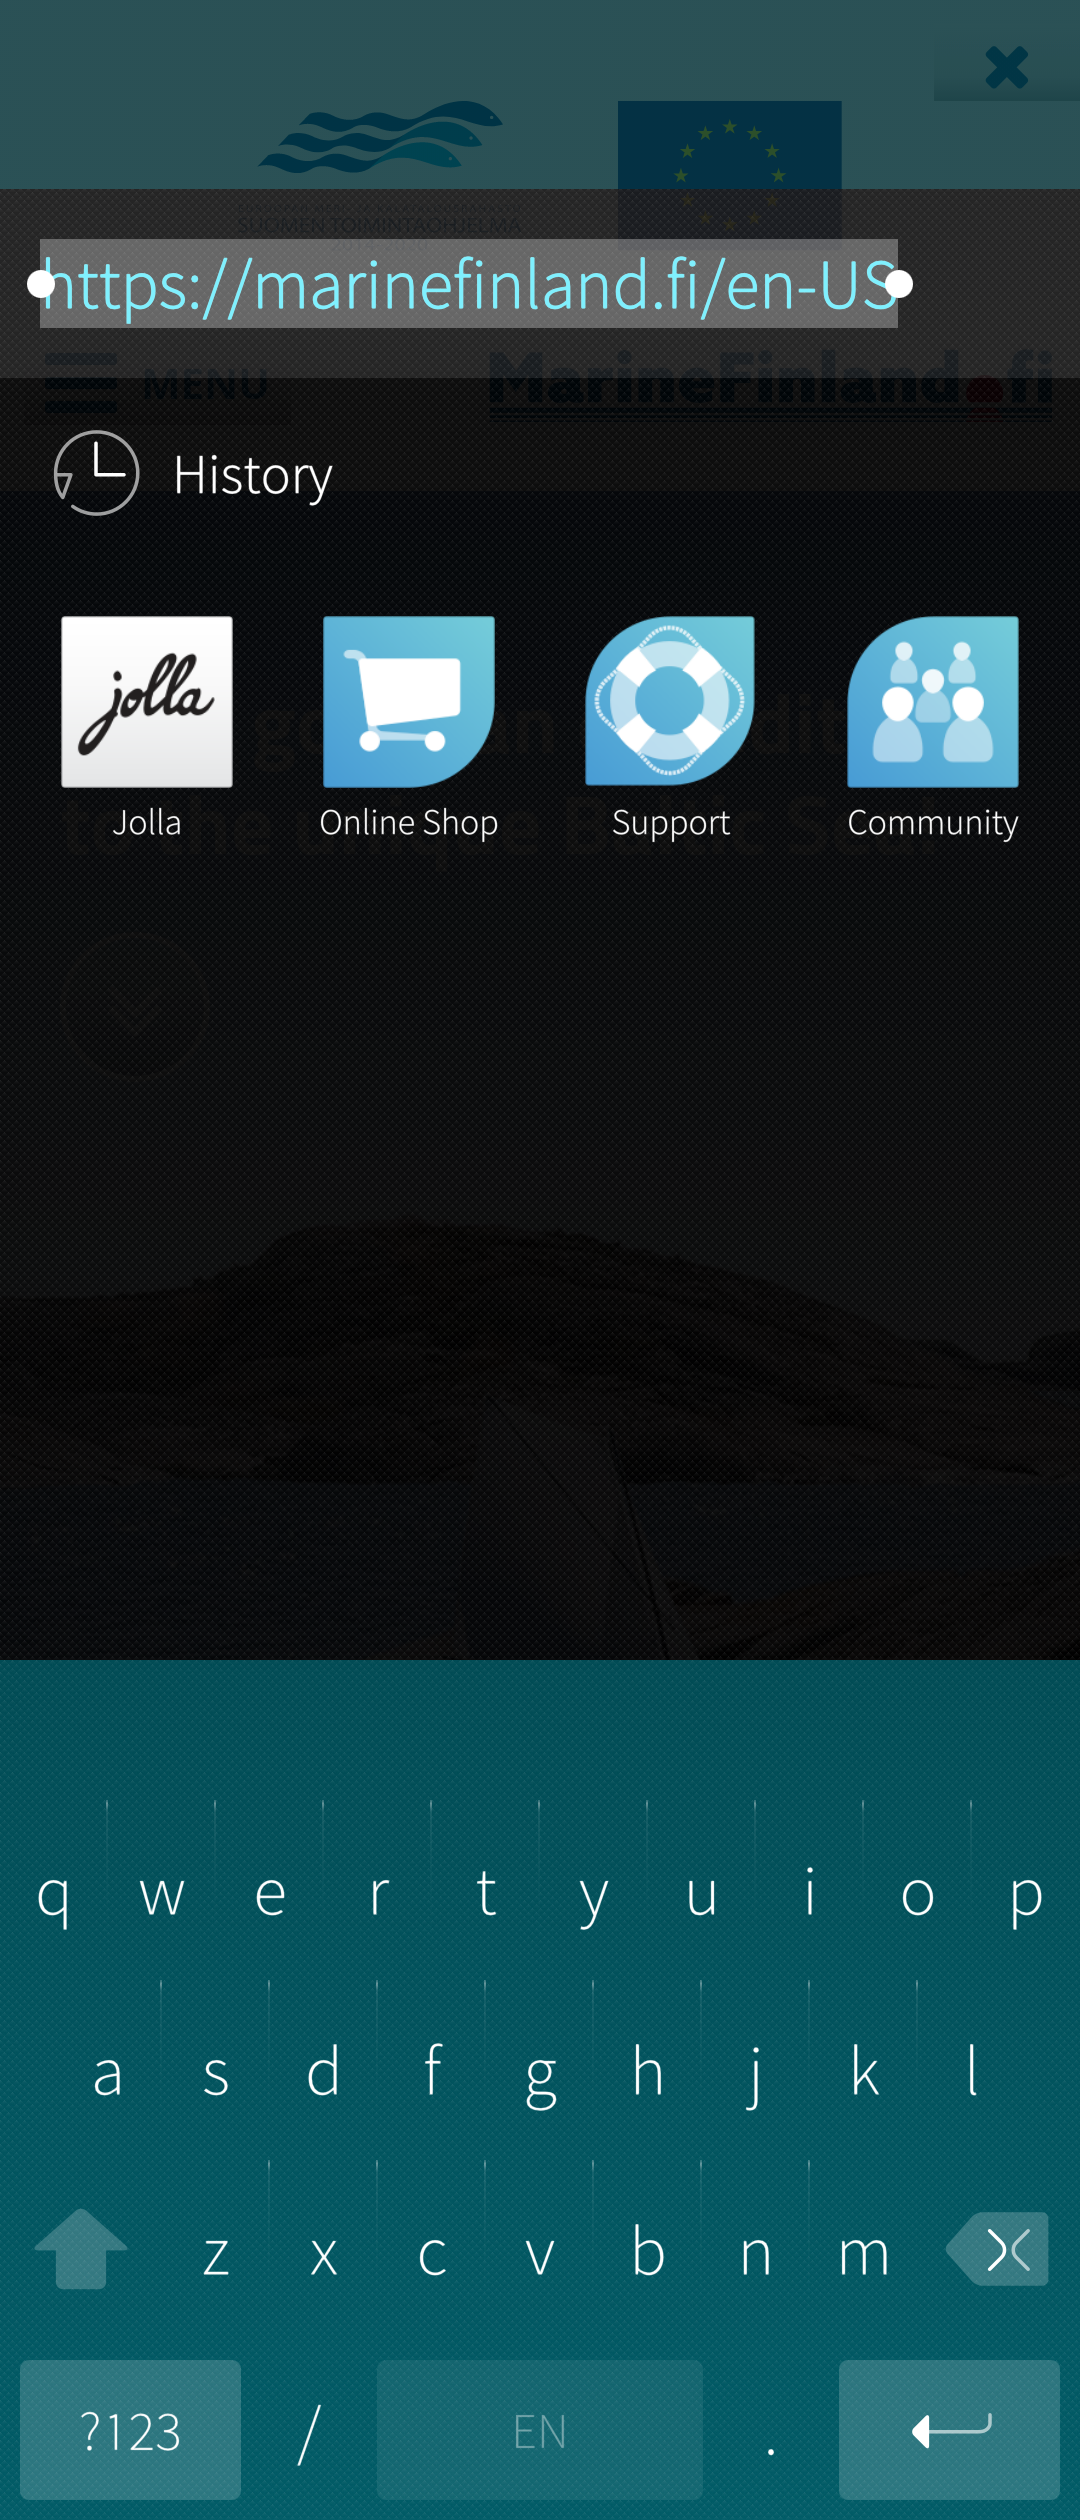 Pic 5: URL shown in address box
The Start view usually has the cursor placed in the web address box ready for you, so that you can start typing directly. If the cursor is not there, simply touch the box to move it there.
Type in the web address you want (in the example of Pic 6 it is “visithelsinki.fi”) and tap the “Enter” key (at the bottom right corner). Note that the web address does not need to be complete. The integrated search engines (Bing, Google, Yahoo, etc.) will help in finding the correct address, or at least they would list some potential addresses.
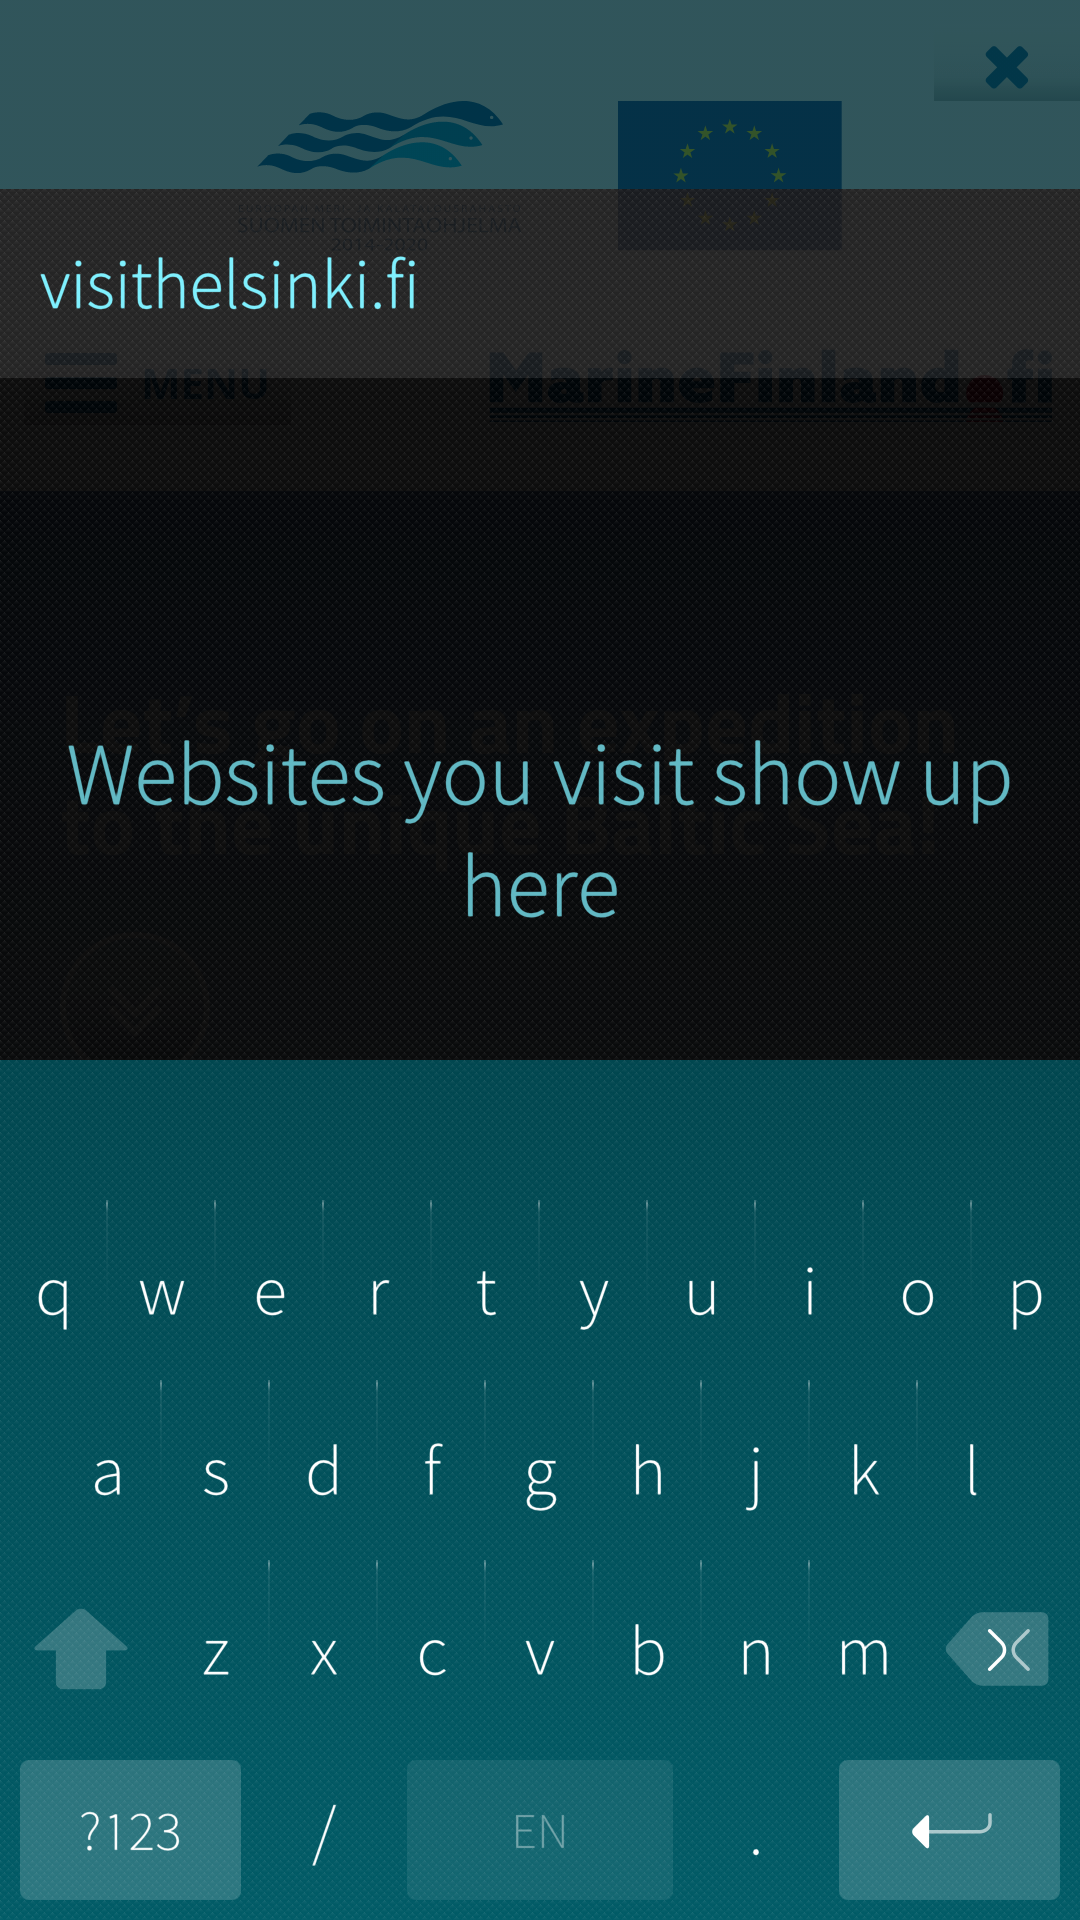 Pic 6: Typing URL visithelsinki.fi
 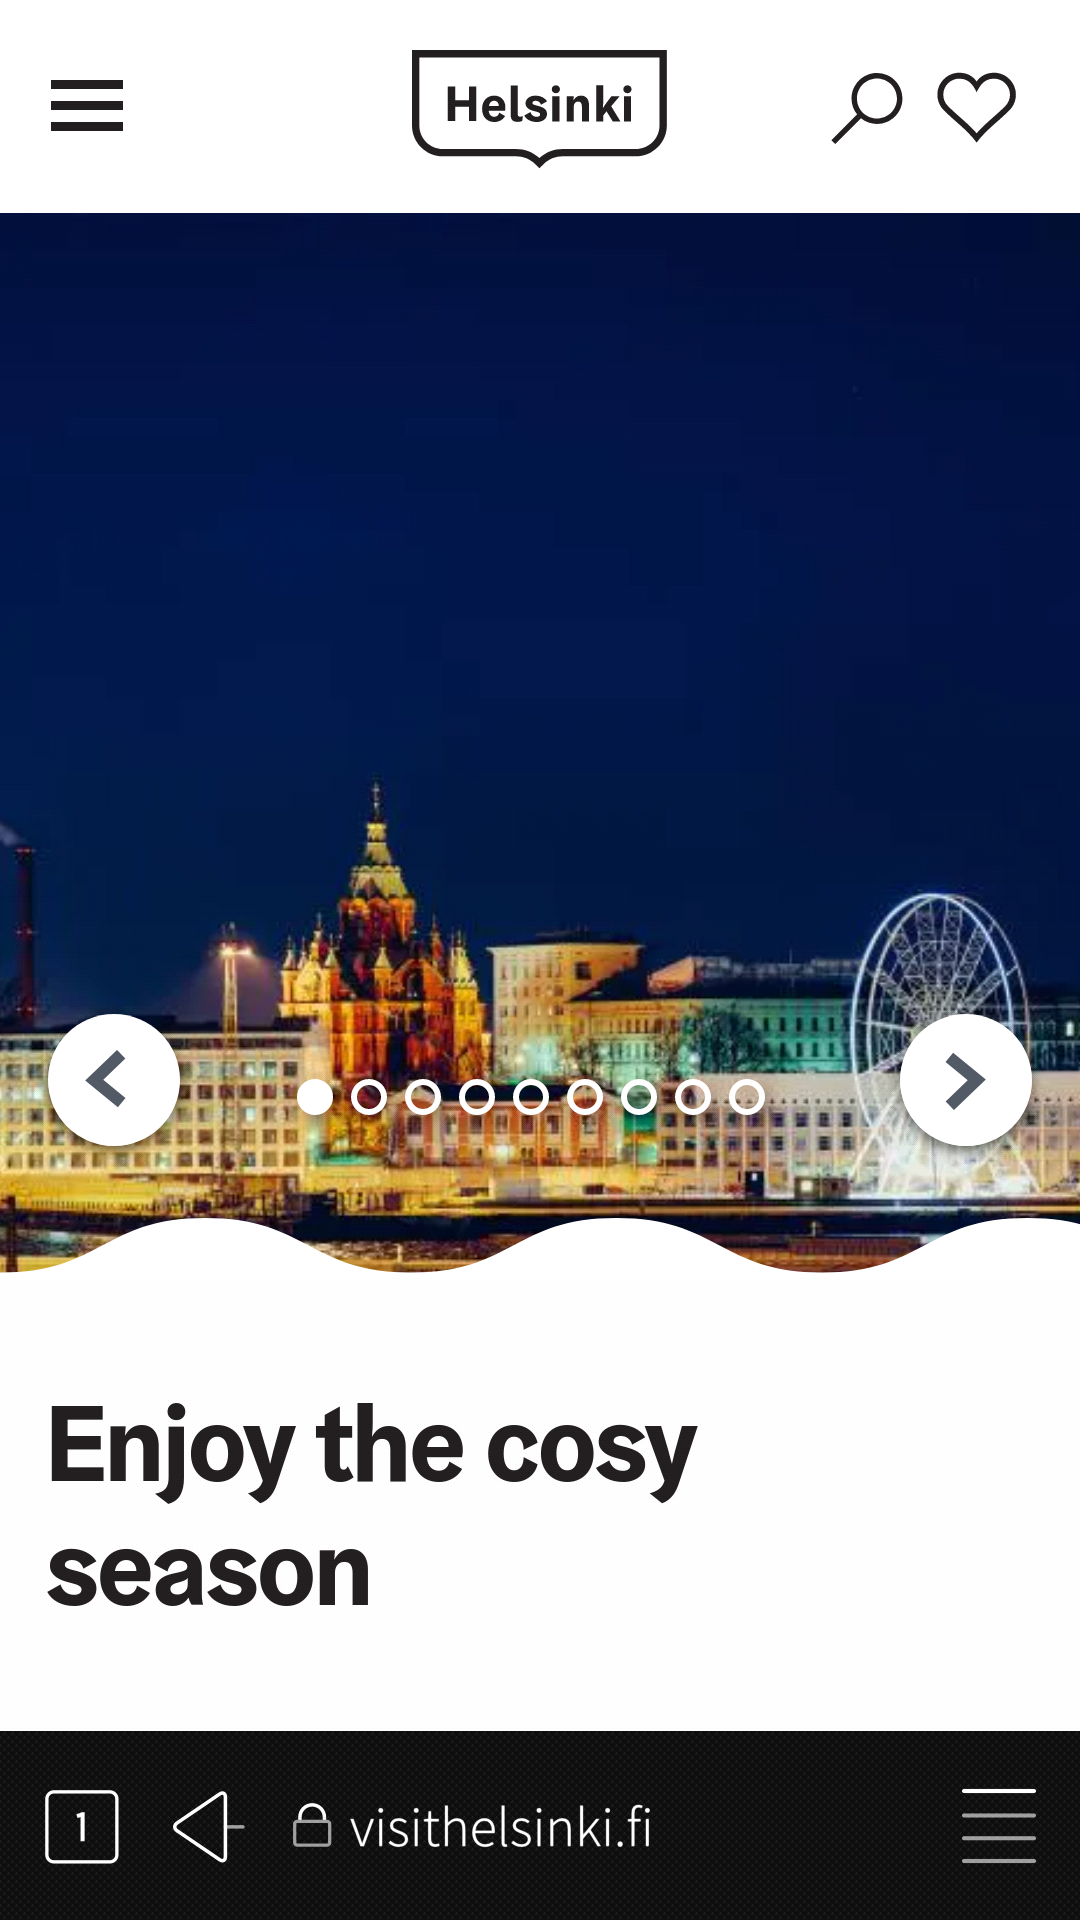 Pic 7: Website visithelsinki.fi
Searching with a keyword
Instead of writing the exact address of a web page, one can also write some free keywords and let the search engine (see chapter “Web browser settings” later in this article), e.g. Google, find and present some matching web pages for you. While writing, the browser shows potential matching results from your previous searches.
Once the search engine has presented the results, tap the one you want to open.
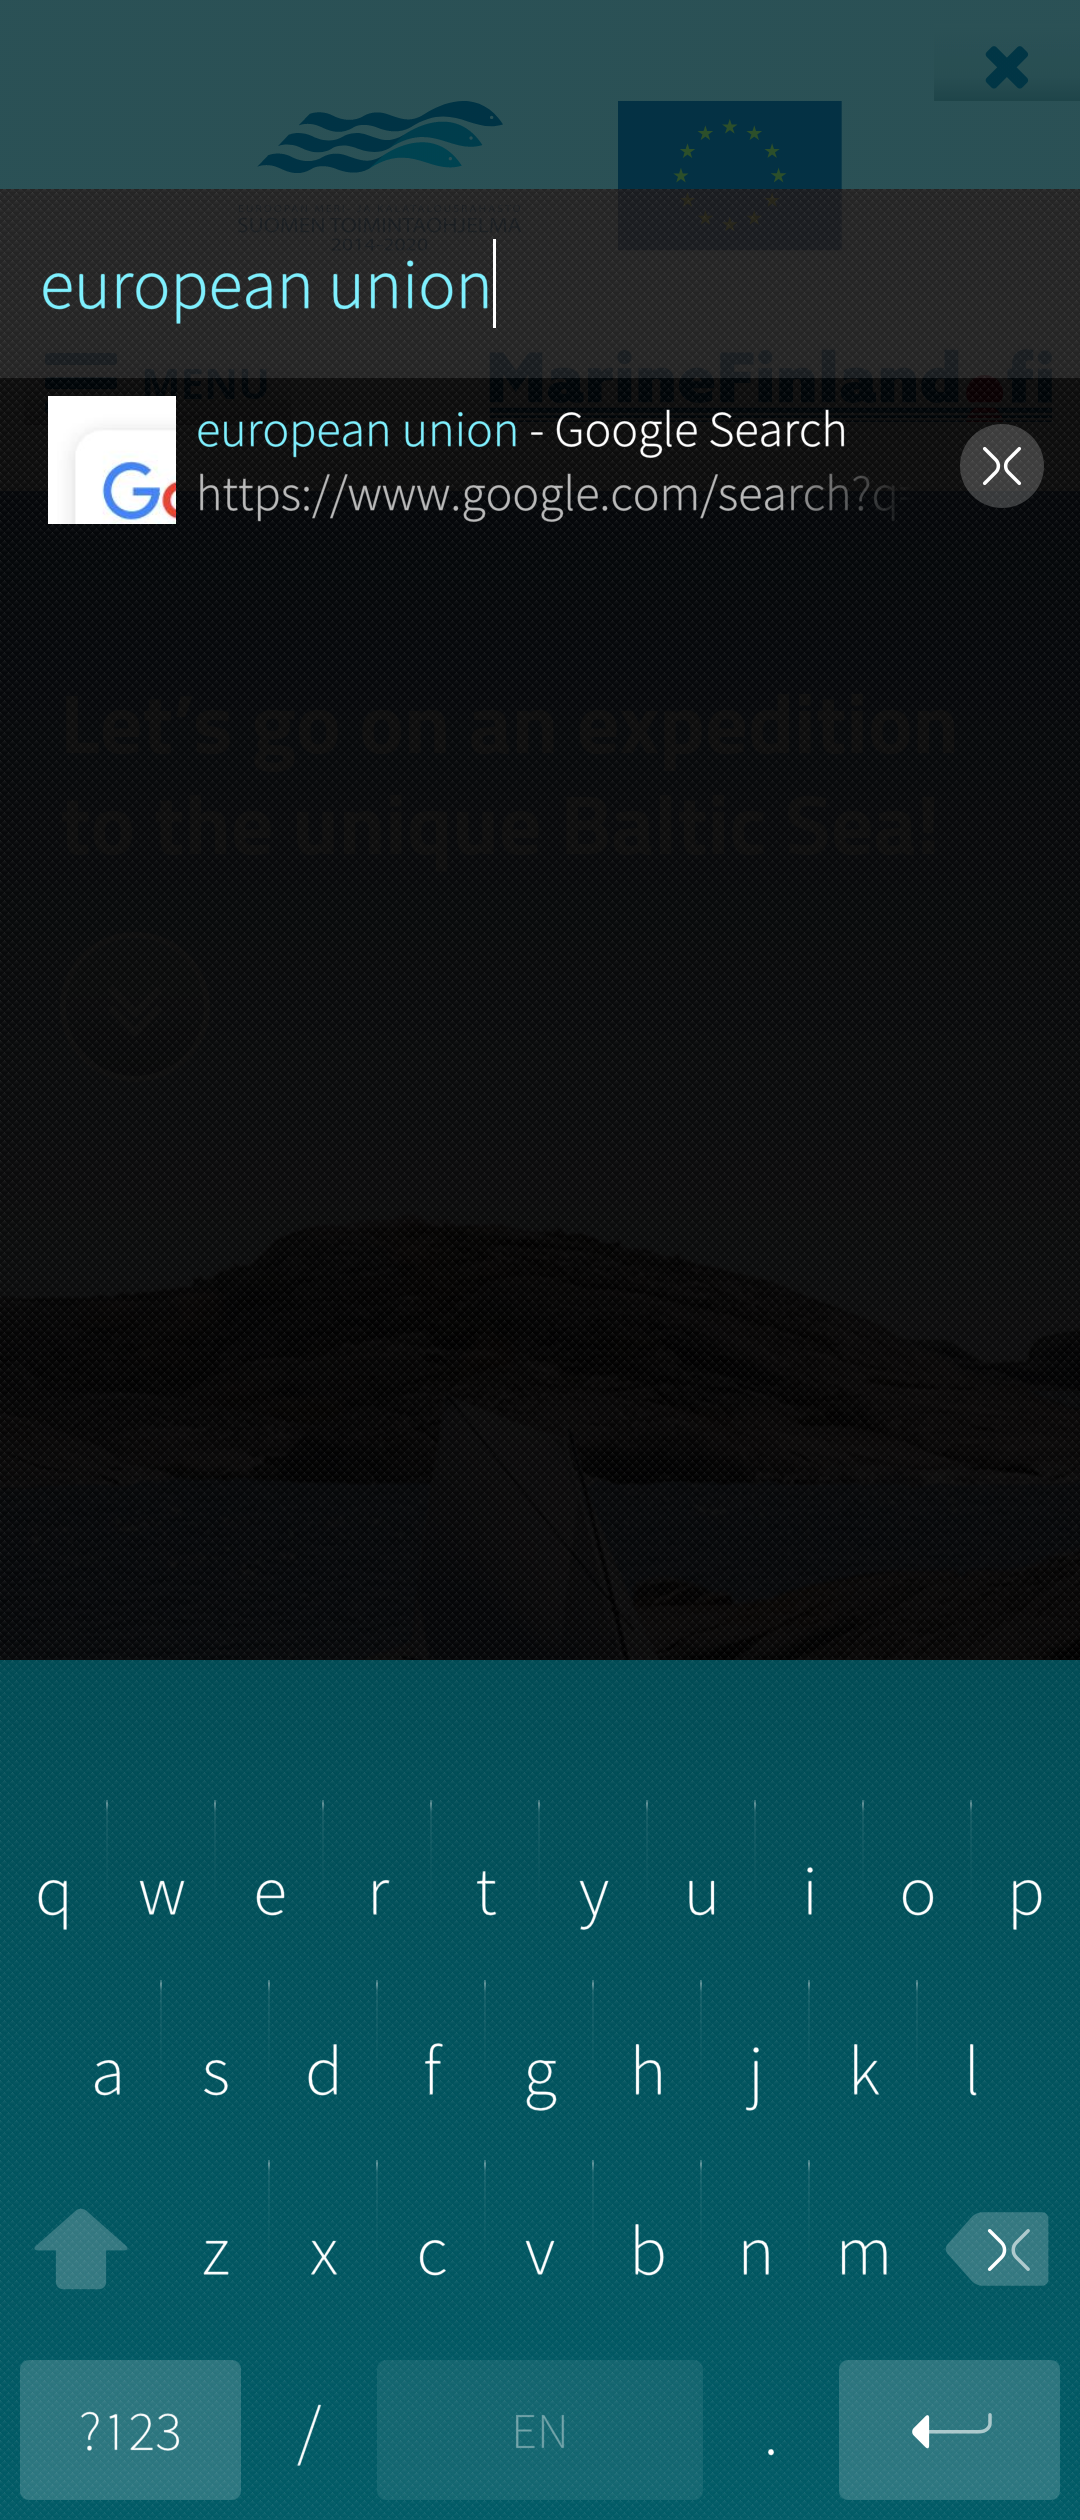 Pic 8: Typing search keywords ‘european union’
  Pic 9: Google search results on European Union
Open a bookmarked page
A handy way of opening frequently needed web pages is to use bookmarks. Your bookmarks appear as thumbnails under the row for writing the web address. In Pic 10 below, there are 6 bookmarks.
Simply, tap a bookmark to open the related web page.
The bookmarks have a context menu (tap and hold one of them - also shown in Pic 10) which helps you in managing your bookmarks - see the picture below in the middle. In particular, note the option “Add to app grid” which allows you to make some of your most-used web pages appear as icons in the app grid view - only one tap is required to browse those pages!
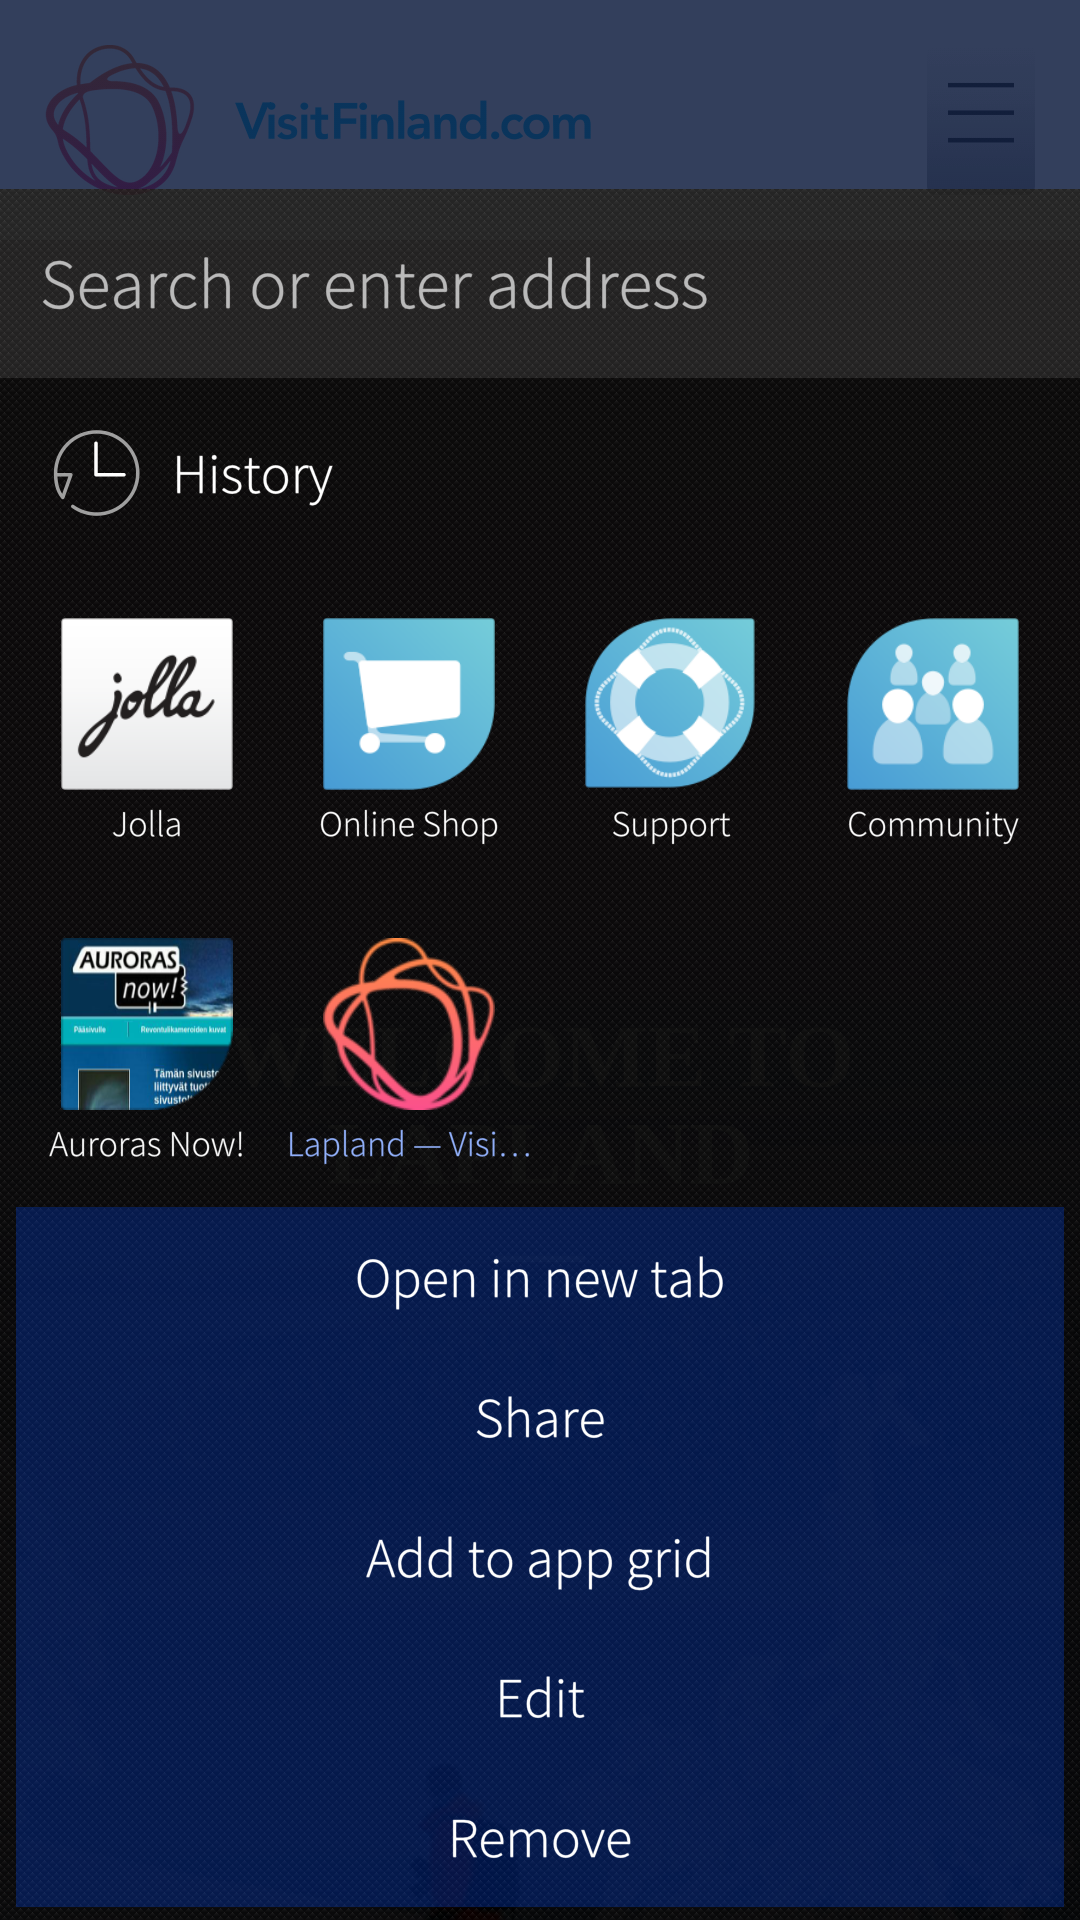 Pic 10: Popup menu of a bookmark
  Pic 11: Website opened by tapping a bookmark
Open a browsing history item
Yet another quick way to open frequently used web pages is to open them in the browsing history.
The history resides in the lower part of the complete toolset.
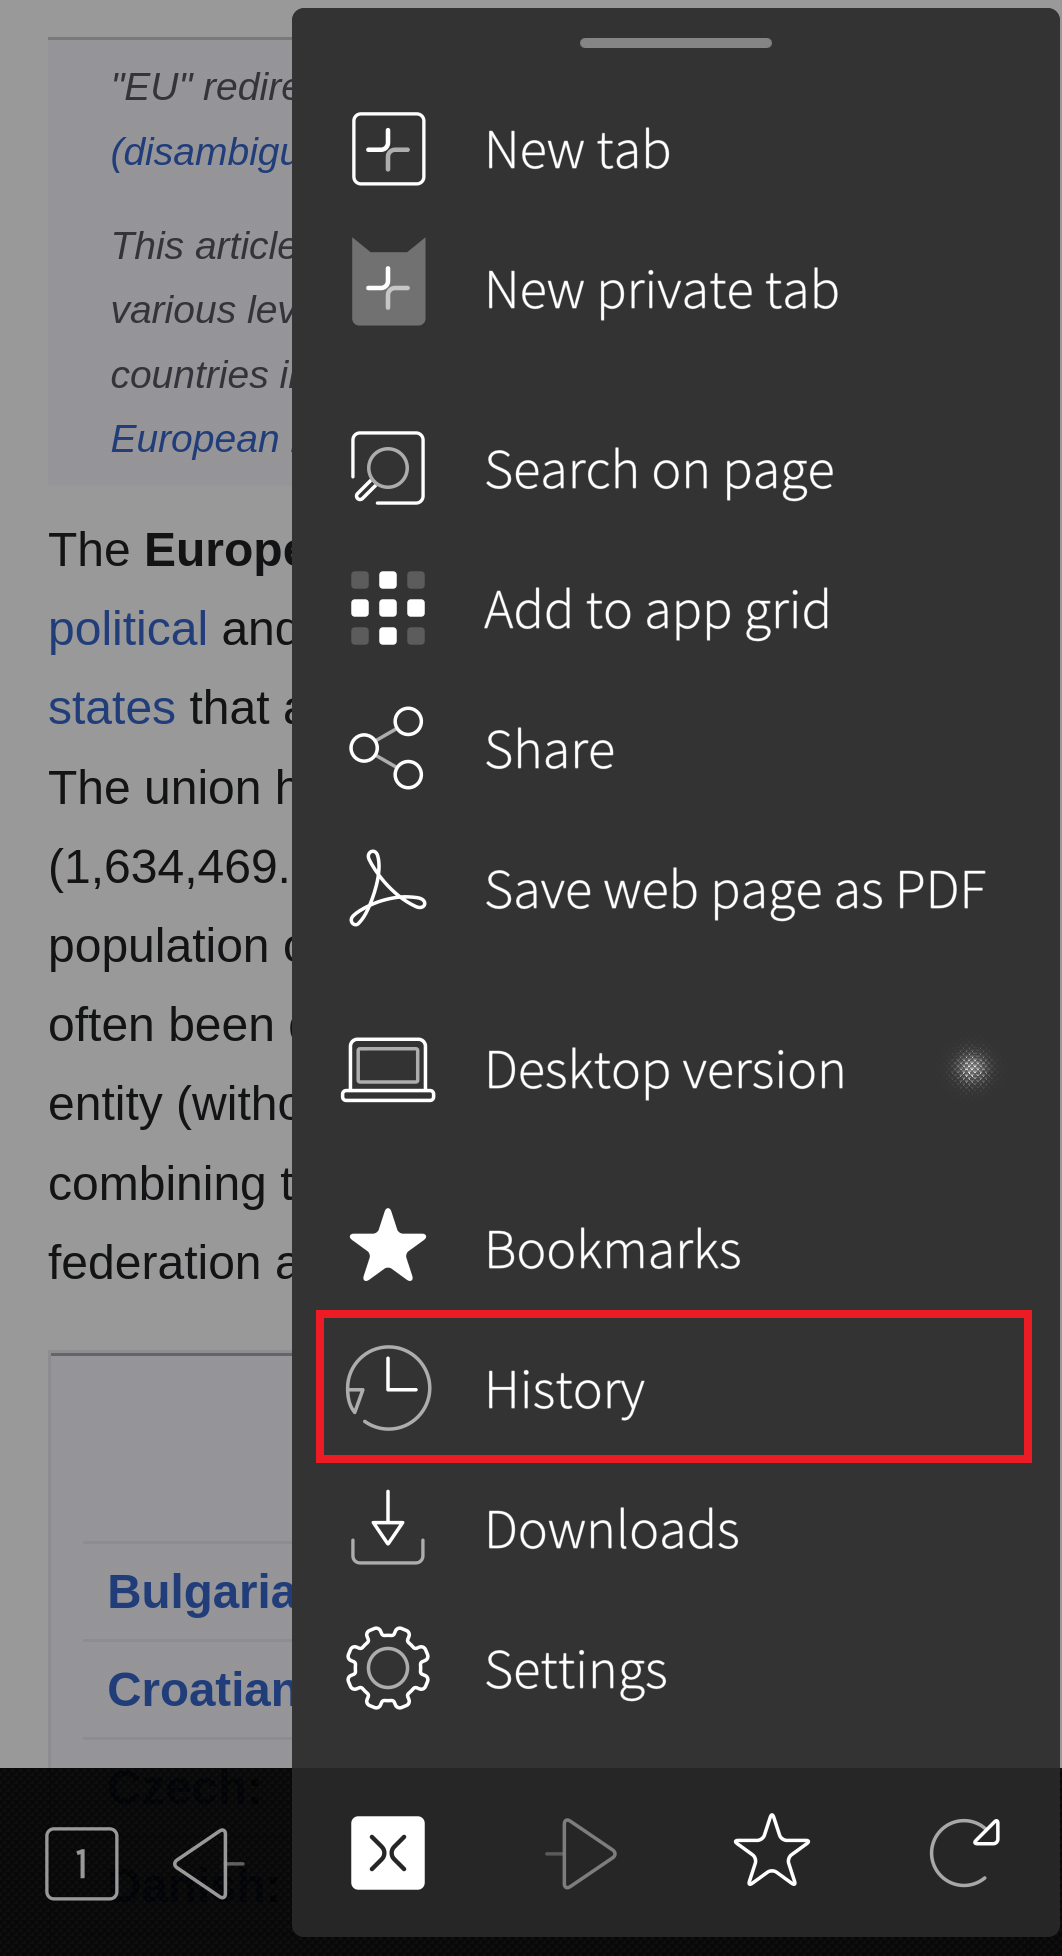 Pic 12: History tool in browser toolset
Toolbar and toolset
The toolbar of the Sailfish Browser is located at the bottom of the screen. It is not visible all the time, to save display space, but you can always bring it back by swiping the display downwards.
The default toolbar is a one-liner (Pic 13), showing the total number of open tabs, the back arrow, the current website with the security icon and the button to access the whole toolset.
 Pic 13: Basic toolbar
Tap the “hamburger” button at the right end of the toolbar to open the complete toolset. You may need to push the tools window upwards to expose the last few items in the bar. The picture below shows the whole toolset.
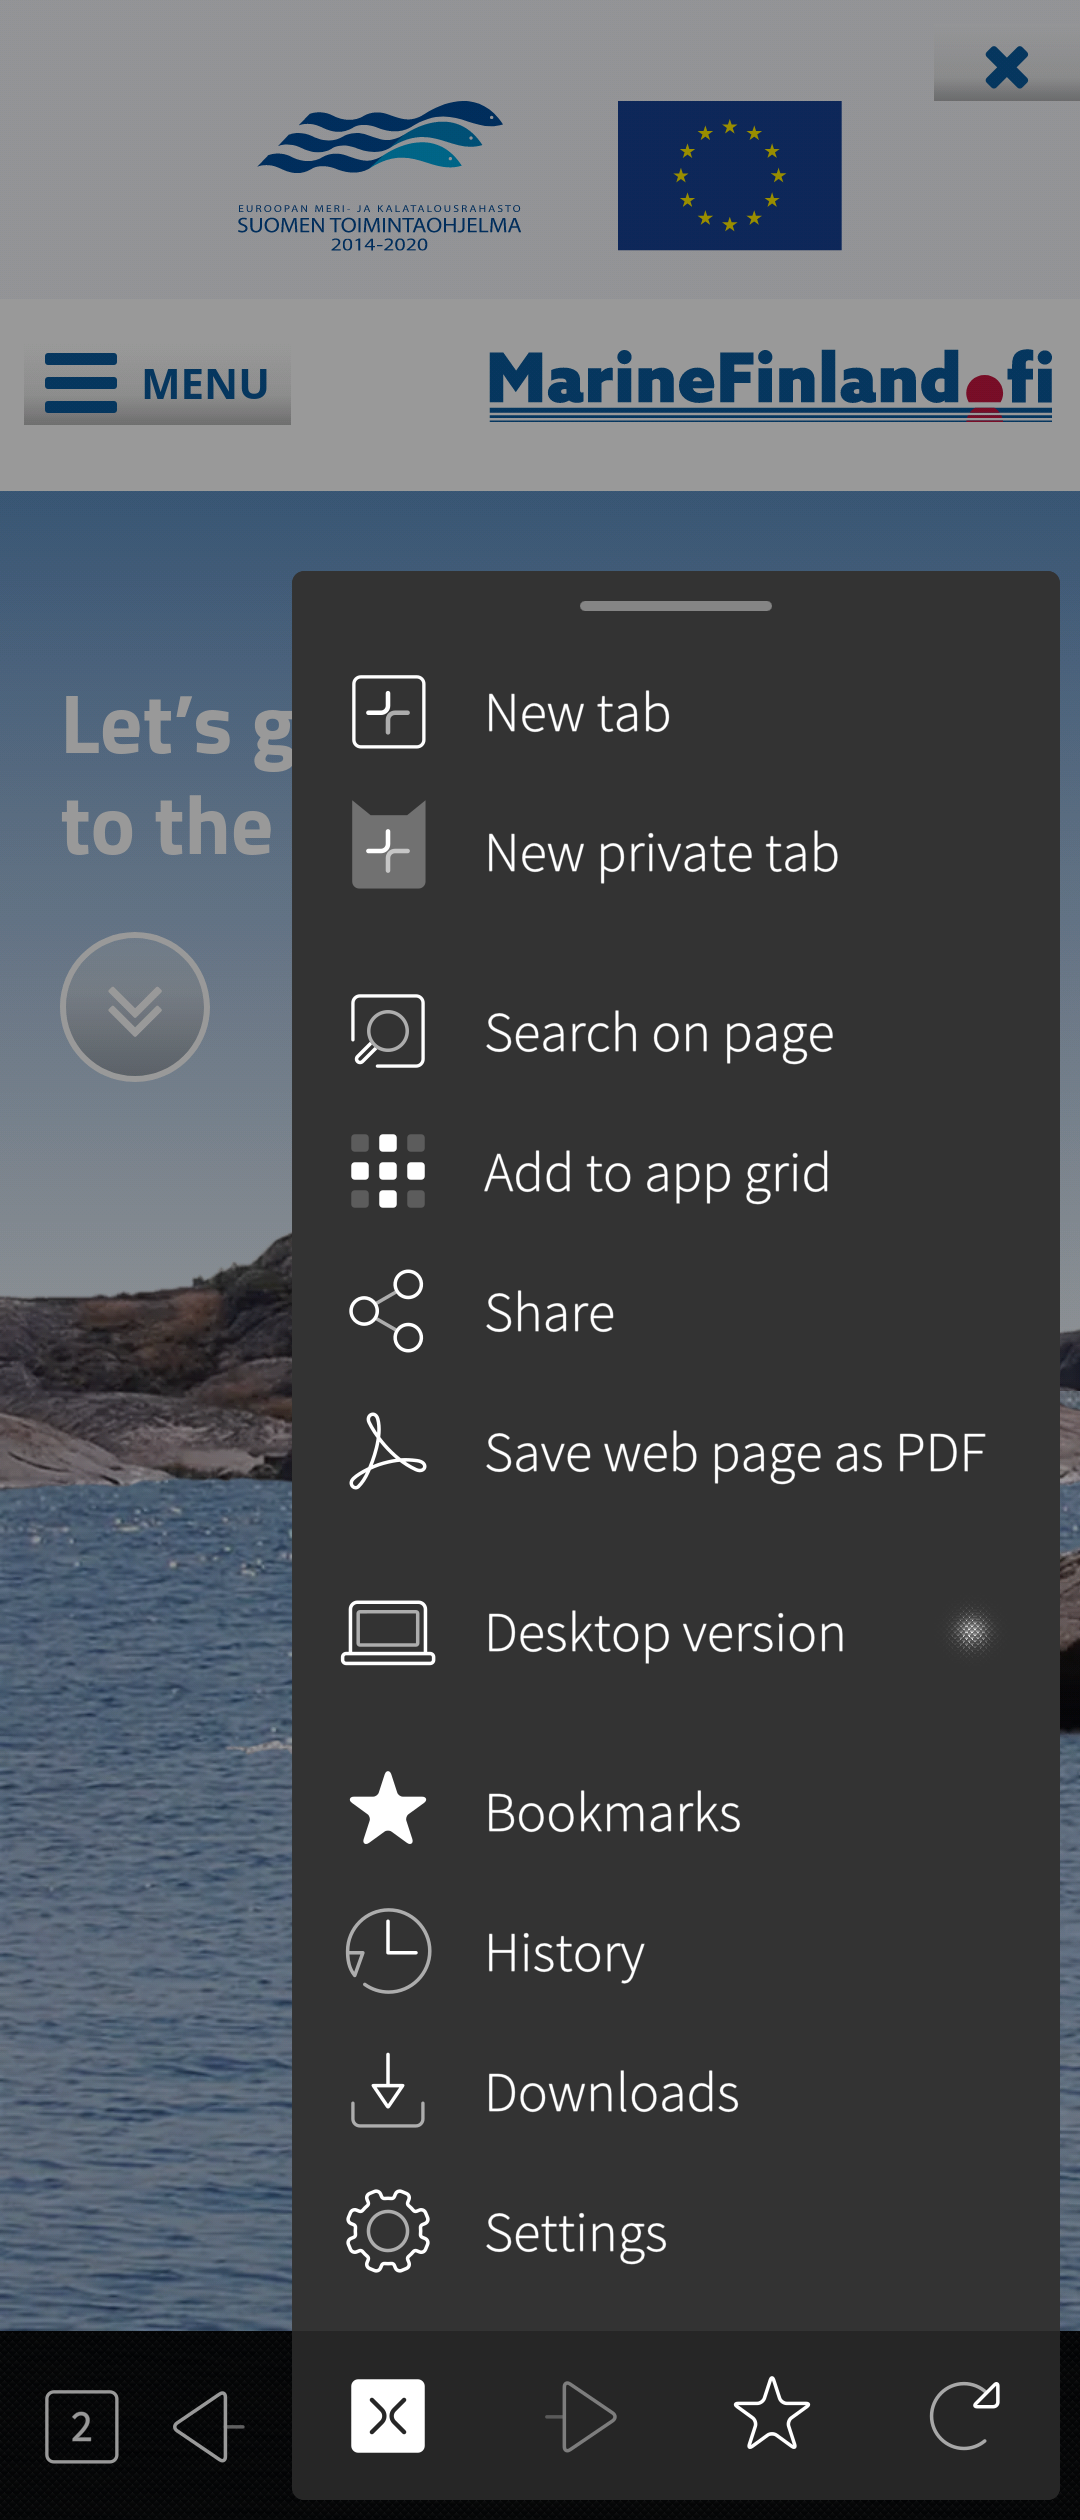 Pic 14: Complete toolset
Most of the tools are shown with meaningful names next to them. The lowest row has some tools without names. They are from the left:
- Total number of open tabs
- Browsing to the previous page
- Closing the current tab
- Browsing to the next page
- Adding a bookmark for the current page
- Refreshing the page
Tabs
Sailfish Browser allows multiple tabs. The number of the currently open tabs appears on the tab icon (a small square at the left end of the toolbar). The example picture below shows that there are three tabs open.
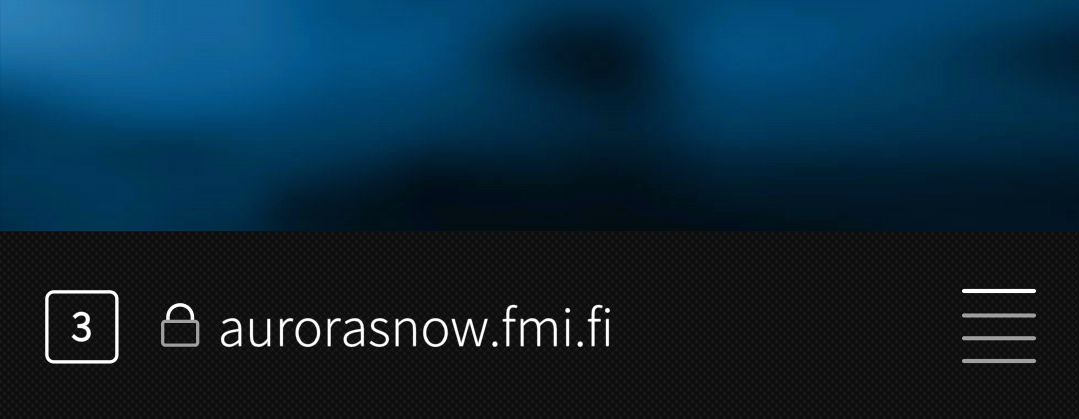 Pic 15: Tab count is 3
Tabs view
You can invoke the display of all of your tabs by touching the tab icon at the bottom left corner (Pic 16).
The tabs appear as rectangles in the middle of the display (Pic 17). This view works as a switcher, too, so you can easily jump to another tab by touching it.
Pay attention to the toolbar of this tabs view:
- Arrowhead takes you to the webpage of the previously used tab
- + button let’s open a new webpage and a tab
- Hamburger button exposes the tab-specific context menu (see Pic 18)
In addition, note the two small icons at the display top (in the red rectangle) - they indicate the number of normal tabs and private tabs open currently. In this example, there are three normal tabs and one private. Those two icons work also as a switcher between normal browsing and private browsing.
 Pic 16: Popup menu of a bookmark
 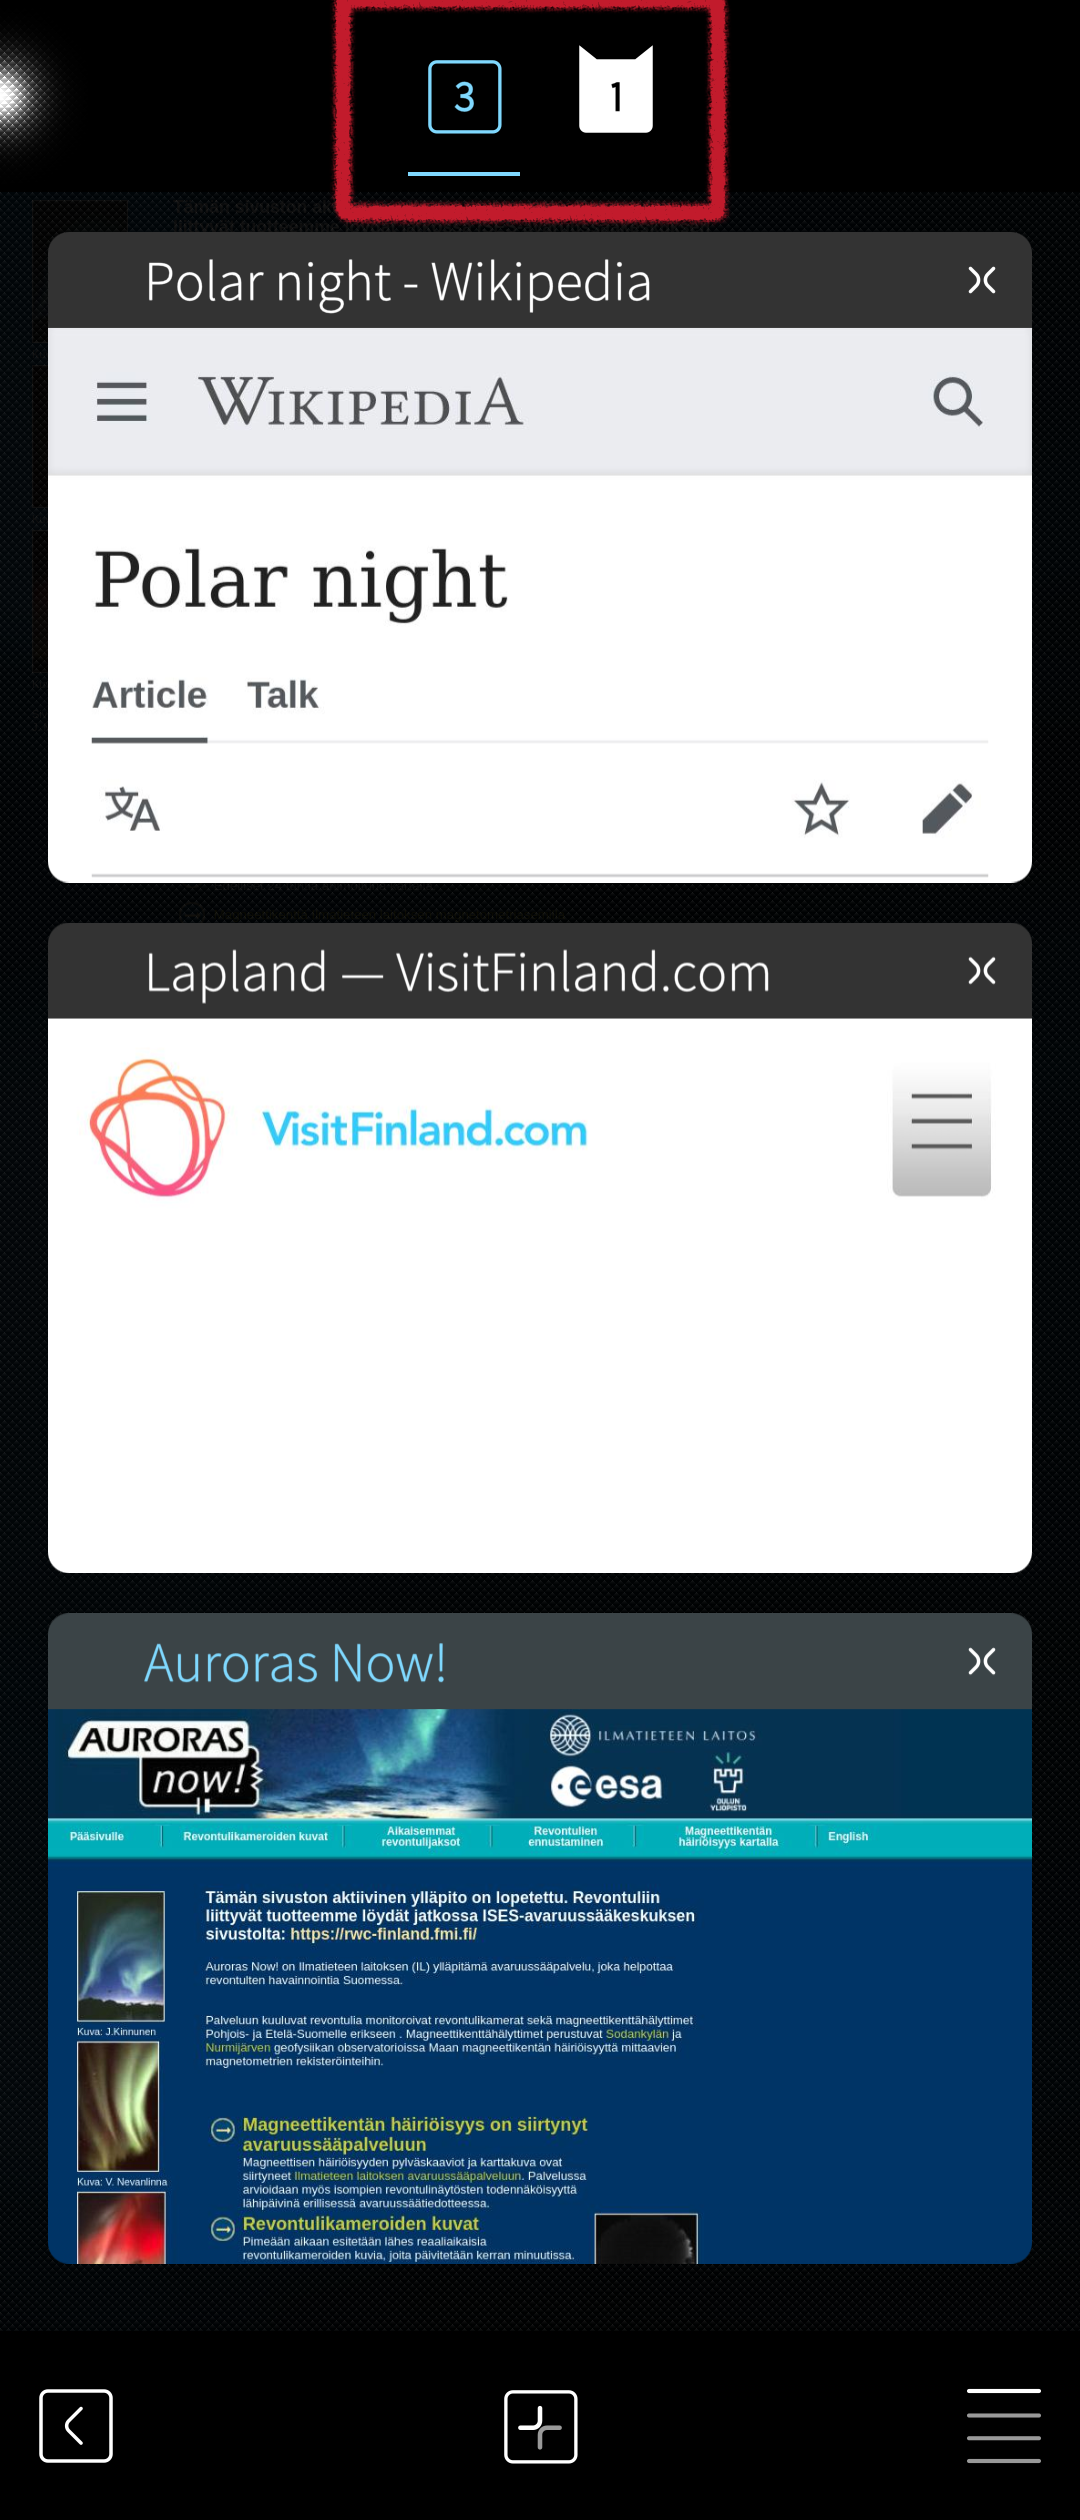 Pic 17: Tab count icon (3) to be tapped to open the tabs view
Opening a new tab
Opening a web page to a new tab (instead of replacing a web page on the current tab) goes by touching the + button in the middle of the tabs toolbar, at the bottom of the display (see the picture above, on the right).
Alternatively, you can tap at the “hamburger” button at the right end of the tabs toolbar and select “New tab” in the popup menu then (see below).
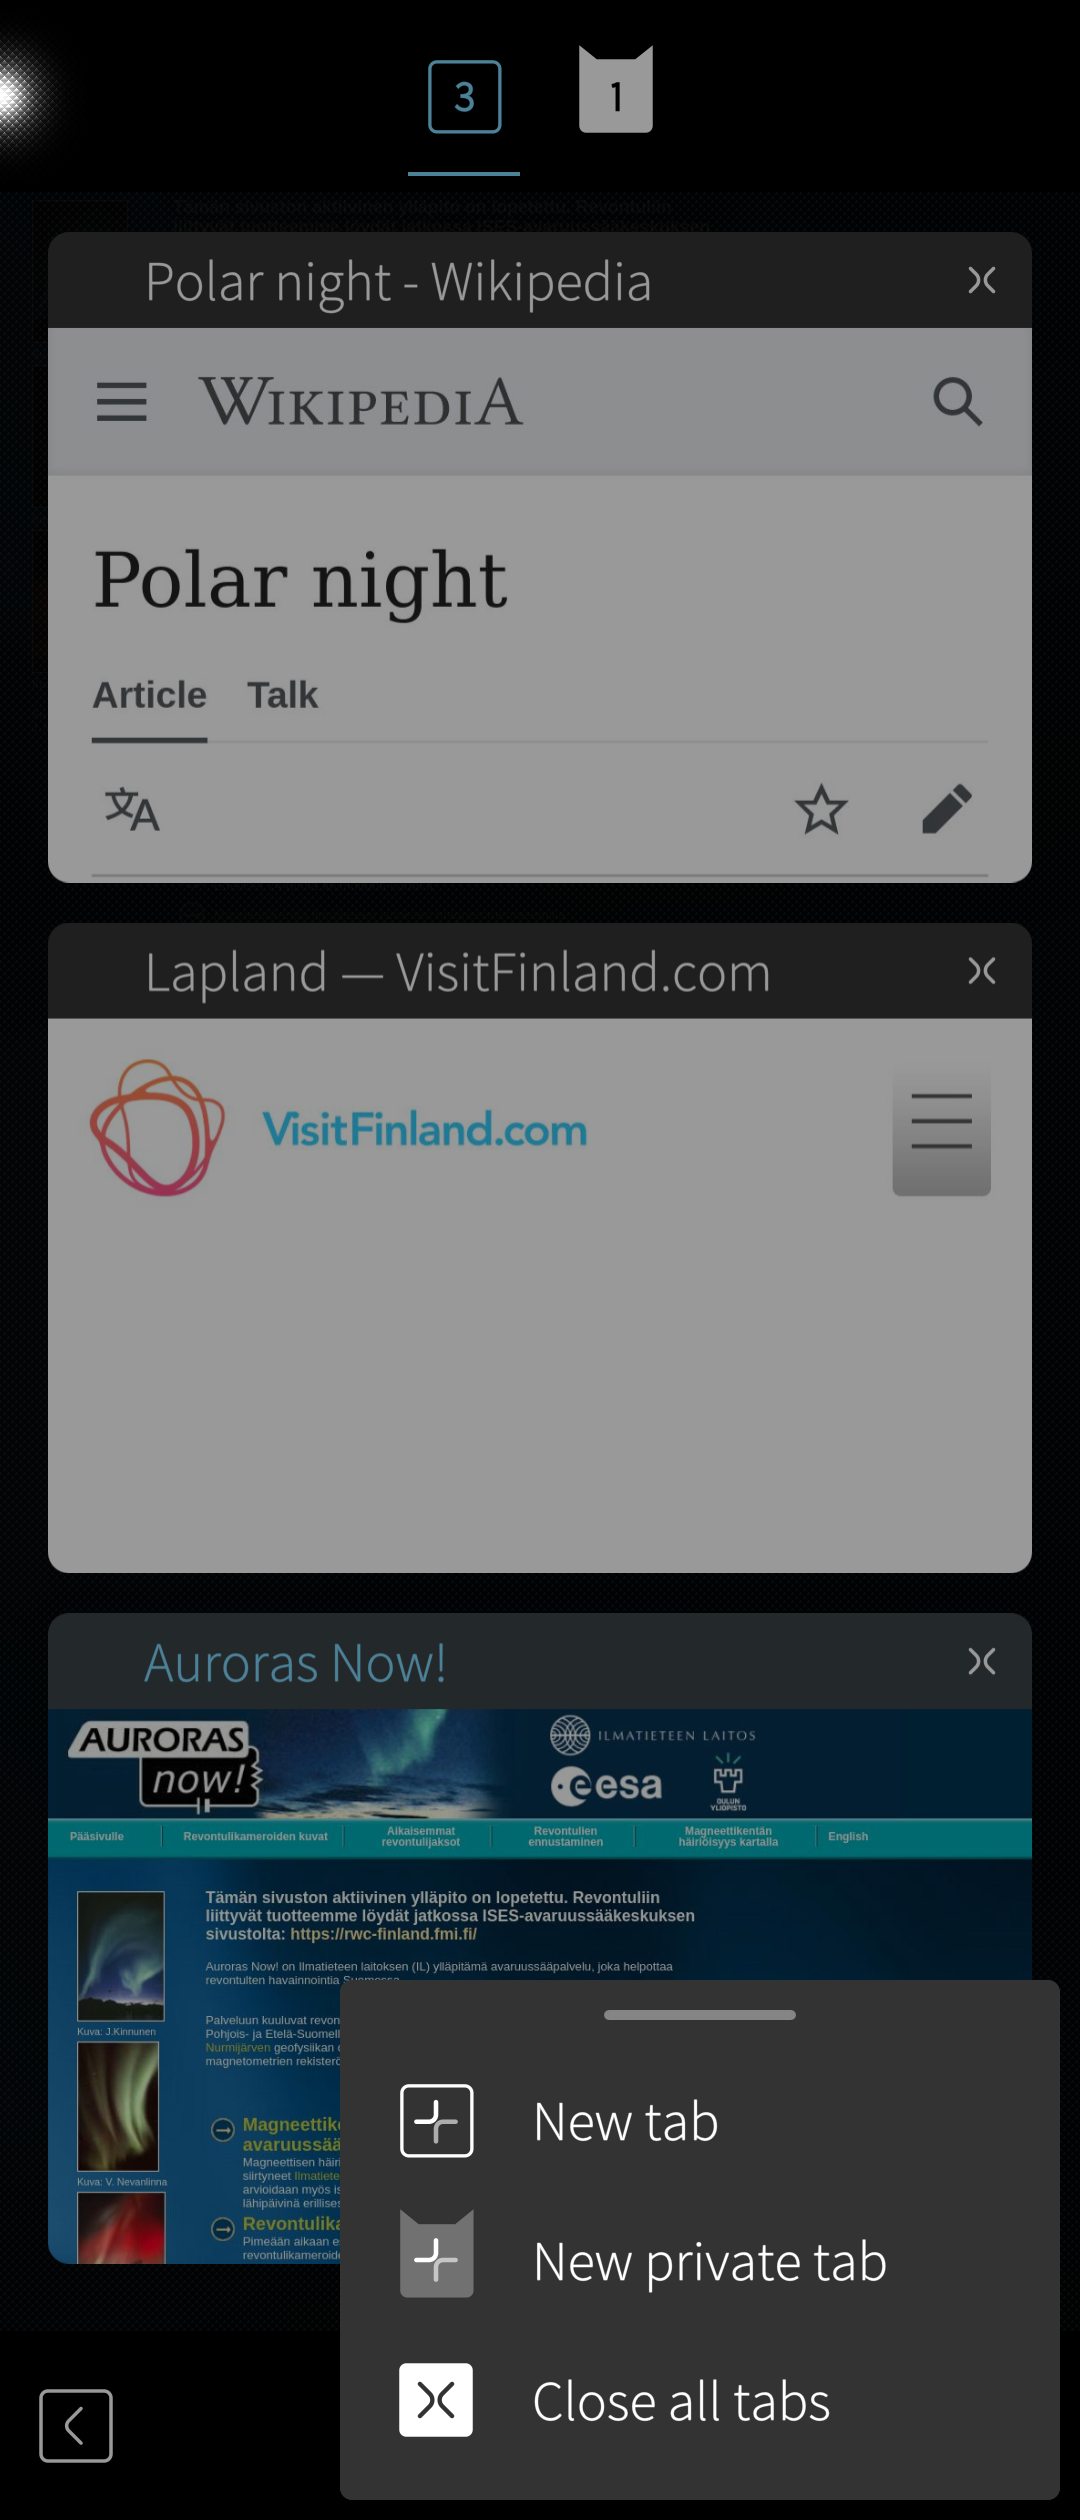 Pic 18: Tab popup menu
Private browsing
Opening a private tab can be done via the same popup menu with “New private tab” (Pic 18). Another way to do it is to first tap the icon of private browsing at the top of the display (the white icon with #1 on it at the top of in Pic 18 above) followed by a tap on the + button in the middle of the tabs toolbar, at the bottom of the display.
Private tabs are always shown on a background of diagonal black and grey stripes. The same background is used in the toolbar of private browsing web pages.
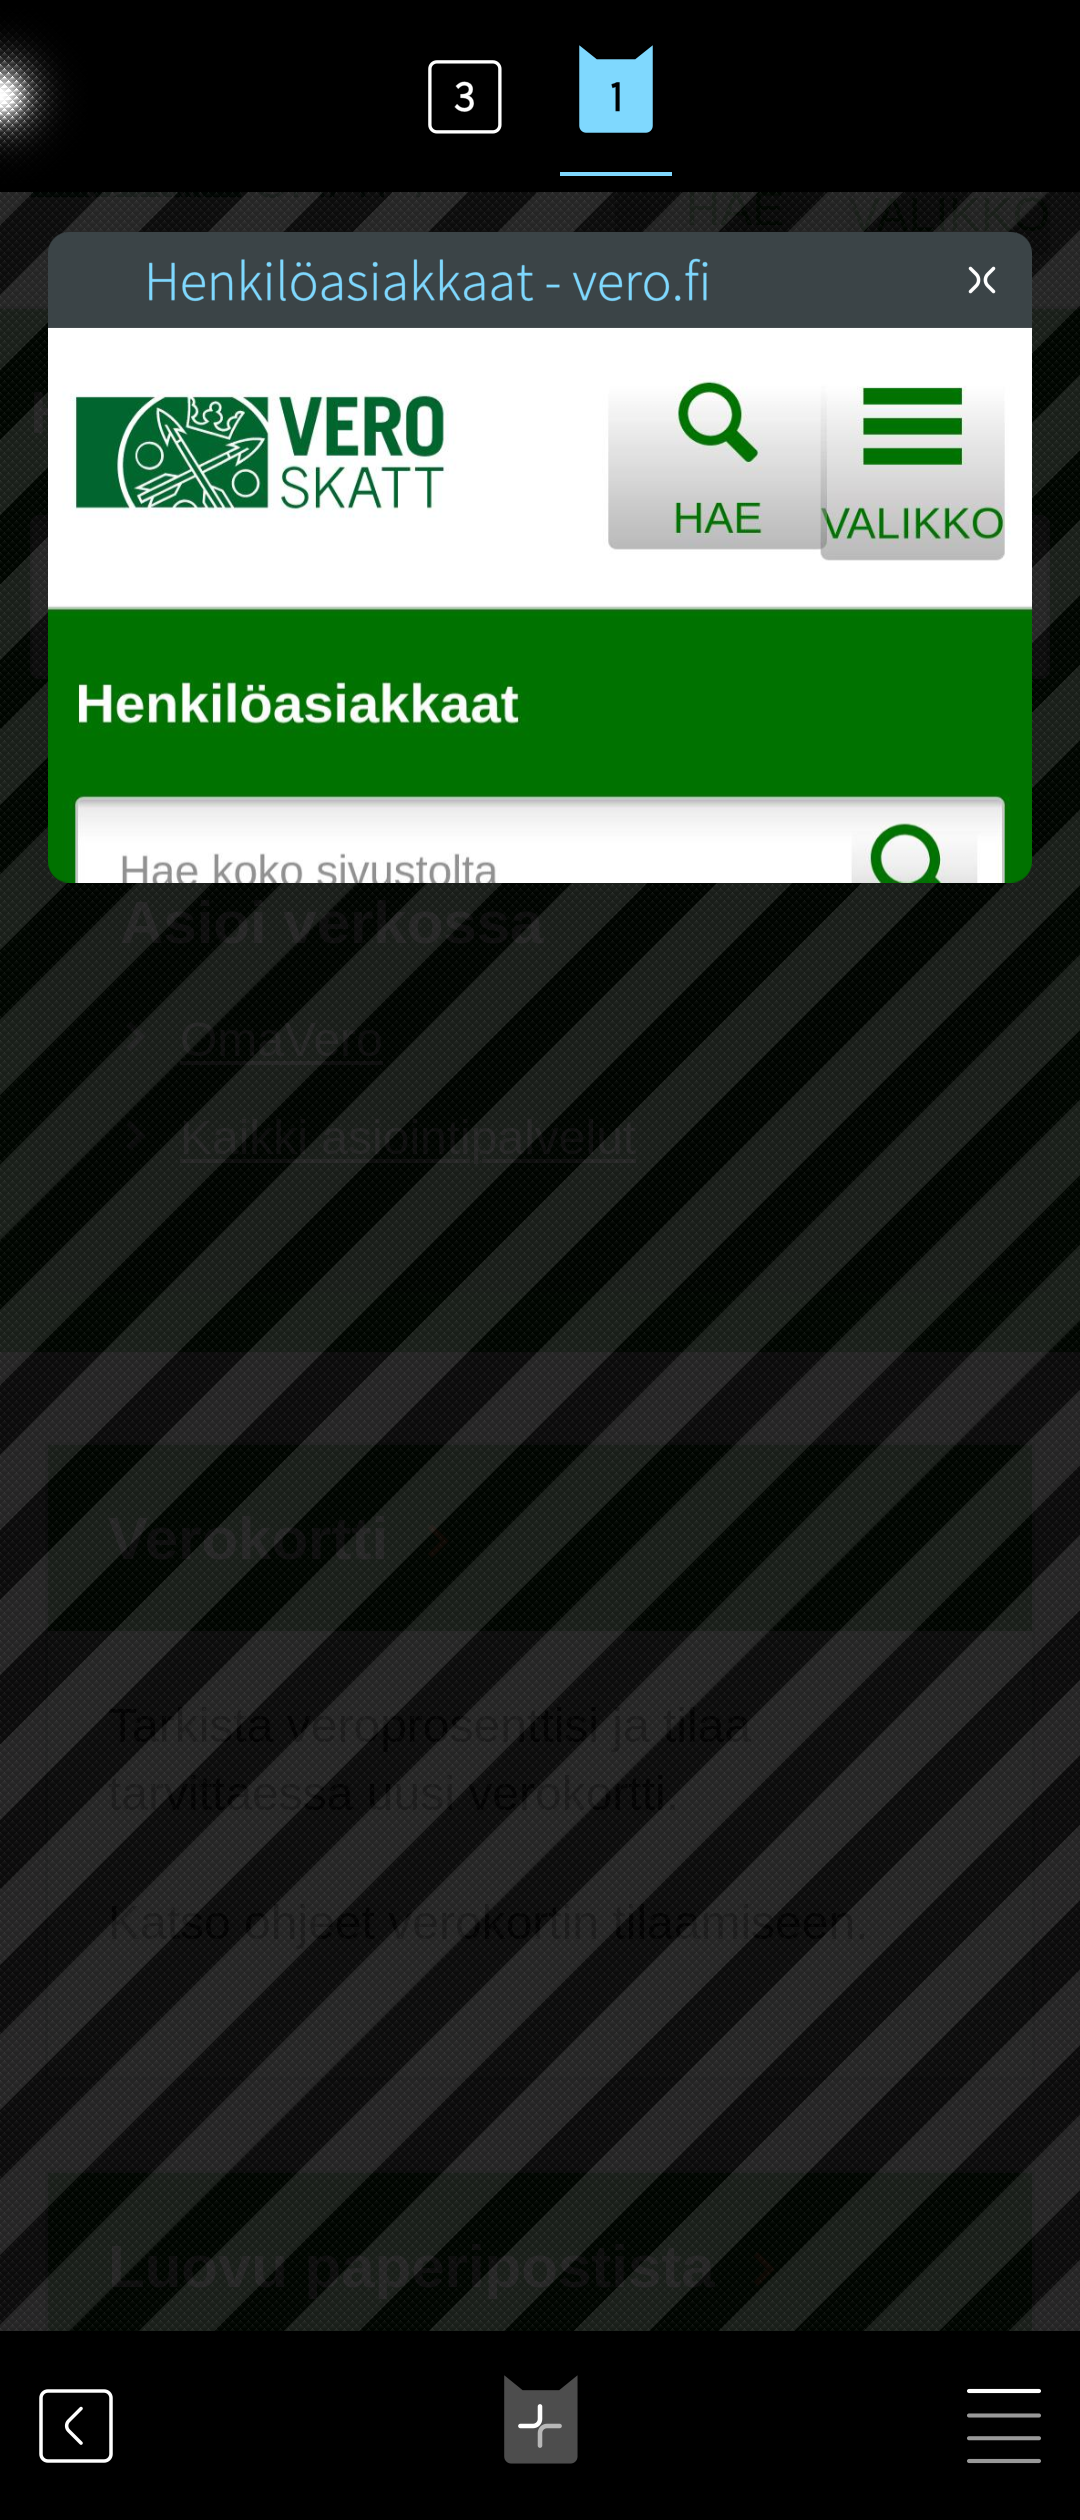 Pic 19: One private tab shown (background striped)
 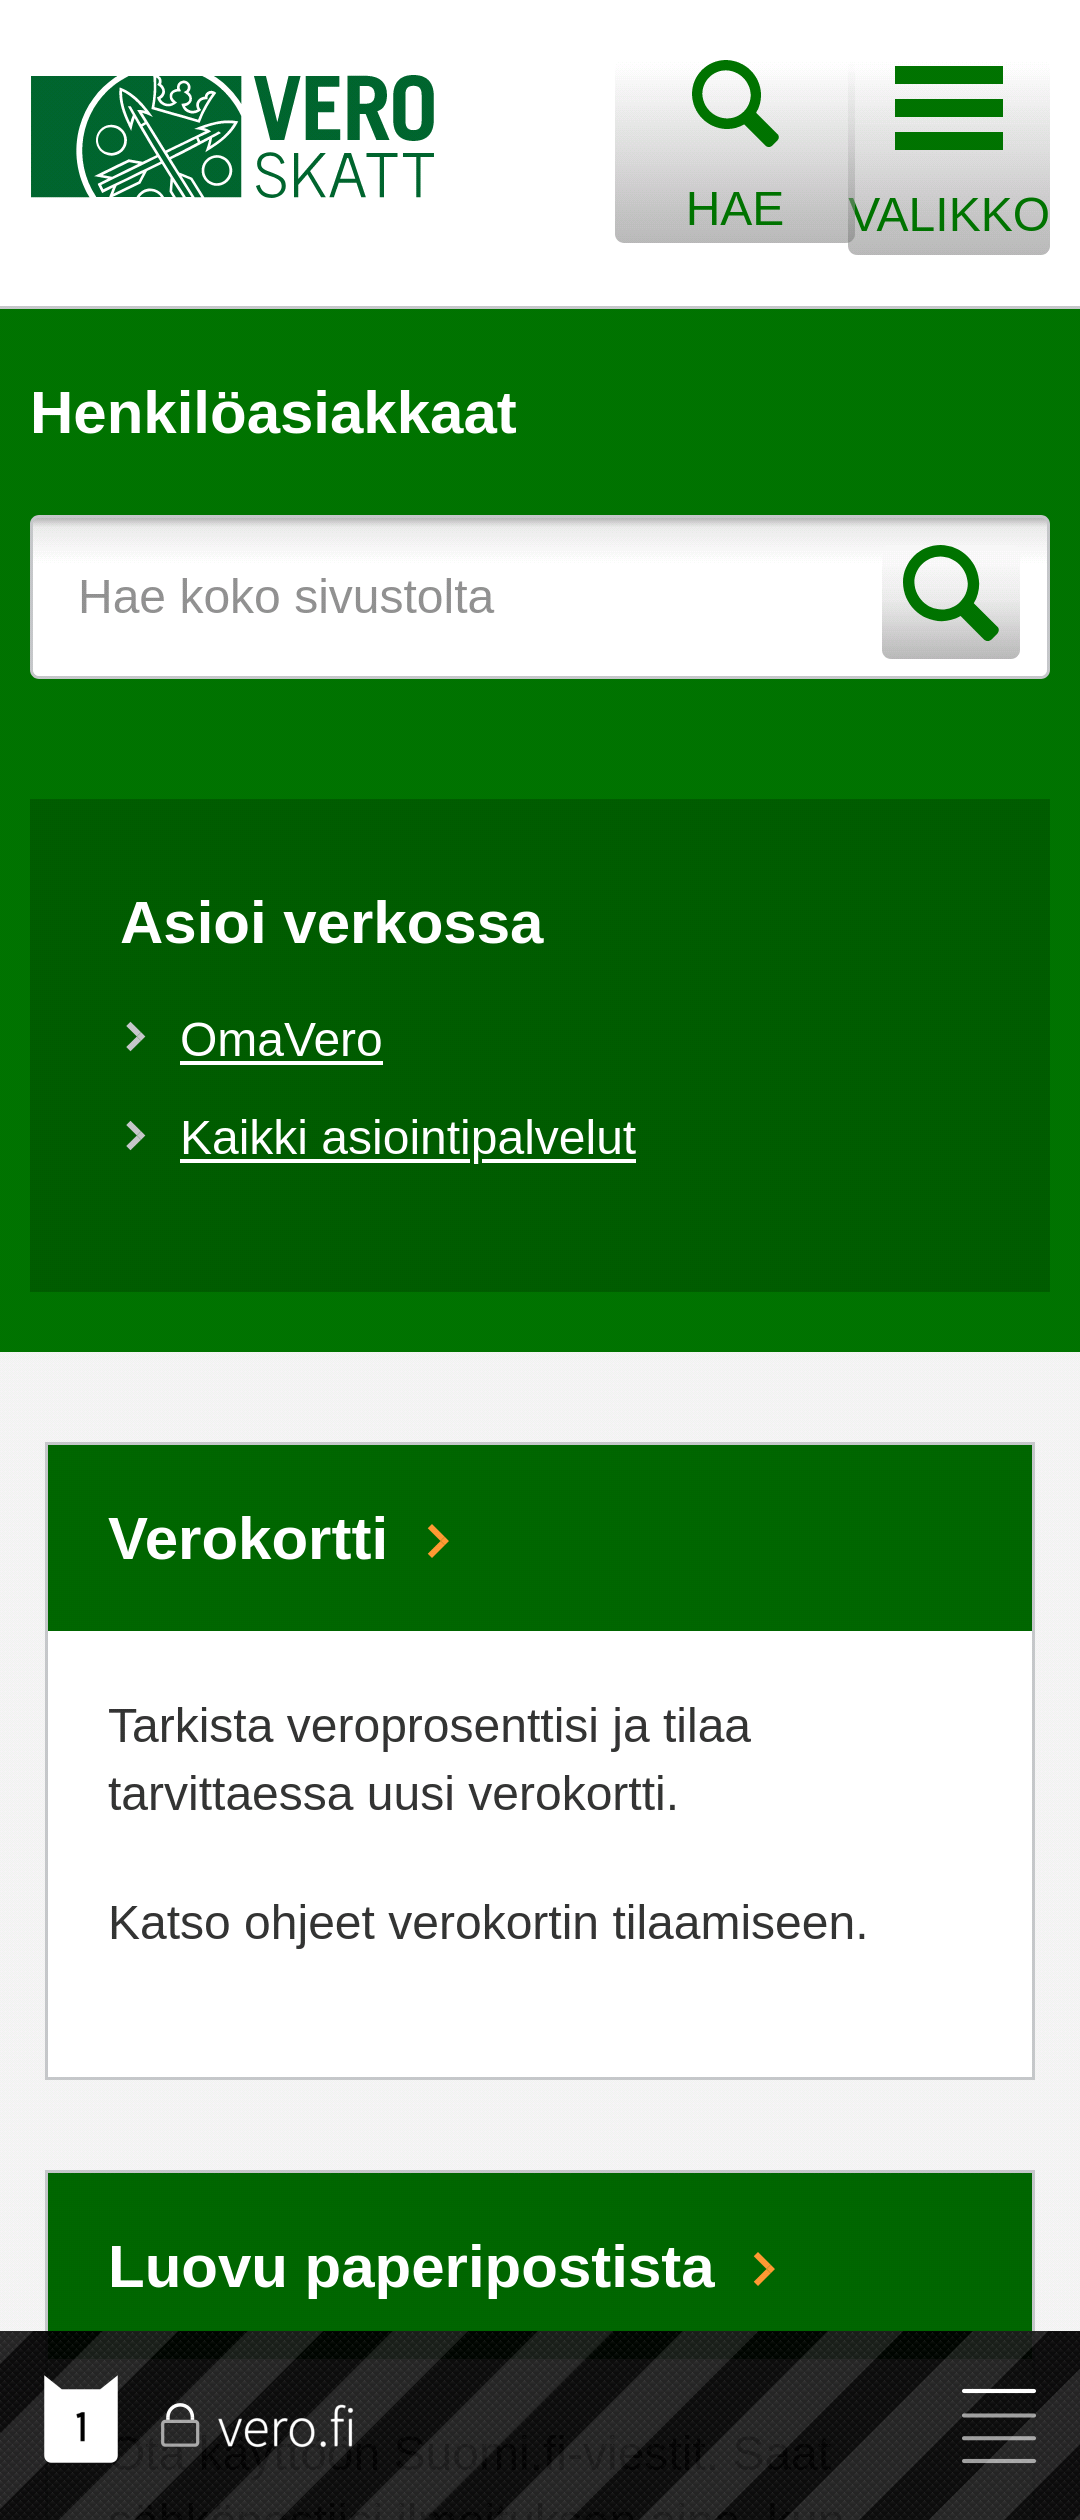 Pic 20: Private website (striped toolbar) opened by tapping a private tab
Closing tabs
All open tabs can be closed at the popup menu shown below.
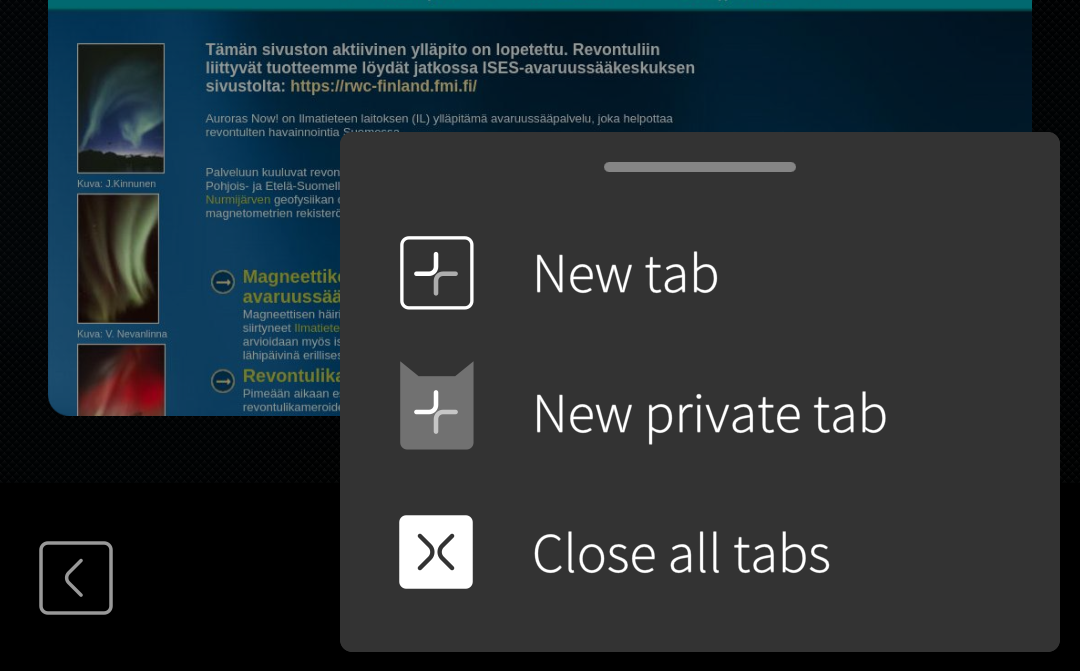 Pic 21: Tab popup menu
Another way is to let it happen automatically when closing the Browser app - there is the setting “Close all tabs on exit” in the Browser settings.
Closing the current tab is done by invoking the toolset (with the hamburger button) and by tapping the close button at the toolbar. It is the white square with the ‘x’ on it in the picture below.
 Pic 22: Closing the current tab with the ‘X’ at the toolbar
Searching on a web page
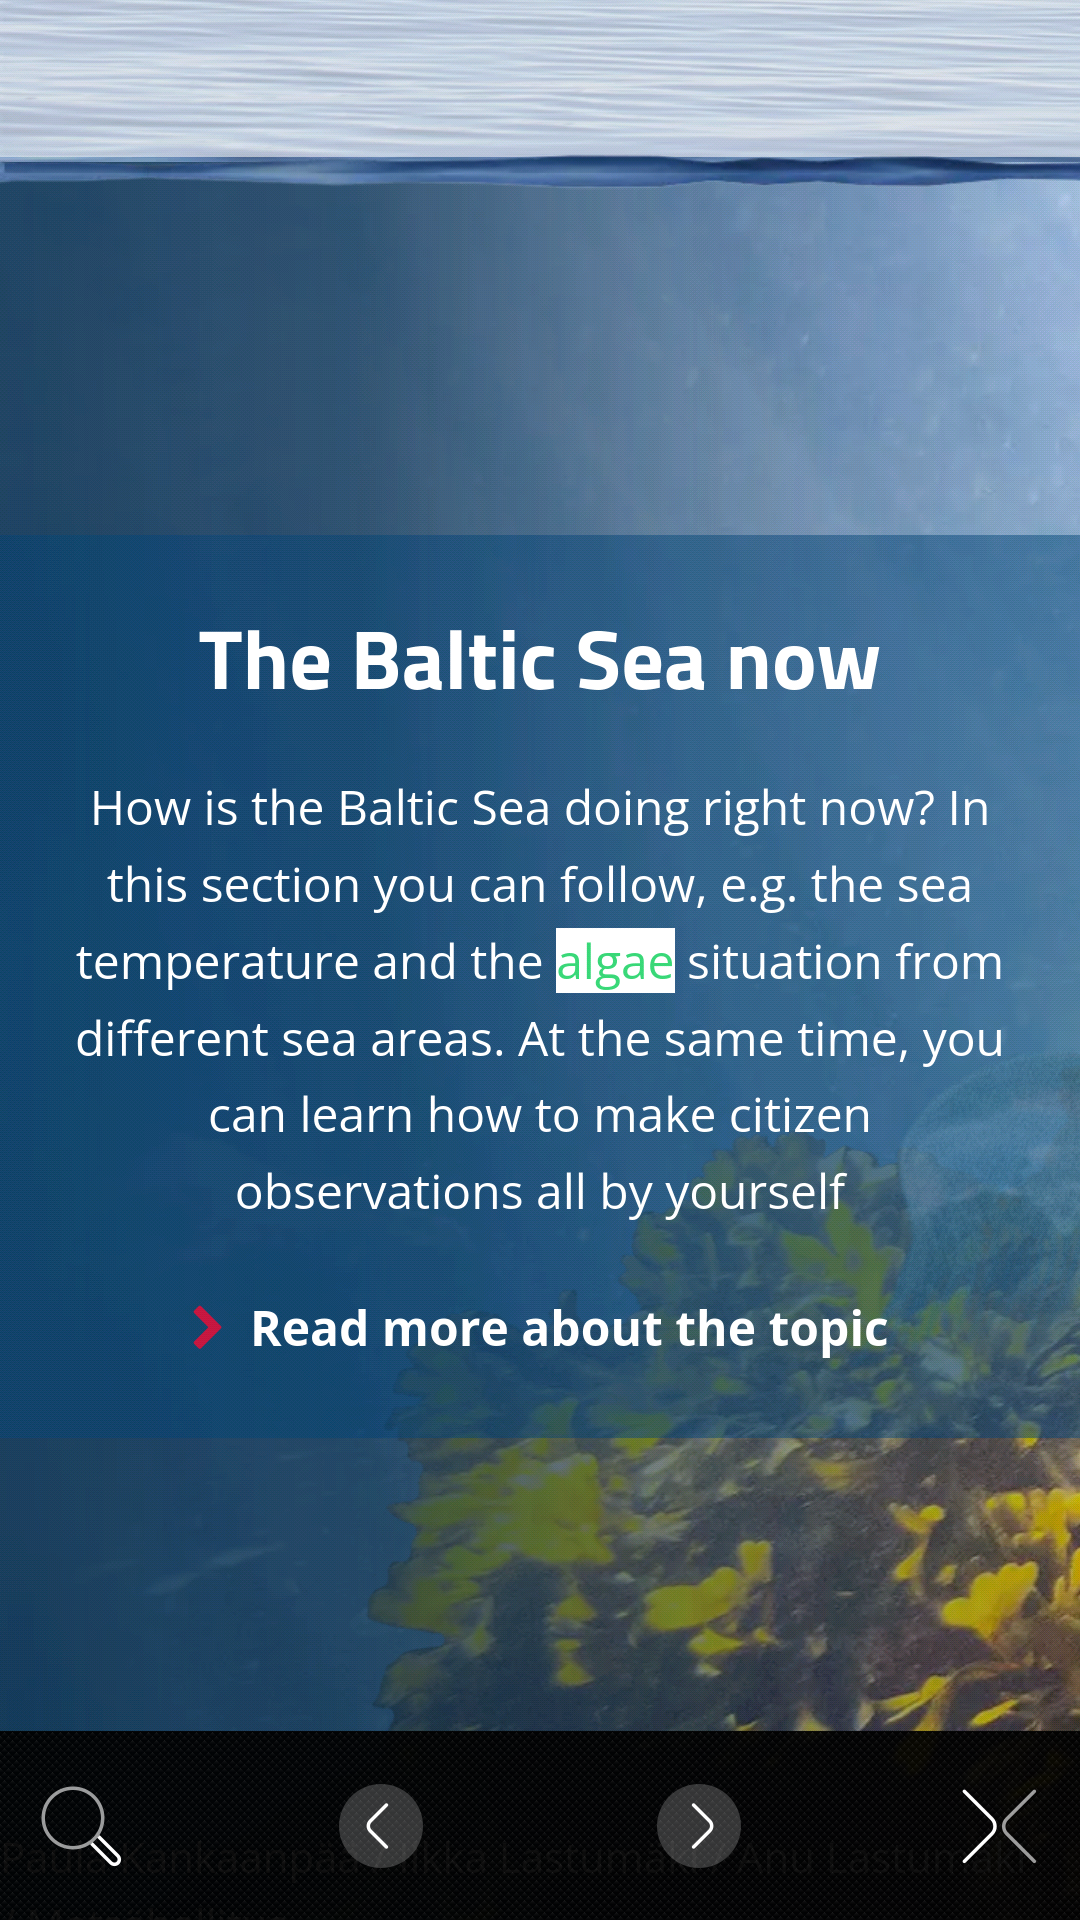
It is possible to search for words on the web page (tab) currently on the display. Use the “Search on page” tool in the fully open toolset. Type the keyword and tap Enter. See the example below.
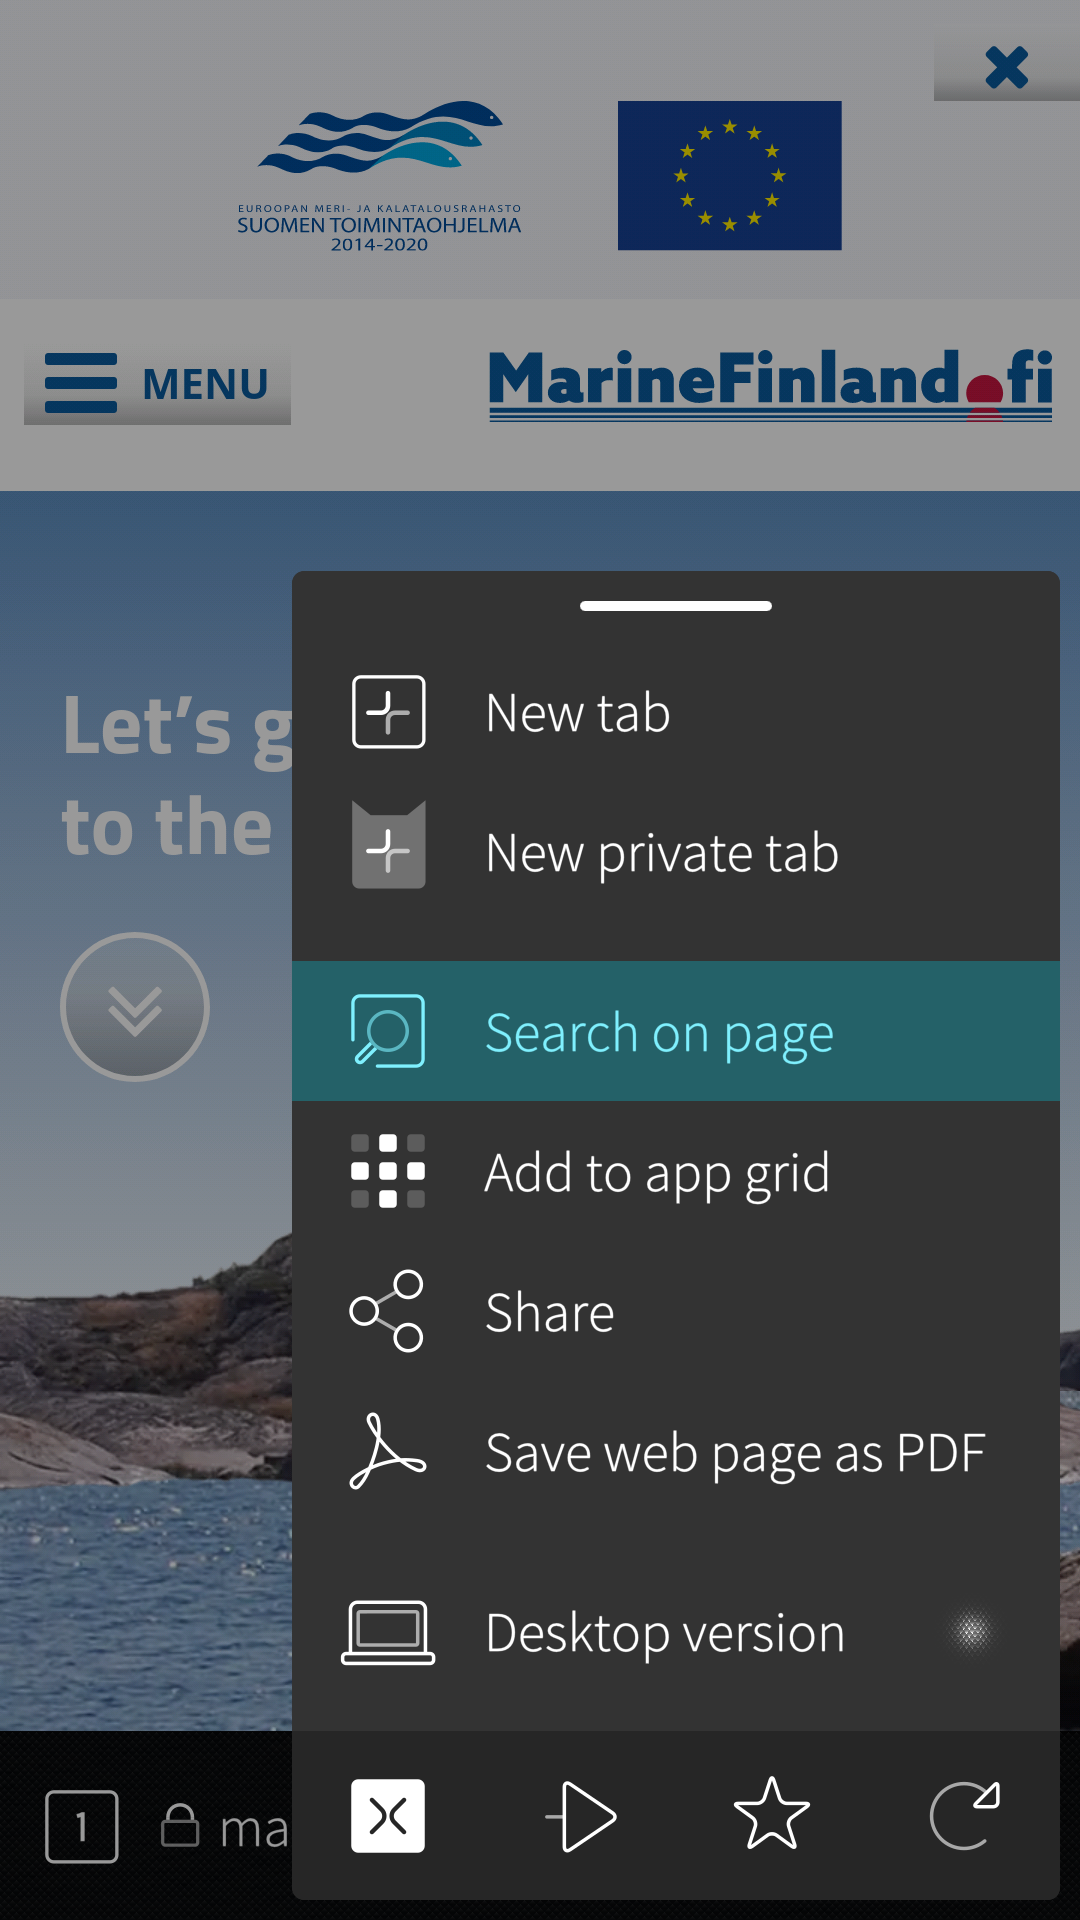 Pic 23: Use toolset to start search on open webpage
 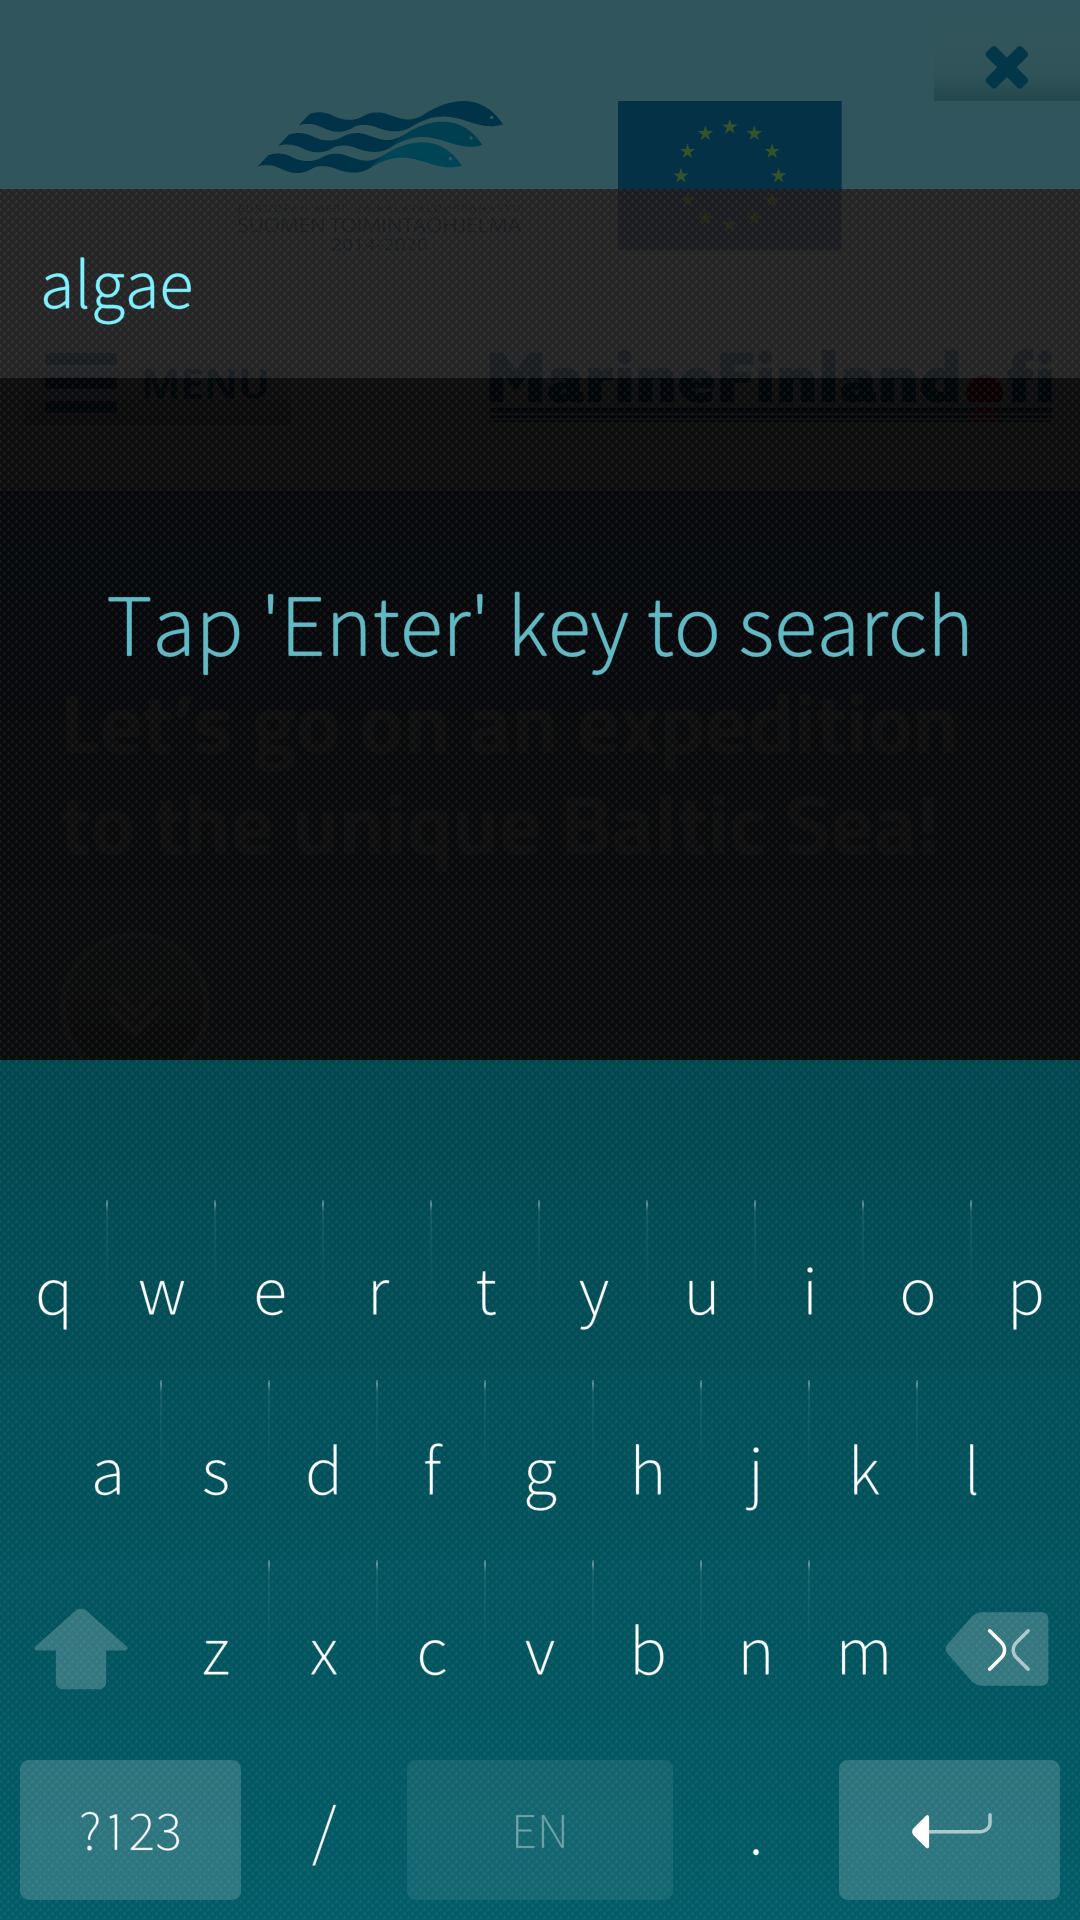 Pic 24: Typing keyword for search on this webpage
The searched keyword ‘algae’ was found on the currently open webpage - see Pic 25 below.
 Pic 25: Searched keyword found on page
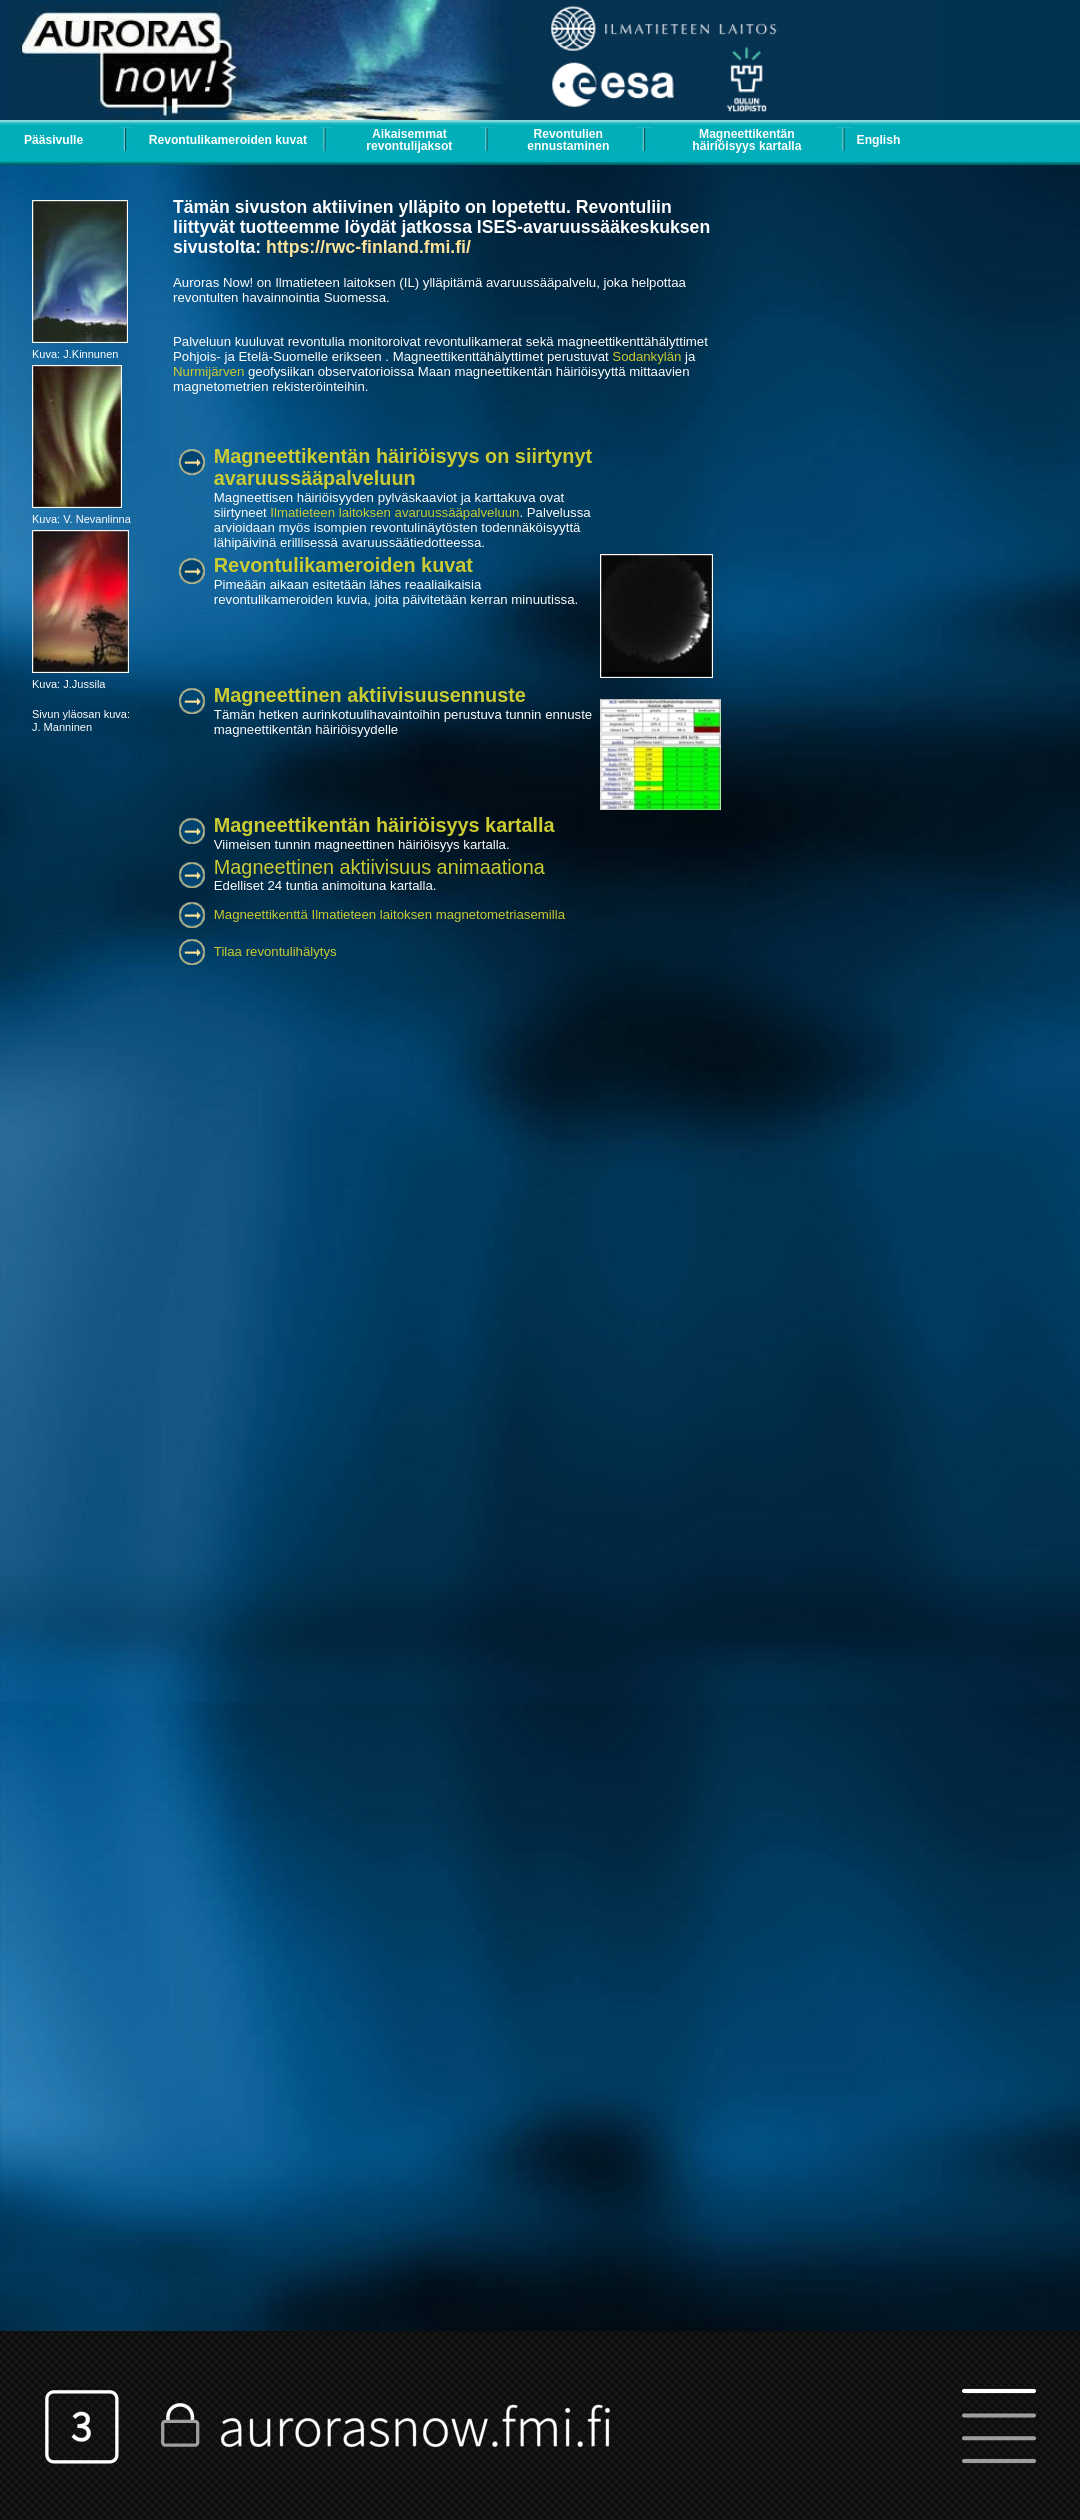
The active cover of the browser
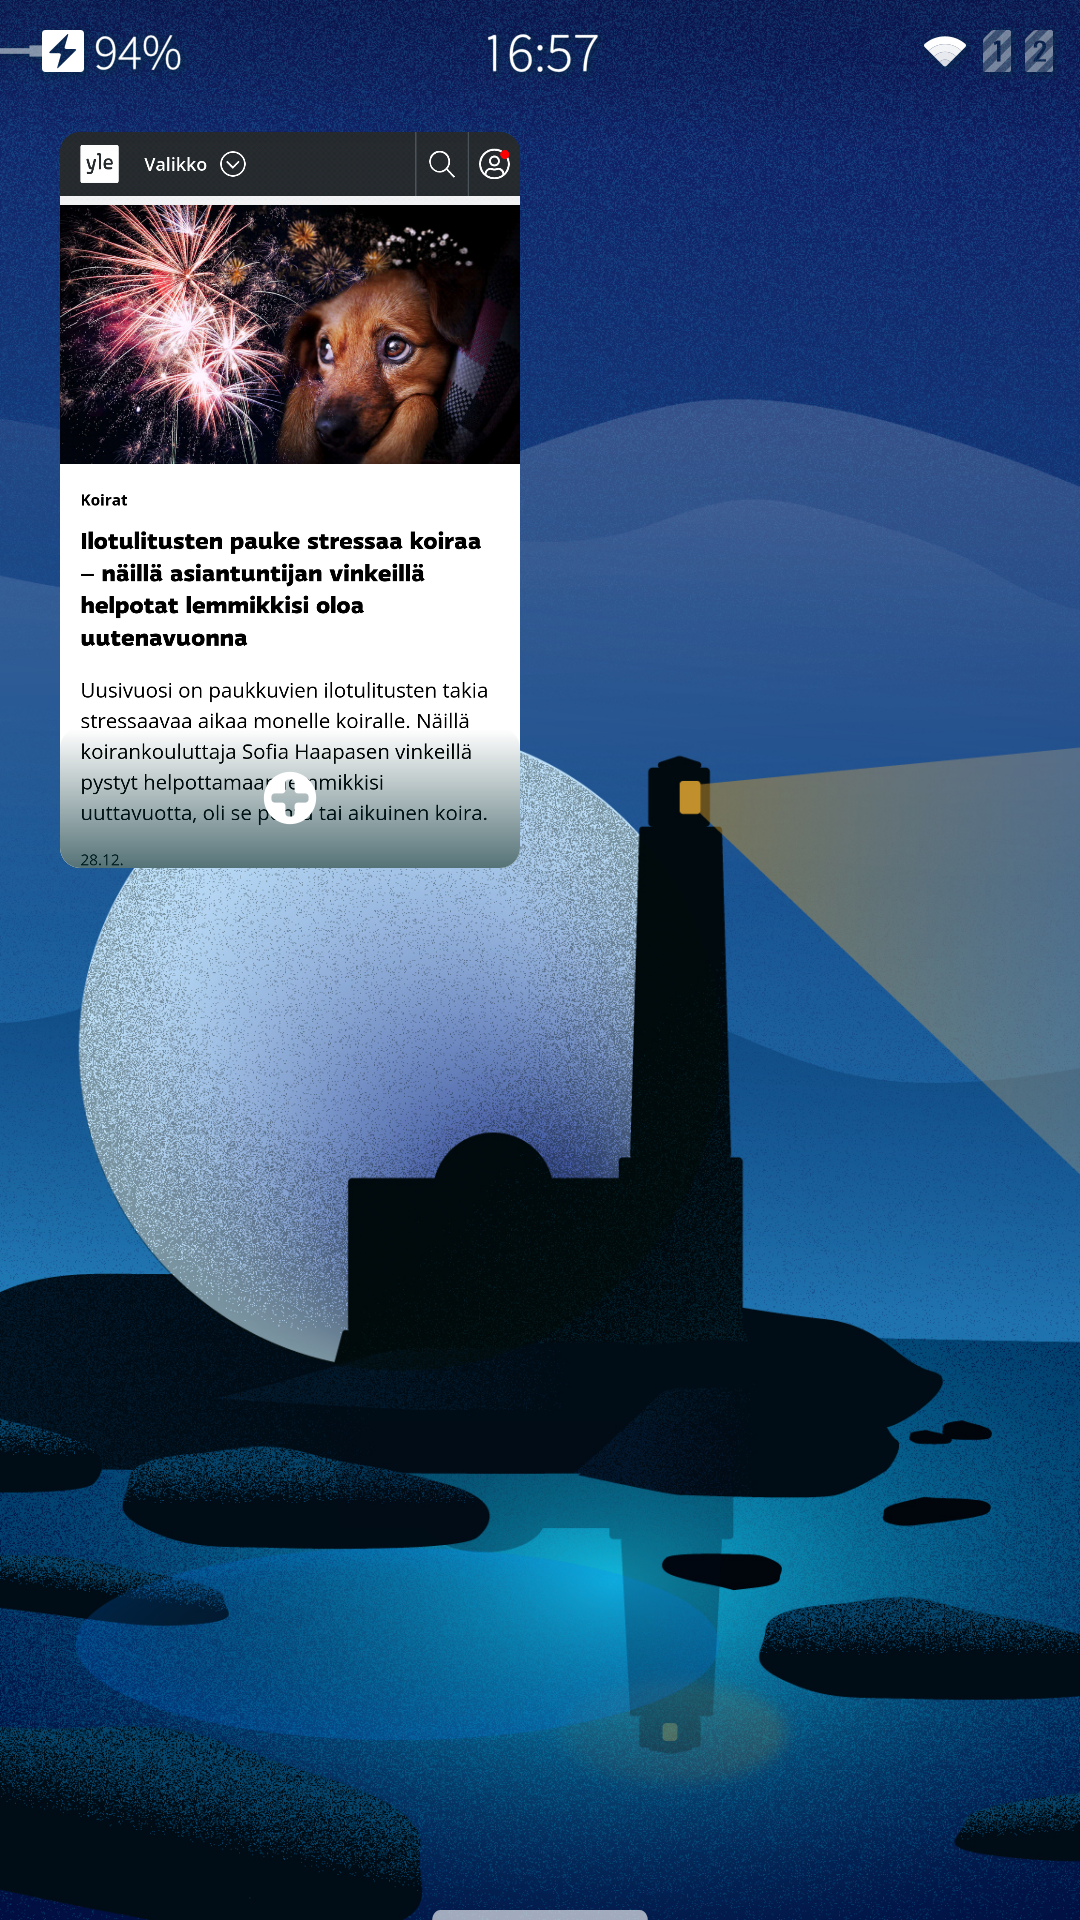
Like other apps, the Browser has an application cover (minimized view of an app on the Home Screen - see Home view). The cover reflects the web page just appearing in the Browser. There is a plus button on the cover, making it easy to add a new tab and start typing a new URL.
 Pic 26: An example of an active cover of the Browser app shown
Web browser settings, privacy and browsing history
Getting to the settings
There are two ways to access the Browser settings:
a) At the Browser toolbar, tap the “hamburger” button at the right end of the bar. The tools menu opens up. Push it upwards to see the last item of it, “Settings”. Tap it. See Pic 30.
b) Open the Settings app and select the Apps page at the top. Tap “Browser” in the grid of apps. The view of _Pic 31_appears. Tap “Settings”.
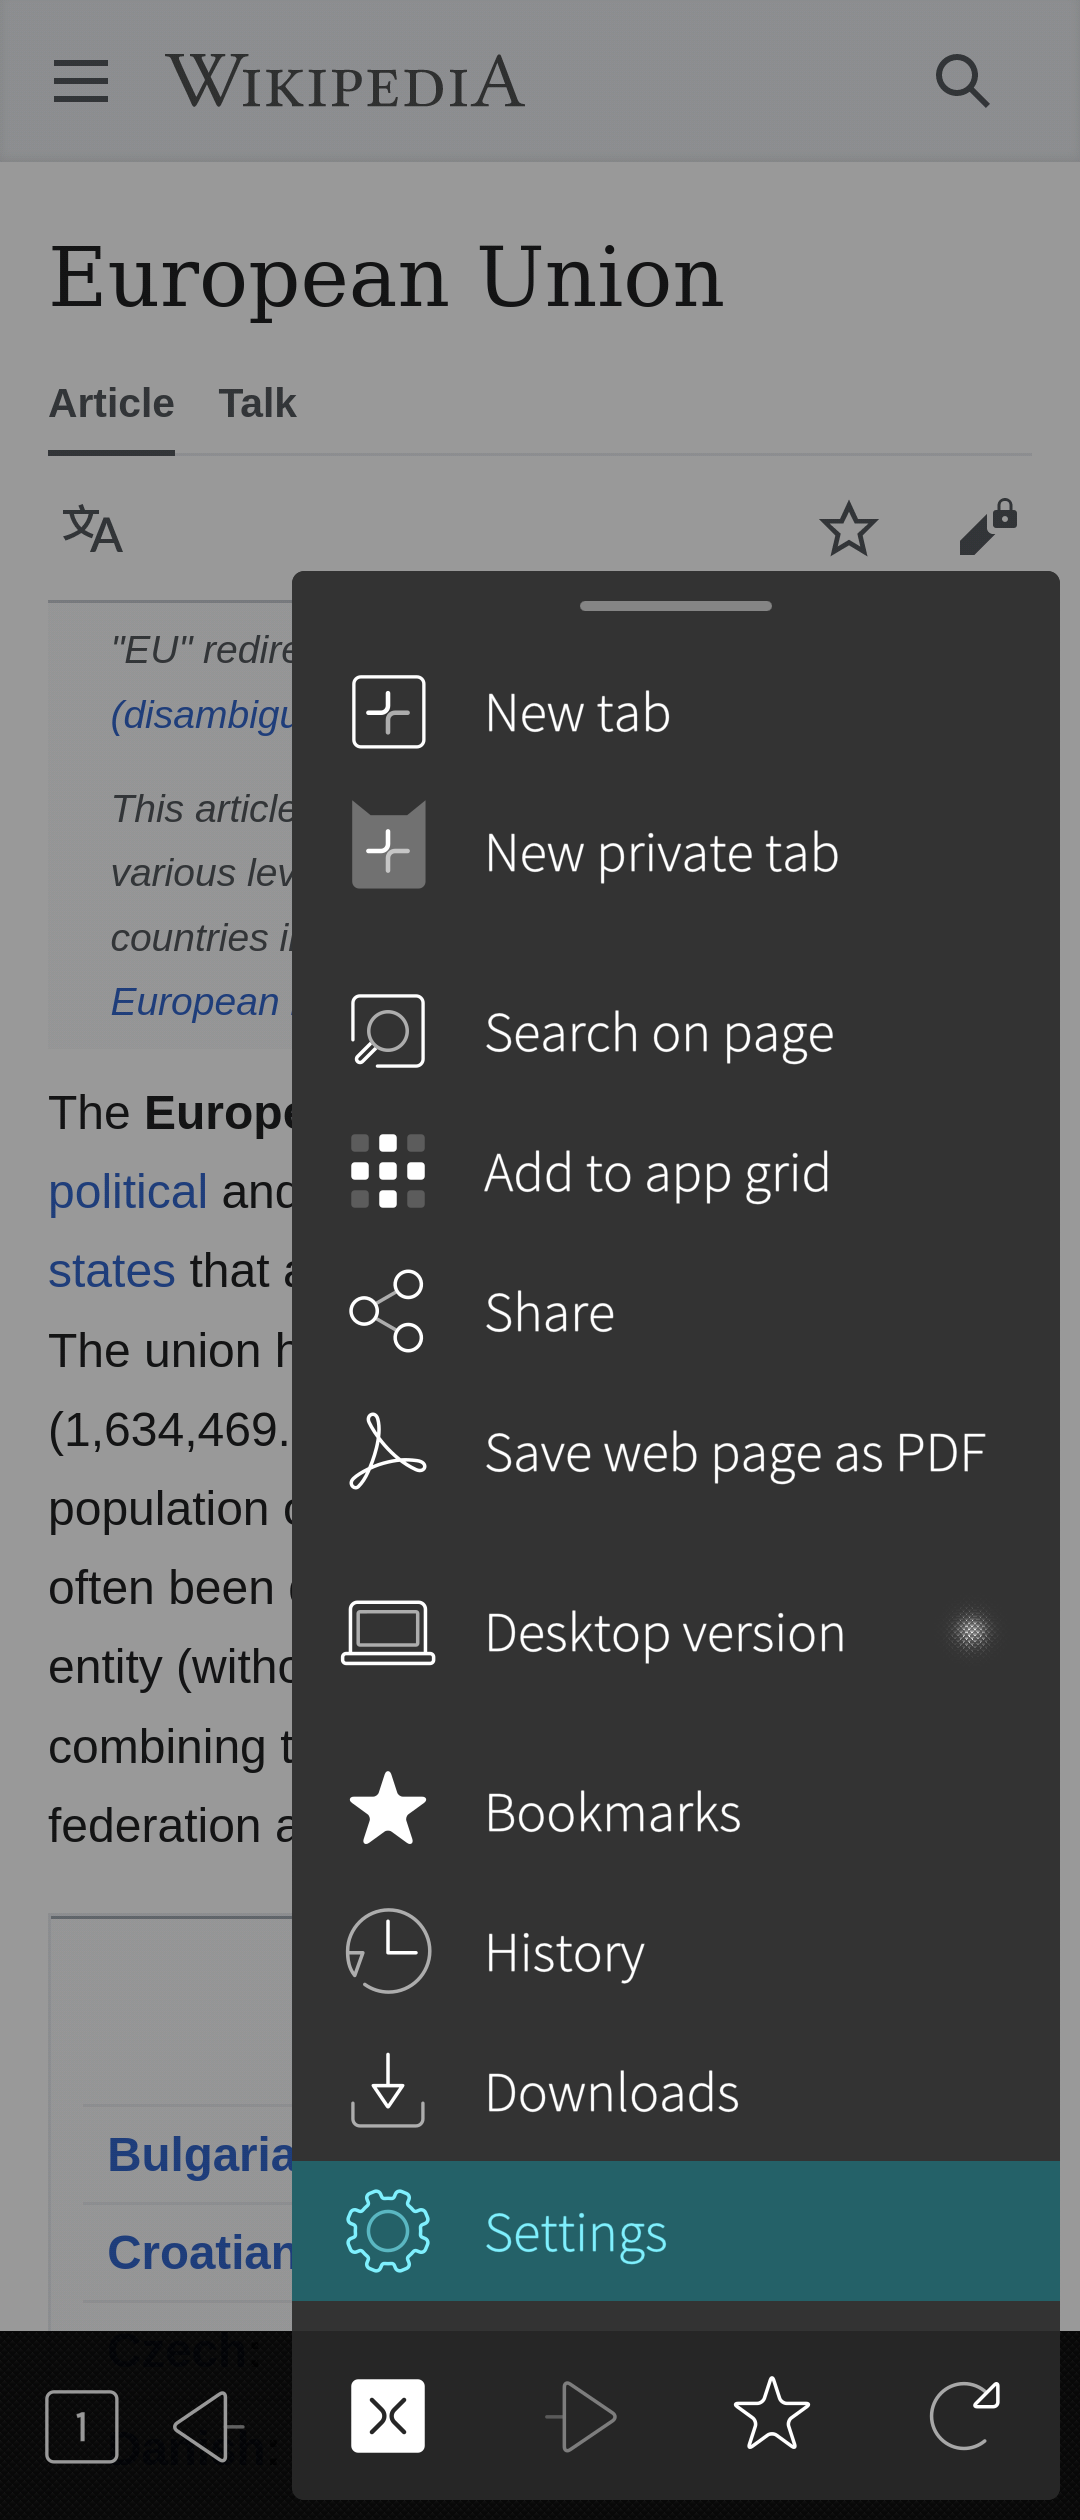 Pic 30: Entry to Settings at the end of toolset
 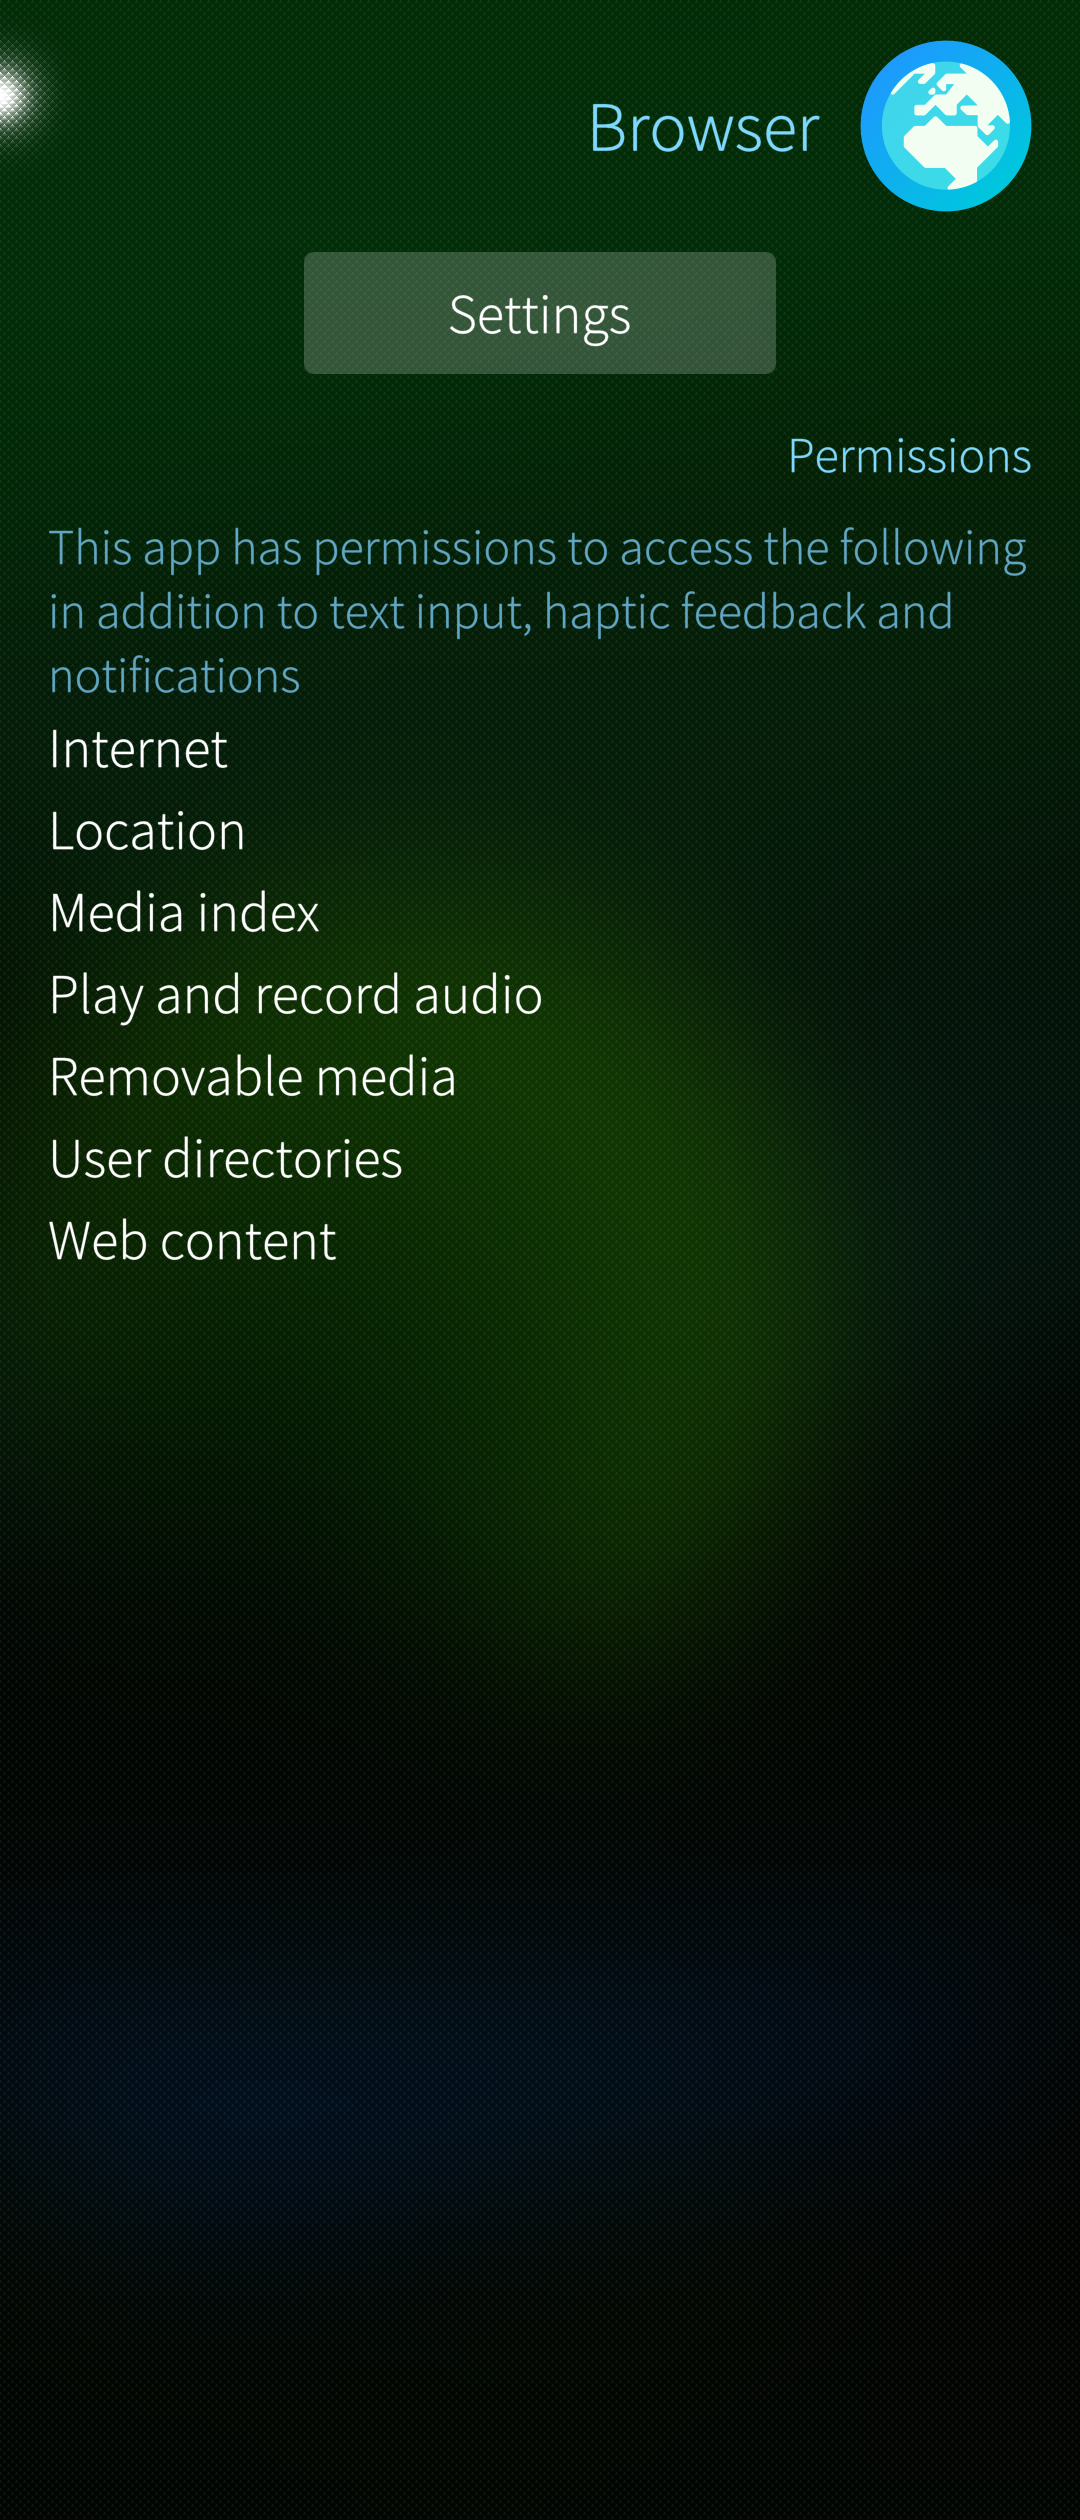 Pic 31: Settings > Apps > Browser
Pic 32 shows the Browser settings page with the default settings:
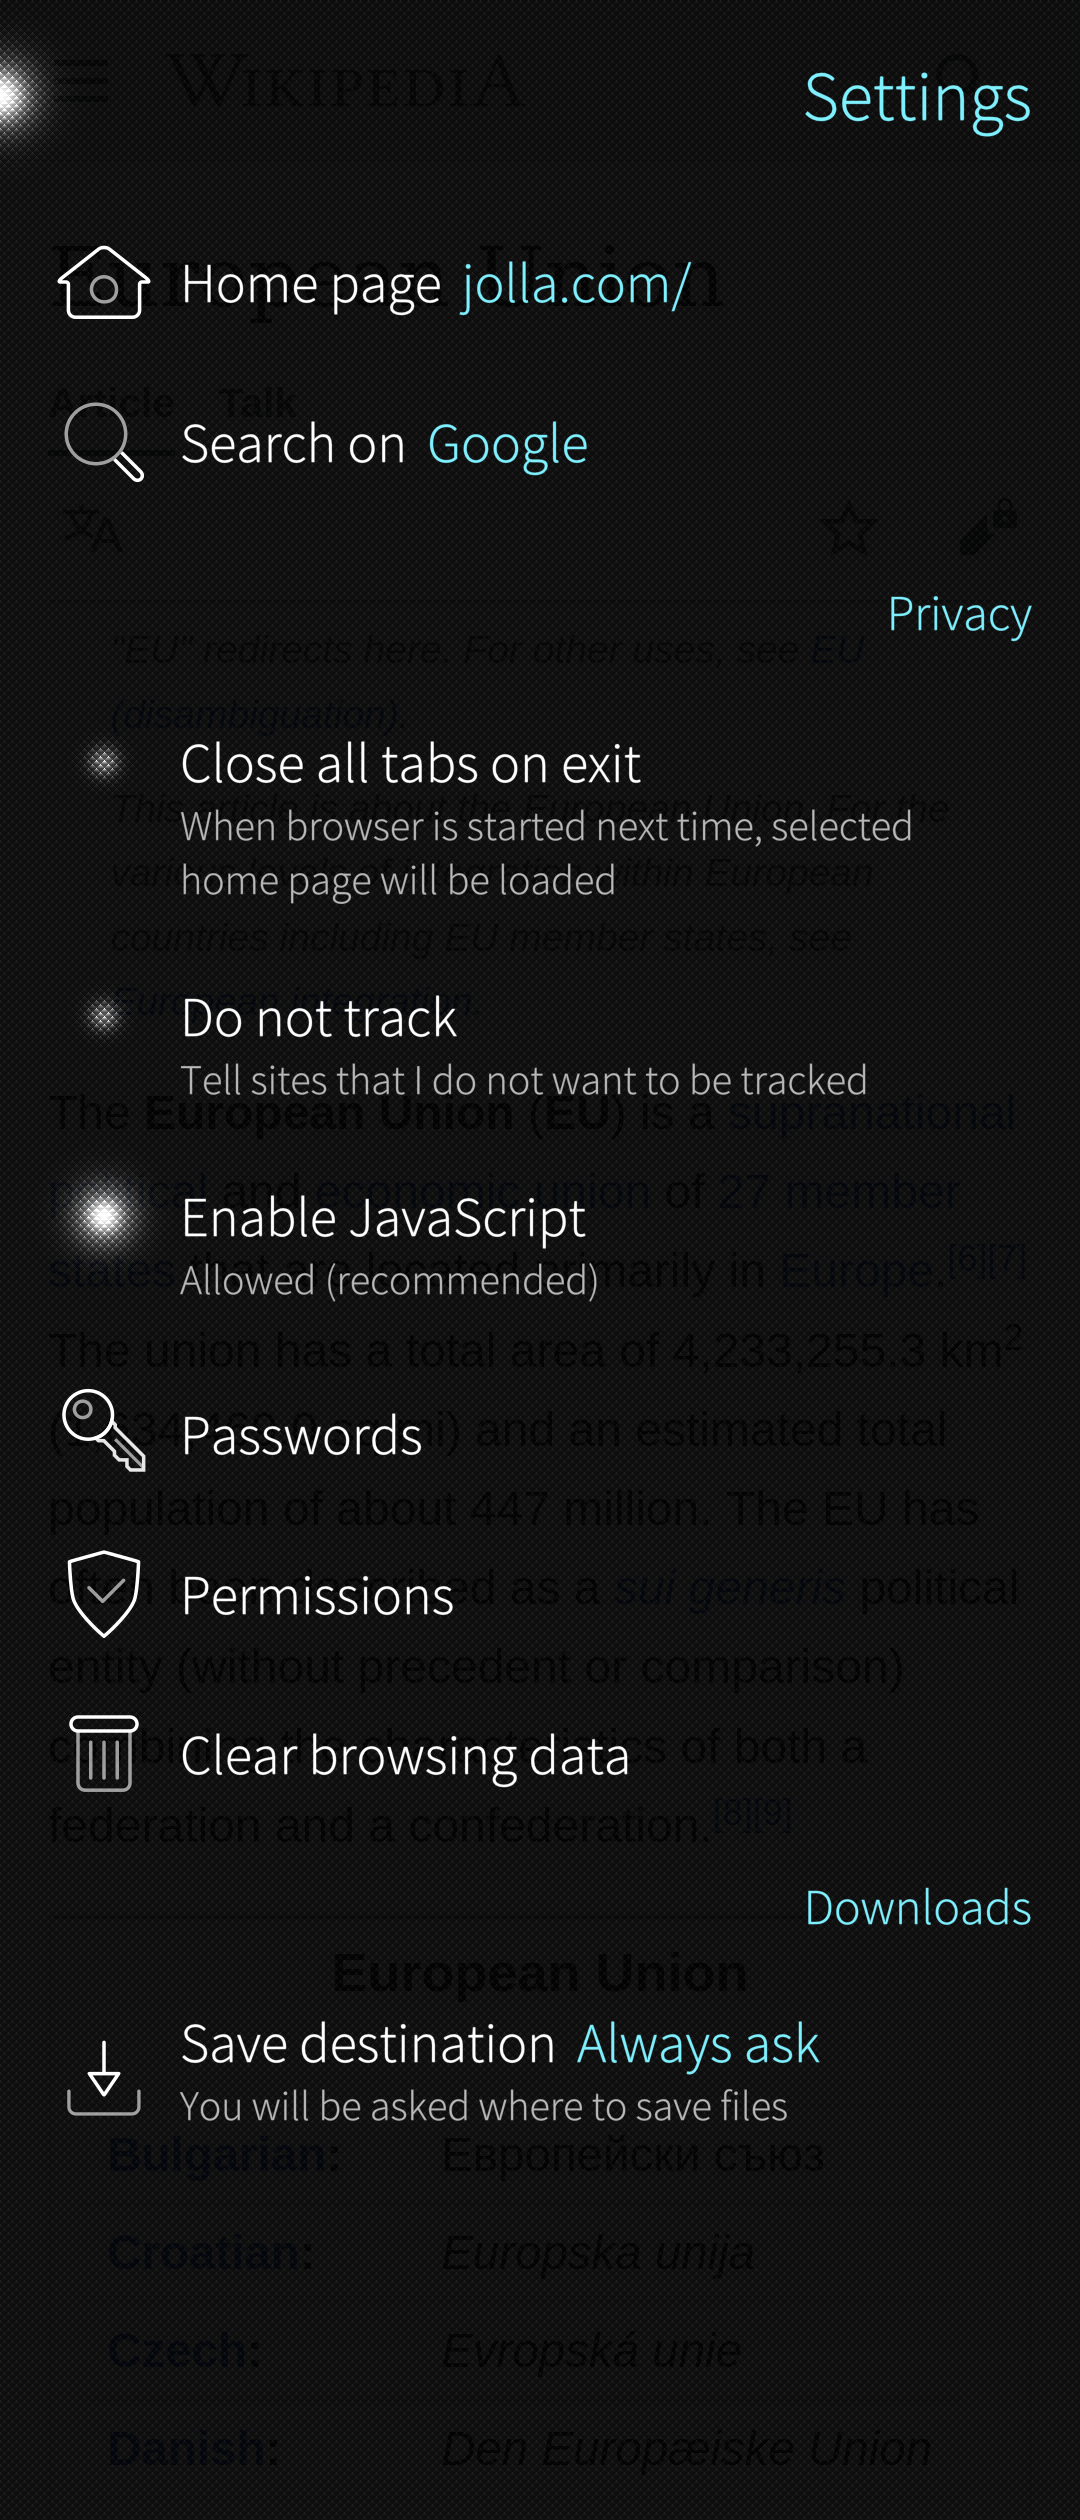 Pic 32: Default settings of the Browser
Configuring the default home page
Type in the URL of the web page to which you want your browser to launch by default. The browser takes you to your home page when you launch it if you have closed all browser tabs before closing the browser app the previous time.
Alternatively, you might decide to stick to the “Start view”. With this option, the Browser will open up to the view where you can type a web address (URL), tap a saved bookmark or use the browsing history to select the web page to view next.
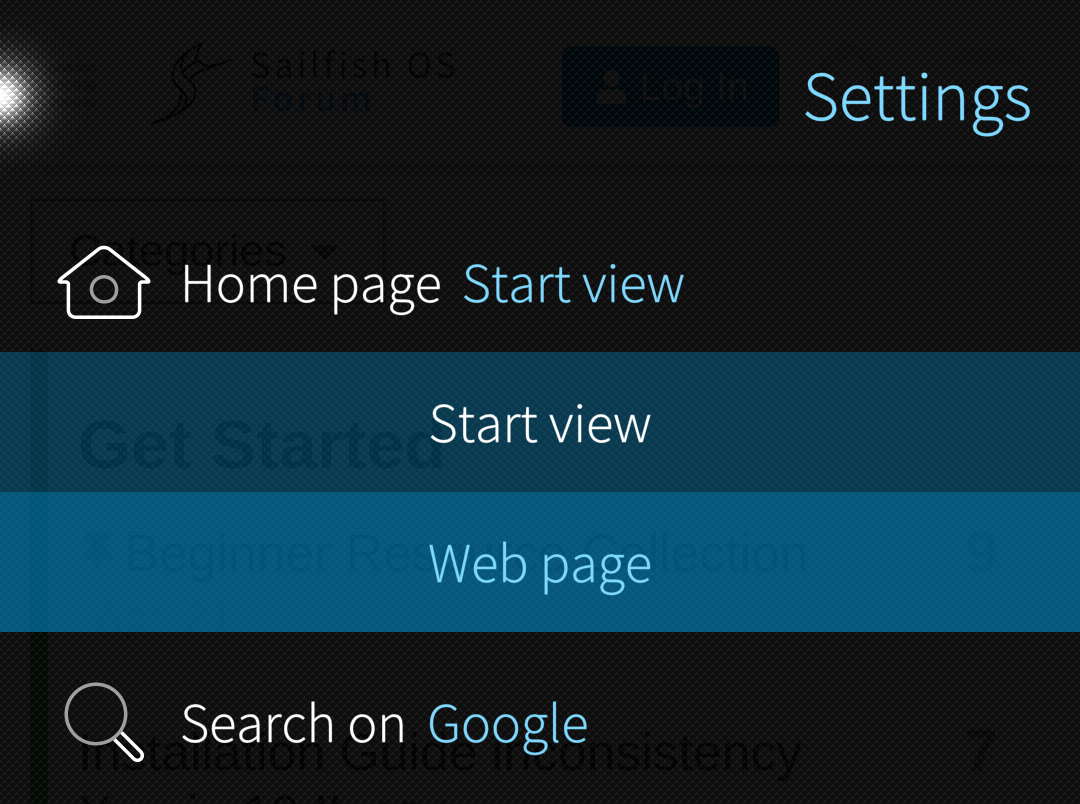 Pic 33: Setting the Home page
Configuring the default search engine
At the “Search on” item, you can determine the default search engine. To search using these search engines, you only need to type your search words into the address bar of the Sailfish browser.
Note that it is possible to configure the search to happen at one specific website only, for instance, at Sailfish OS Forum only (see the last item of the picture below).
 Pic 34: Setting the Search engine
Configuring privacy and deleting history
In the section of Privacy settings, there are the following options:
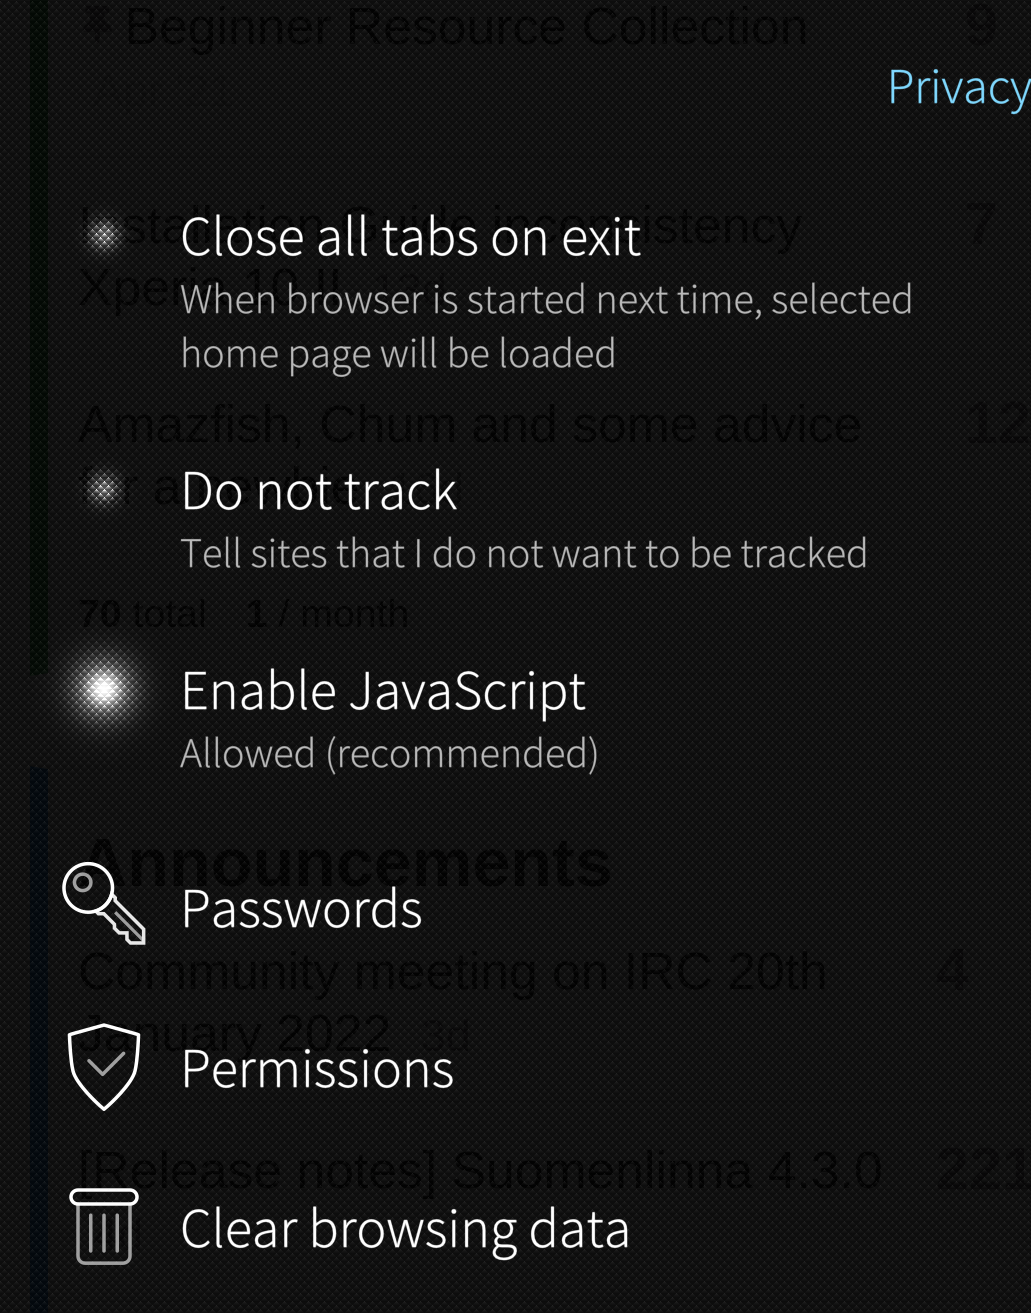 Pic 35: Setting the privacy
Close all tabs on exit
With this option, all tabs are closed when you close the Browser app. When you open the app the next time, it will either show the home page set by view or the Start view.
Do not track
When activated, this option adds a “Do not track” signal to your Browser’s header, telling other websites that you don’t want their tracking cookies. Many websites have refused to honour it, though.
Enable JavaScript
Many web pages have been implemented (partly or fully) with JavaScript programming language. We recommend keeping this option enabled, i.e., allowing the execution of JavaScript on the visited pages, or else those pages may not work as intended.
Passwords
Sailfish Browser keeps the website passwords saved by you here. You can check them, edit them or delete them.
Permissions
Under Permissions, one can decide what resources the Browser app is allowed to use, even depending on the website.
For some resources (e.g. microphone), there can be site-dependent exceptions. For some others (e.g. cookies), it is possible to allow or block them and to set exceptions.
 Pic 36: Viewing permission settings
 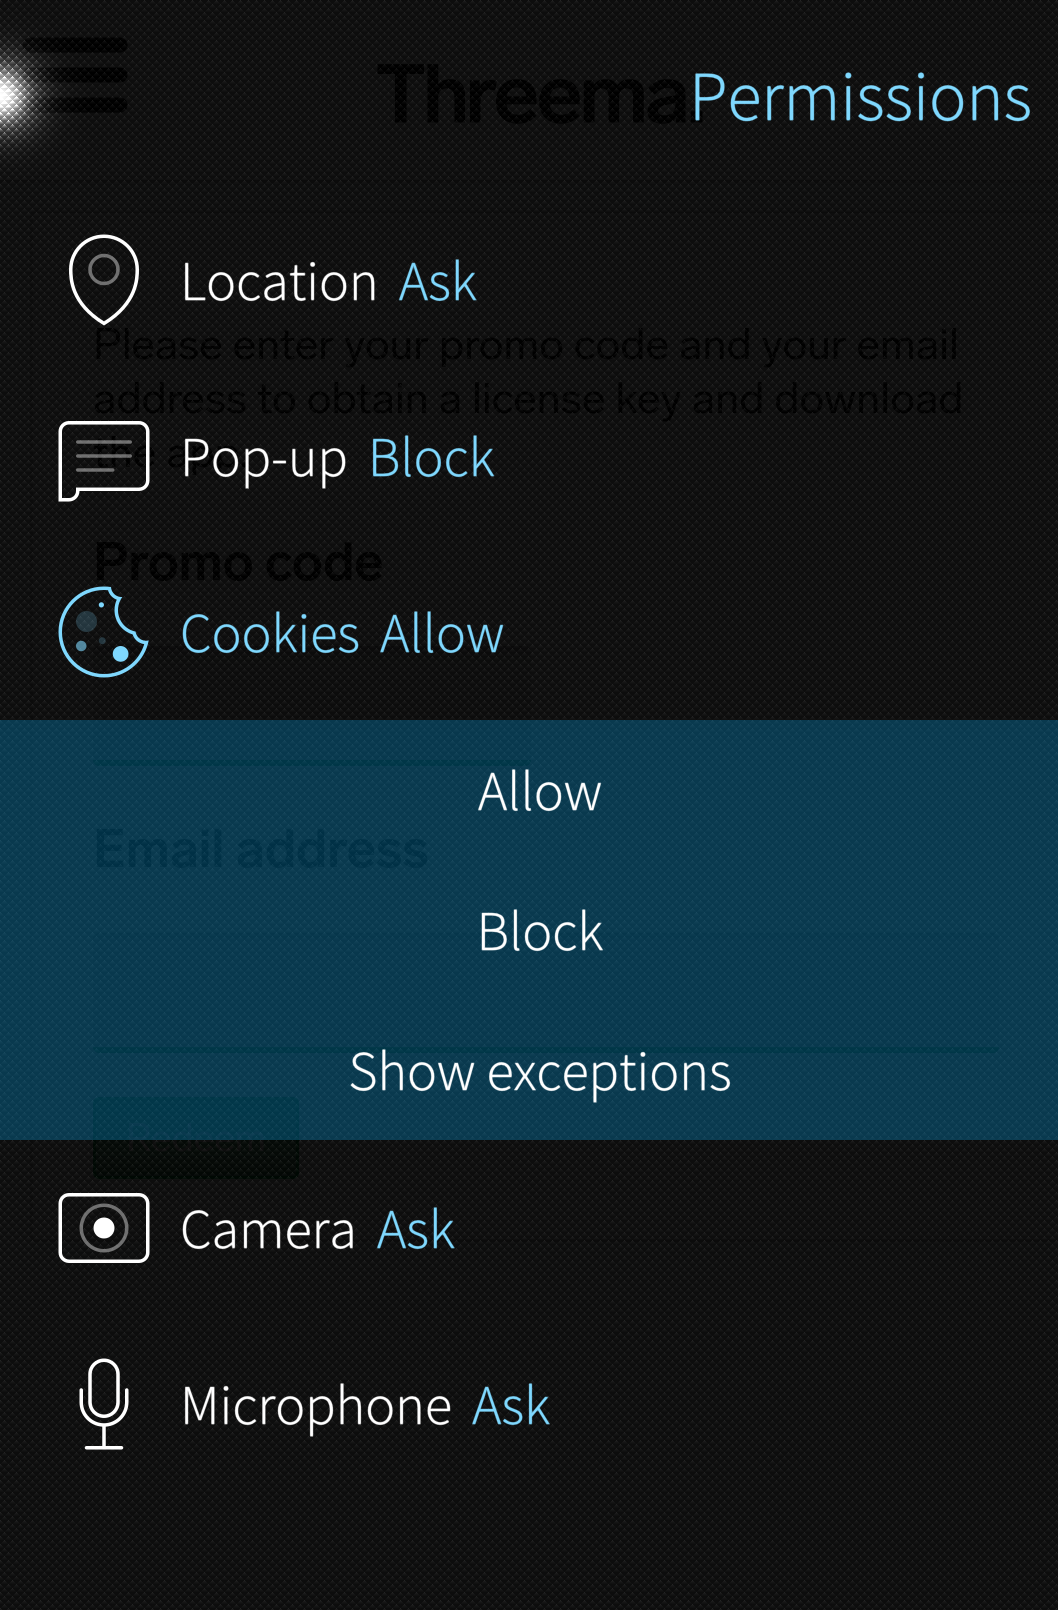 Pic 37: Setting Cookies
Clearing browsing data
When you browse the web, some files and information are stored on your device to ensure for example the functioning of some website features, and to save you from typing the addresses of pages you visit often.
Under the heading “Clear private data”, you can choose which data and from how long a period is to be cleared. Commit the action by pressing the “Clear” button at the bottom of the screen (Pic 38).
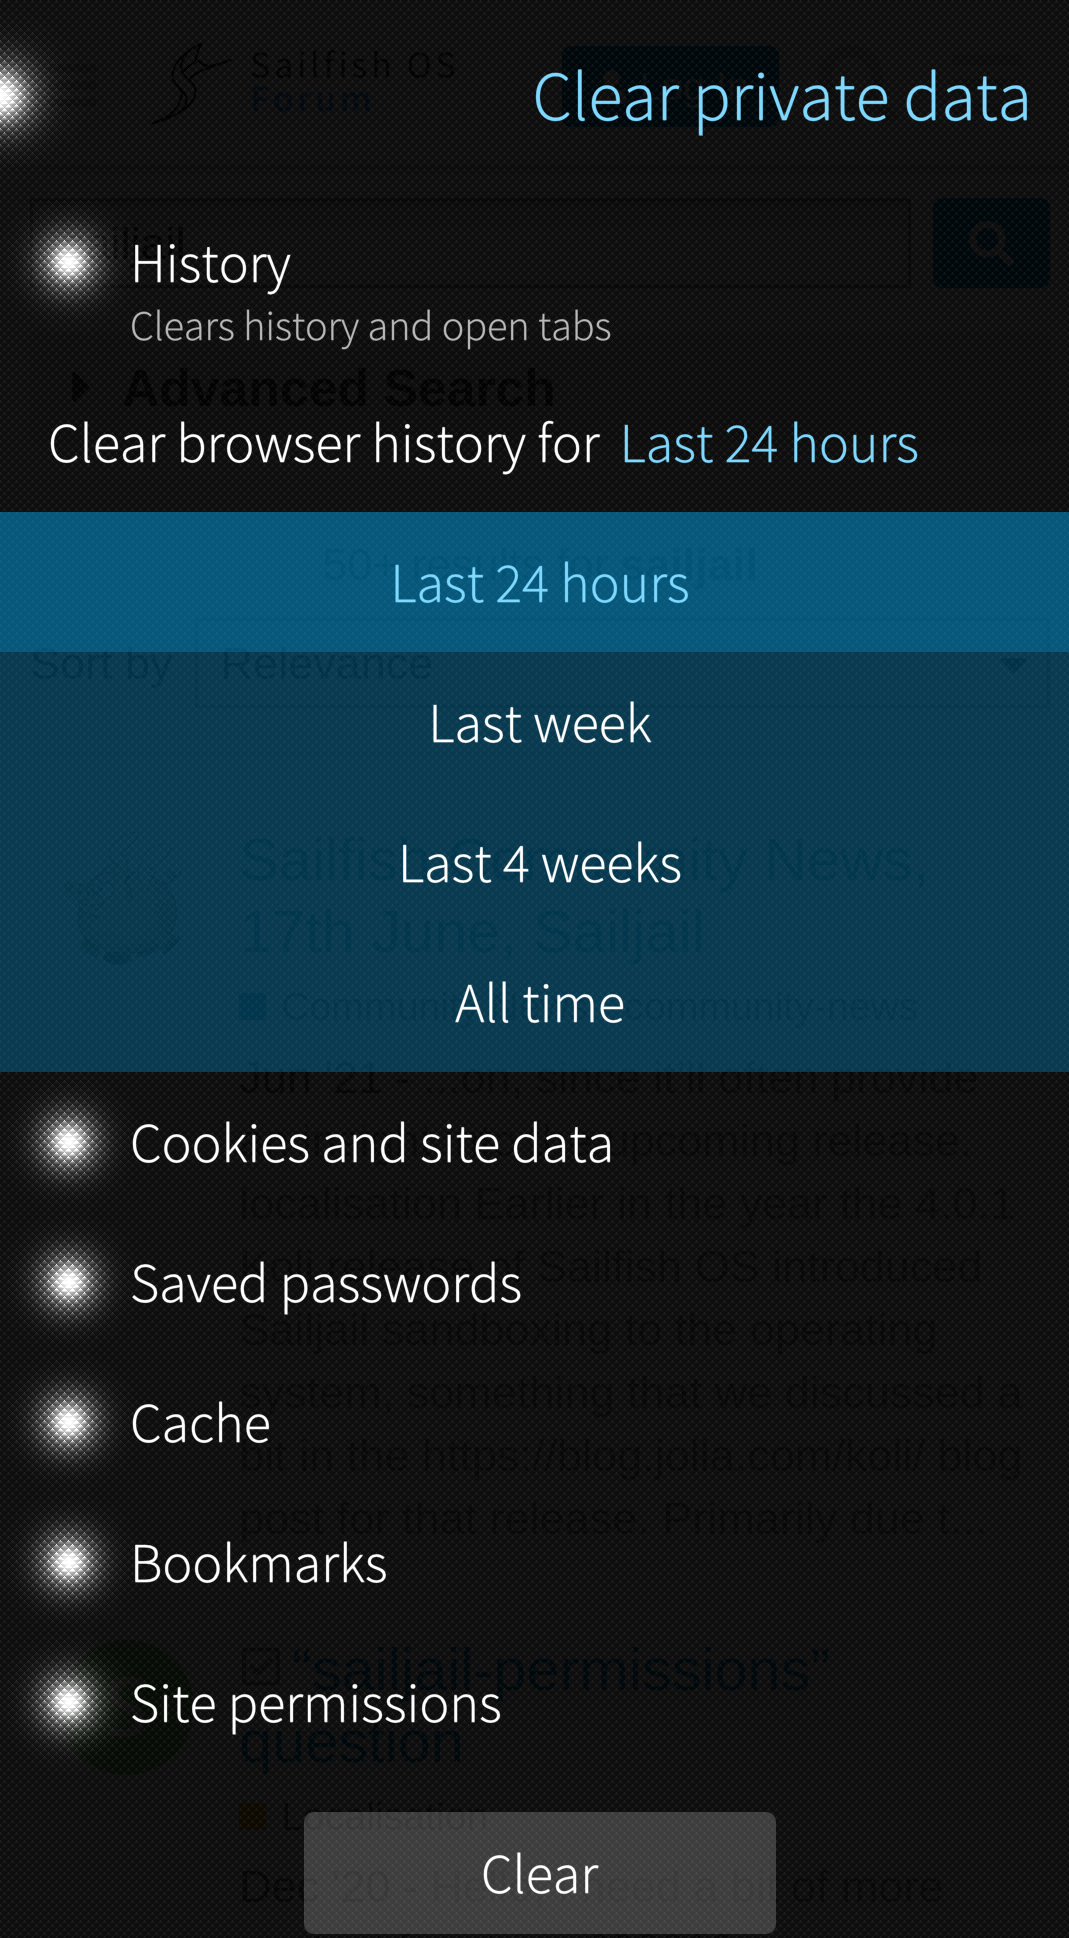 Pic 38: Settings and actions for clearing private data
After you press the “Clear” button at the end of this page, the confirmation dialogue (see below) is presented. After tapping “Clear” at the top right corner, the data are cleared for good. The deleting process is irreversible.
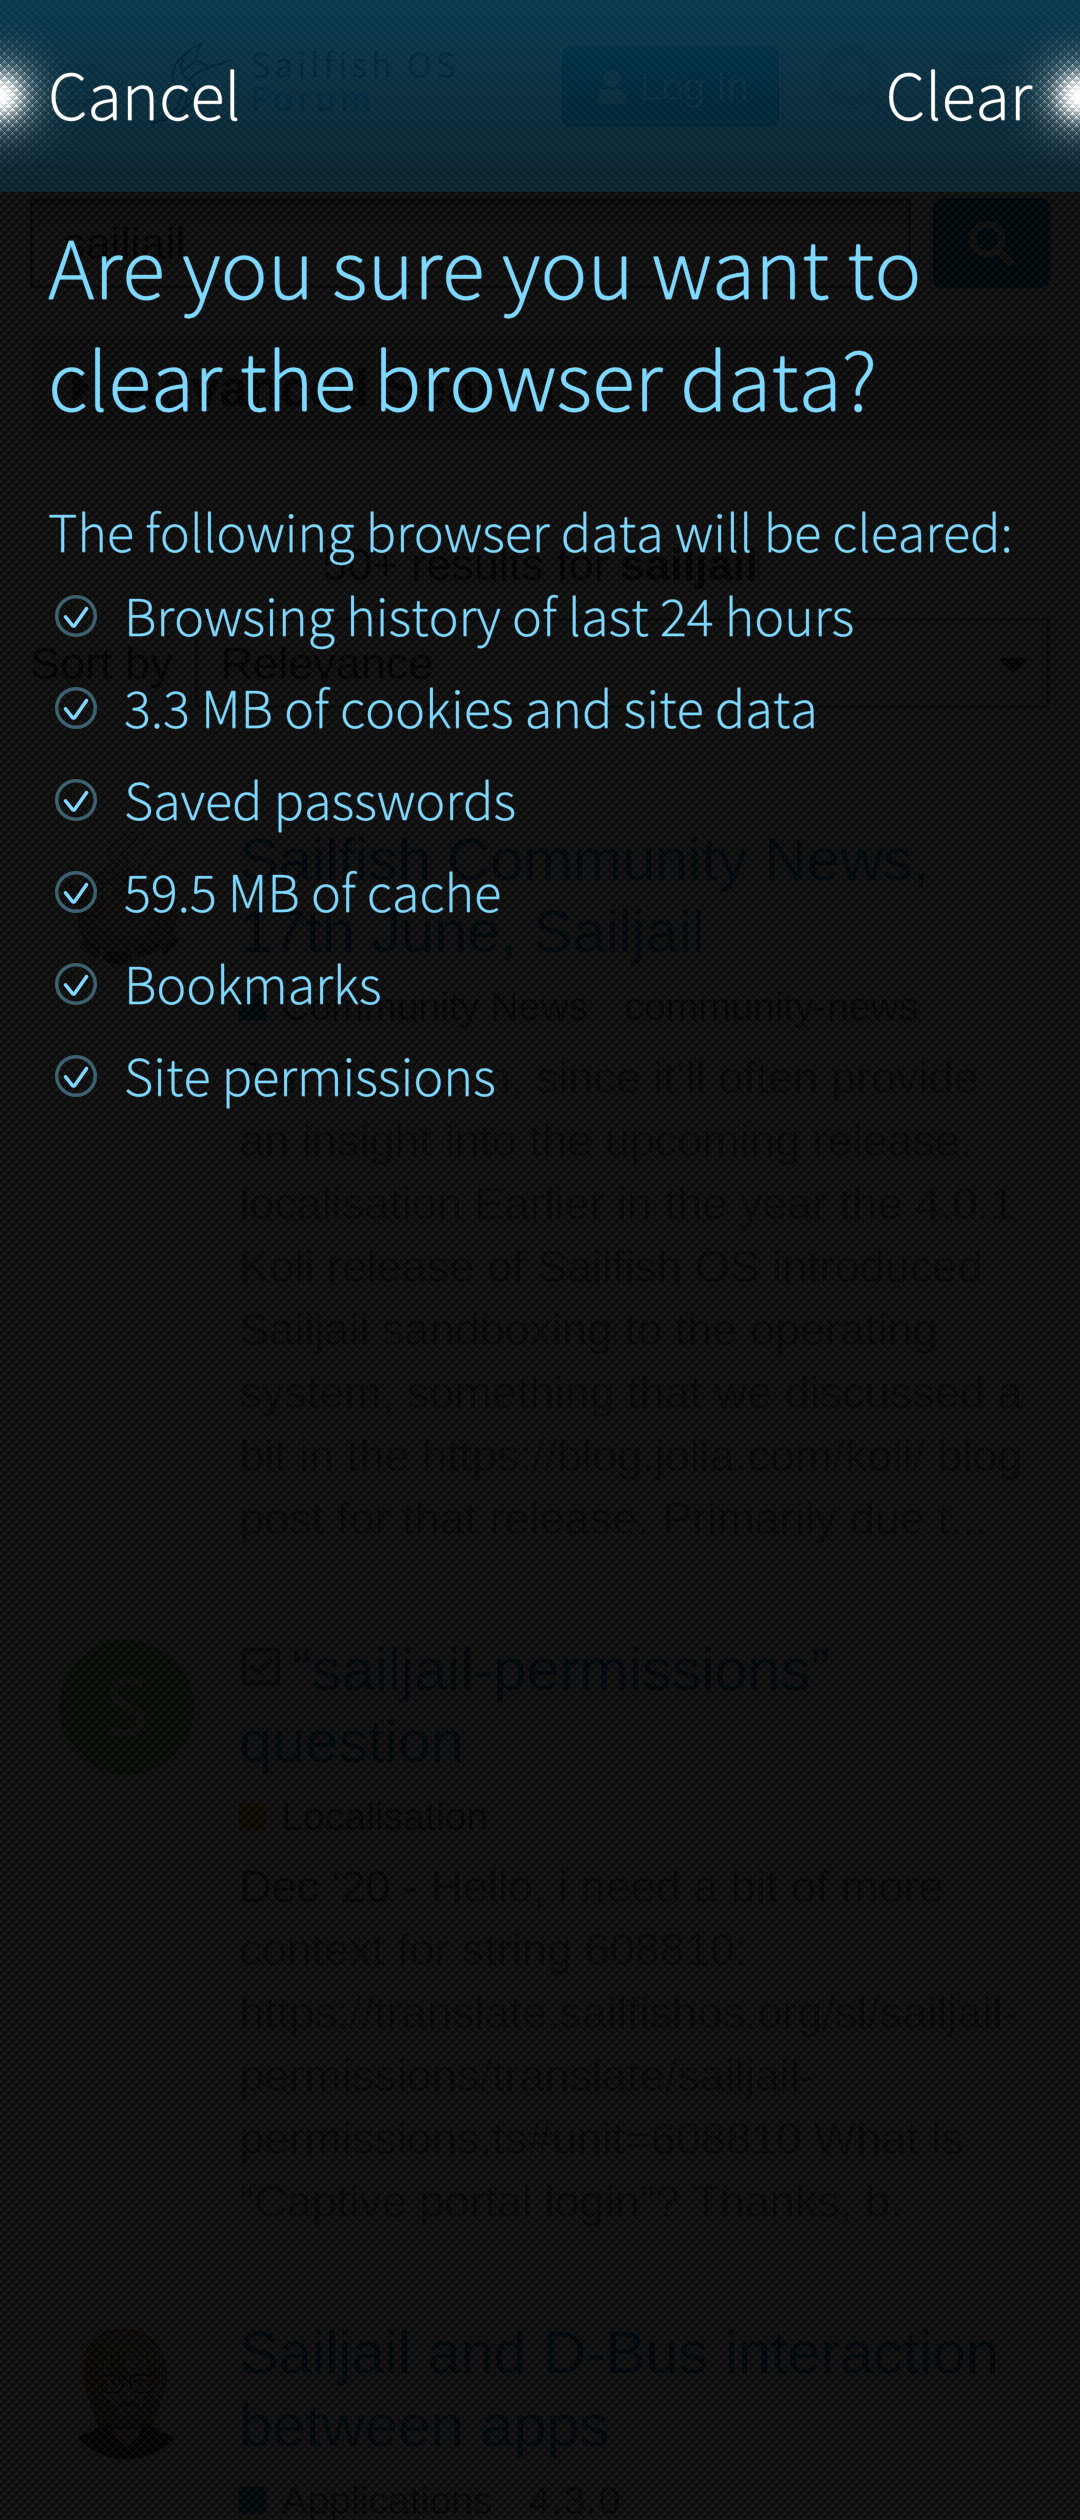 Pic 39: Confirmation for clearing private data
Destination of downloads
The last item of the settings is for selecting how to deal with the files to be downloaded by the Browser. There are two options, either let the Browser always ask for the destination before starting the download, or select the folder you want to keep using for the downloads (Pic 40).
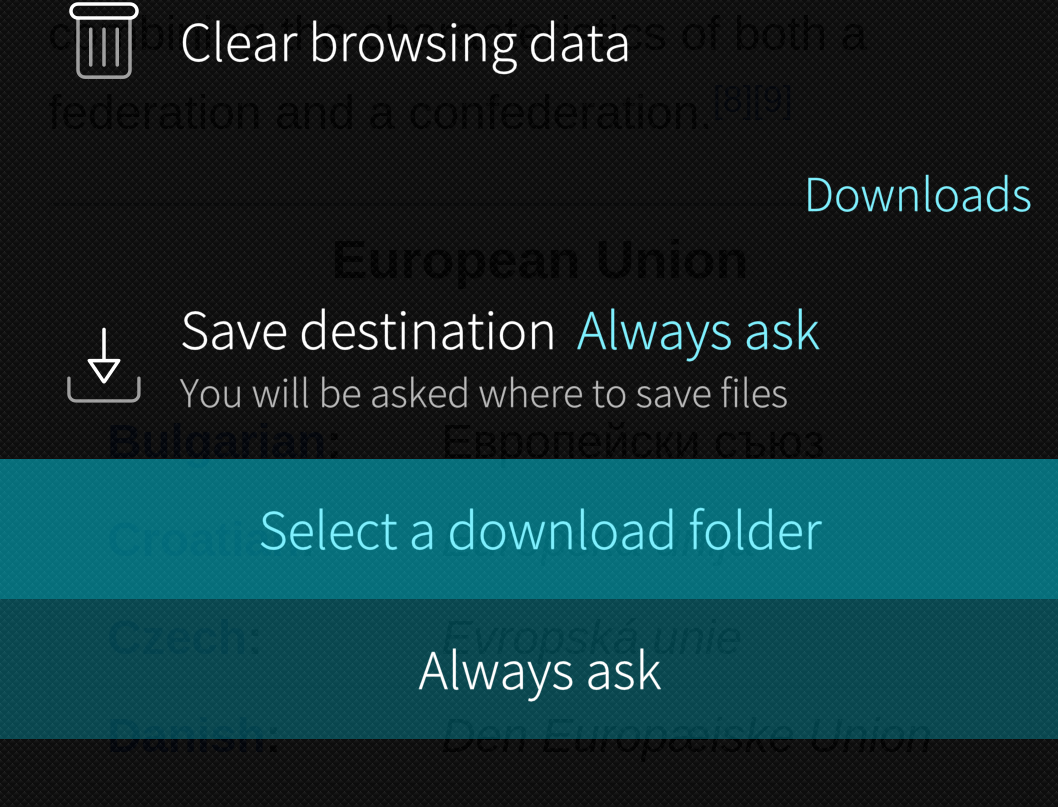 Pic 40: Settings for downloads. Start selecting the folder
In the latter case, use the “Select a download folder” option (Pic 41) and keep tapping the folder path until you are in the correct folder. Confirm the selection by tapping the “Download to” button at the top right corner (Pic 41).
Pic 42 shows how the Downloads folder in the device storage was selected for the Browser downloads.
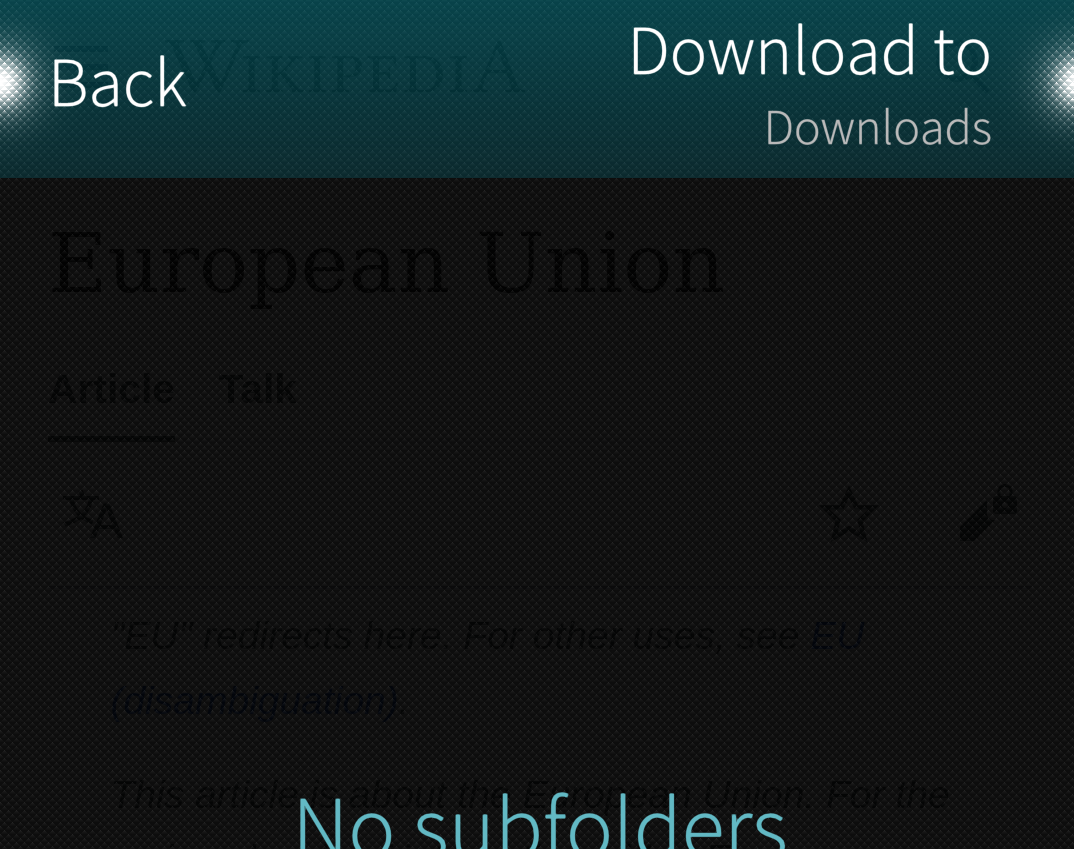 Pic 41: Download folder selected
 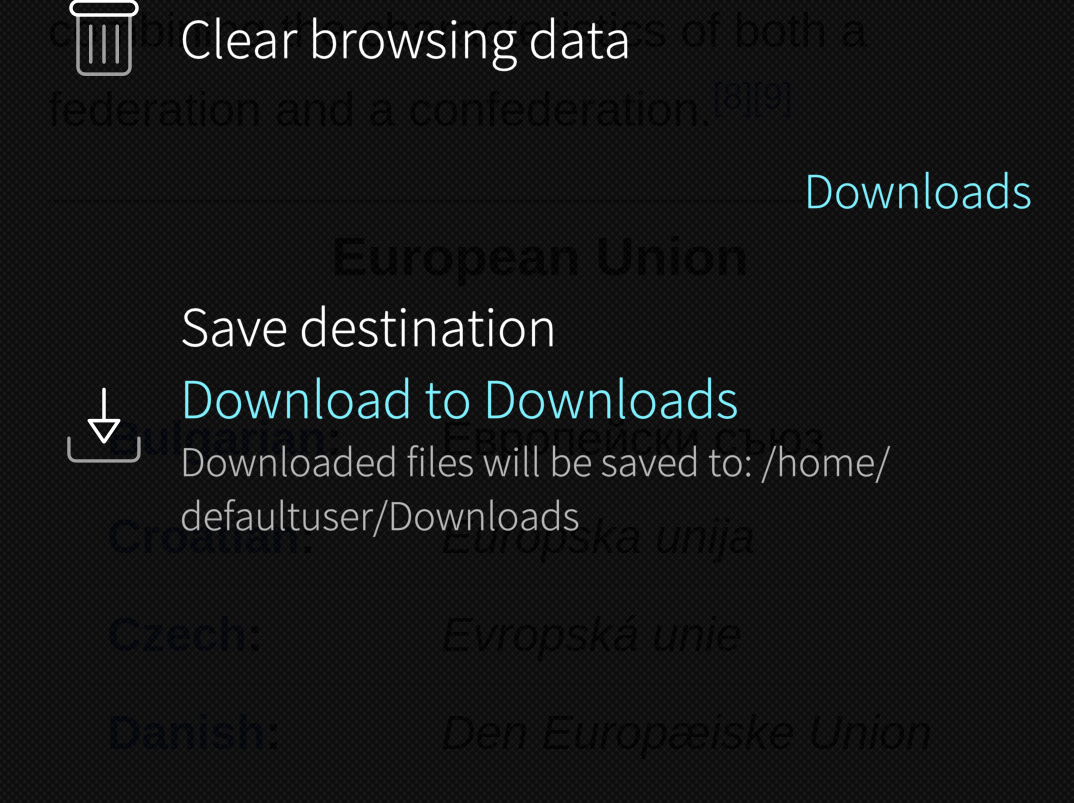 Pic 42: Download setting ready
Resetting the Browser
The following procedure will reset the Browser if it should misbehave in a weird way. The saved passwords will be lost but the browsing history and bookmarks remain.
- Close the Browser app
- Enable the Developer mode (if not done previously)
- Open the Terminal app
- Give the following commands:
cd $HOME
devel-su     ## SSH password needed here

rm -r .local/share/org.sailfishos/browser/.mozilla/
rm .local/share/org.sailfishos/browser/__PREFS_WRITTEN__

## Note: there are 2 underscore characters before and after "PREFS_WRITTEN"
Restart the device. Open the Browser and check that it works.