
Contents
This article will help you get the most out of the Email application. It instructs general use and provides some hints and tips.
Email accounts
To begin reading emails on your device you must first add your email account(s) to the device.
This is done in “Settings > Accounts”. Tap the “+ Add account” button to see the list of accounts supported by Sailfish OS. Configure those that you need on your device.
Email account types
Sailfish supports IMAP, POP and Microsoft’s Exchange email accounts.
IMAP and POP accounts are email accounts that you can generally also access via your browser i.e. via Webmail. Such email accounts are referred to as “General email“ in Settings:
You can also add Microsoft Exchange and Google email accounts to your Sailfish device.
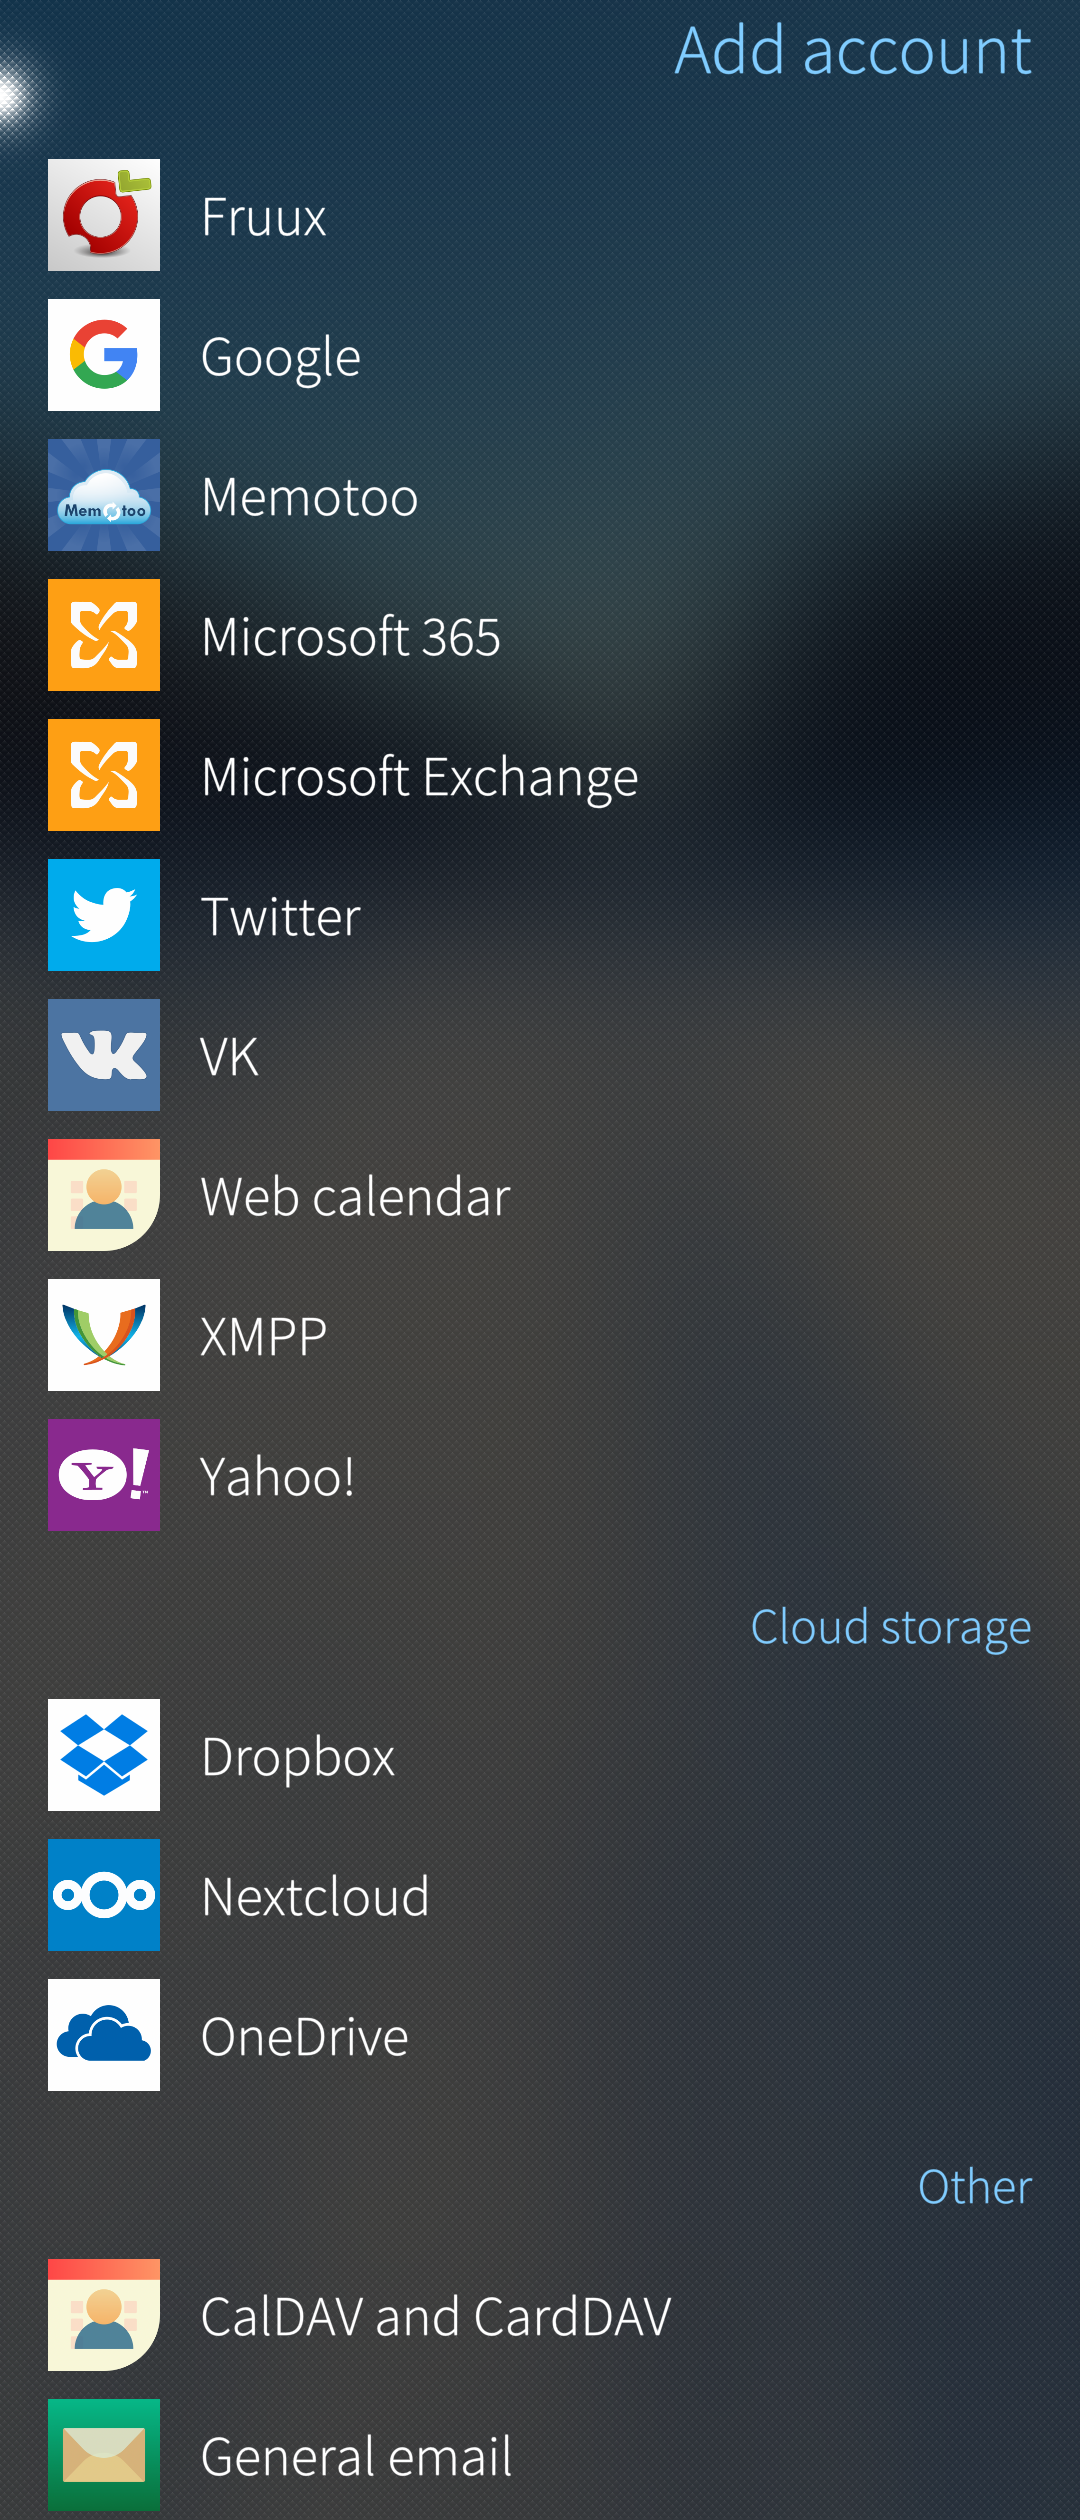 Pic 1: Choice of accounts
For help with installing Exchange accounts, please see here.
For help with installing General Email accounts, please see here.
For help with installing Google accounts, please see here.
Receiving emails
Your Sailfish device will receive incoming email messages according to the synchronization settings of your email accounts in “Settings > Accounts”. Look for the “Sync schedule” in the relevant one of these documents.
It is possible to get all new messages at once with a manual sync, too. This is done by using the “Update” command of the pulley menu of an inbox (see Pic 4 below).
Tip: If you have a Google and/or Exchange account configured with your device, updating your email can also sync the contacts and the calendar related to these accounts.
App status
There are two ways to check the staus of your emails and of the Email app. One is to use the “Unified inbox” explained in chapter “Reading email” below. The other way is to glance the Cover 1 of the Email app. When you minimize applications you will see them as “cards” on your Home screen. They are called Covers. The Email app’s Cover provides you with a way to quickly refresh all your email accounts.
Below is a zoom-in series of using Email Cover to update all accounts:
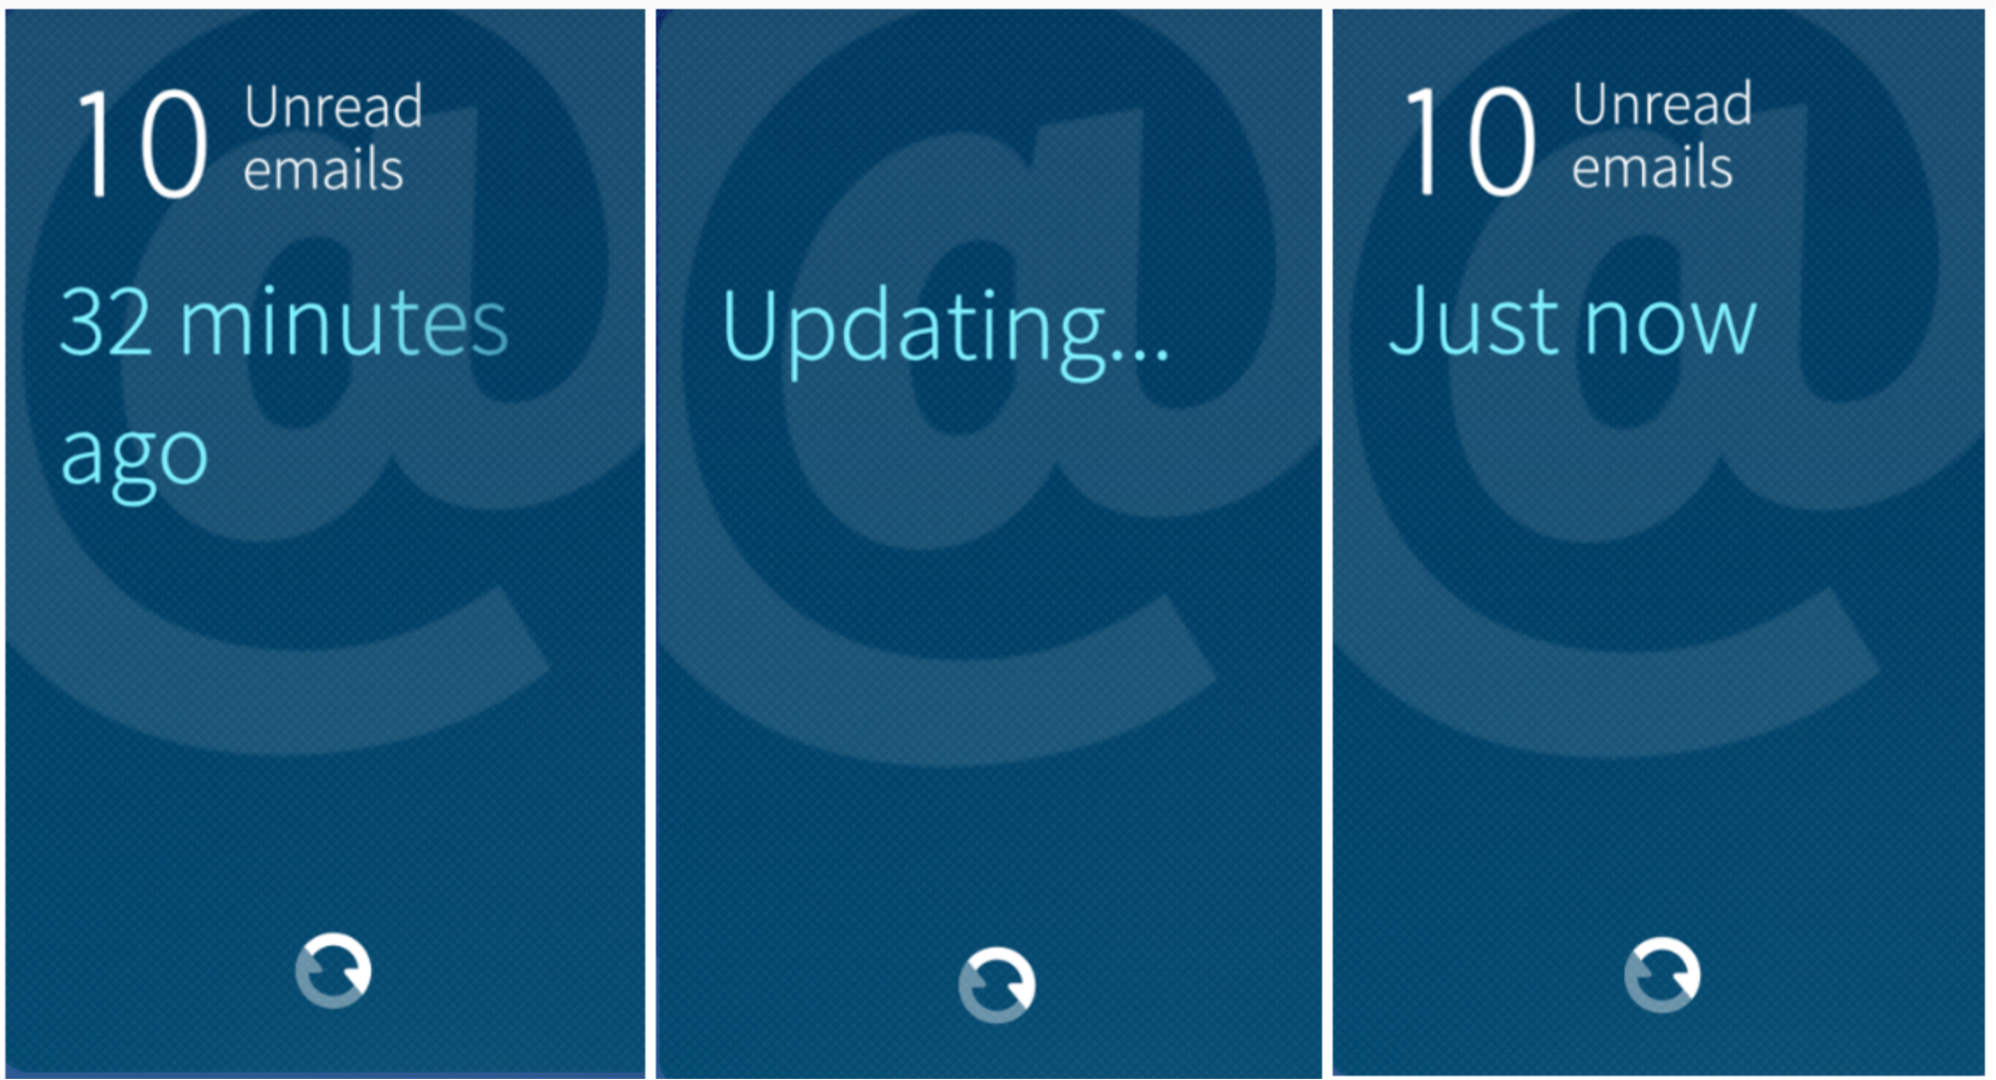 Pic 2: Using Email Cover to update accounts
Simply tap on the “Update” icon (at the lower part of the Cover) to refresh all your accounts.
Email Cover status
Just now: a check for new emails just occurred.
Up-to-date: a check recently occurred, but there were no new emails.
Updates X ago: the last time new emails were sought after was X time ago.
Problem with sign-in: your email couldn’t be updated because of issues with the sign-in credentials you have provided. Go to “Settings > Accounts” to fix this issue.
Unable to sync: performing the sync was not successful, please make sure you have an Internet connection.
Not connected: please make sure you have an Internet connection.
Reading email
Email is one of the default apps of Sailfish OS, i.e., it exists on all devices. You are ready to open the Email app as soon as you have signed in to one or more email accounts (see chapter Email accounts above).
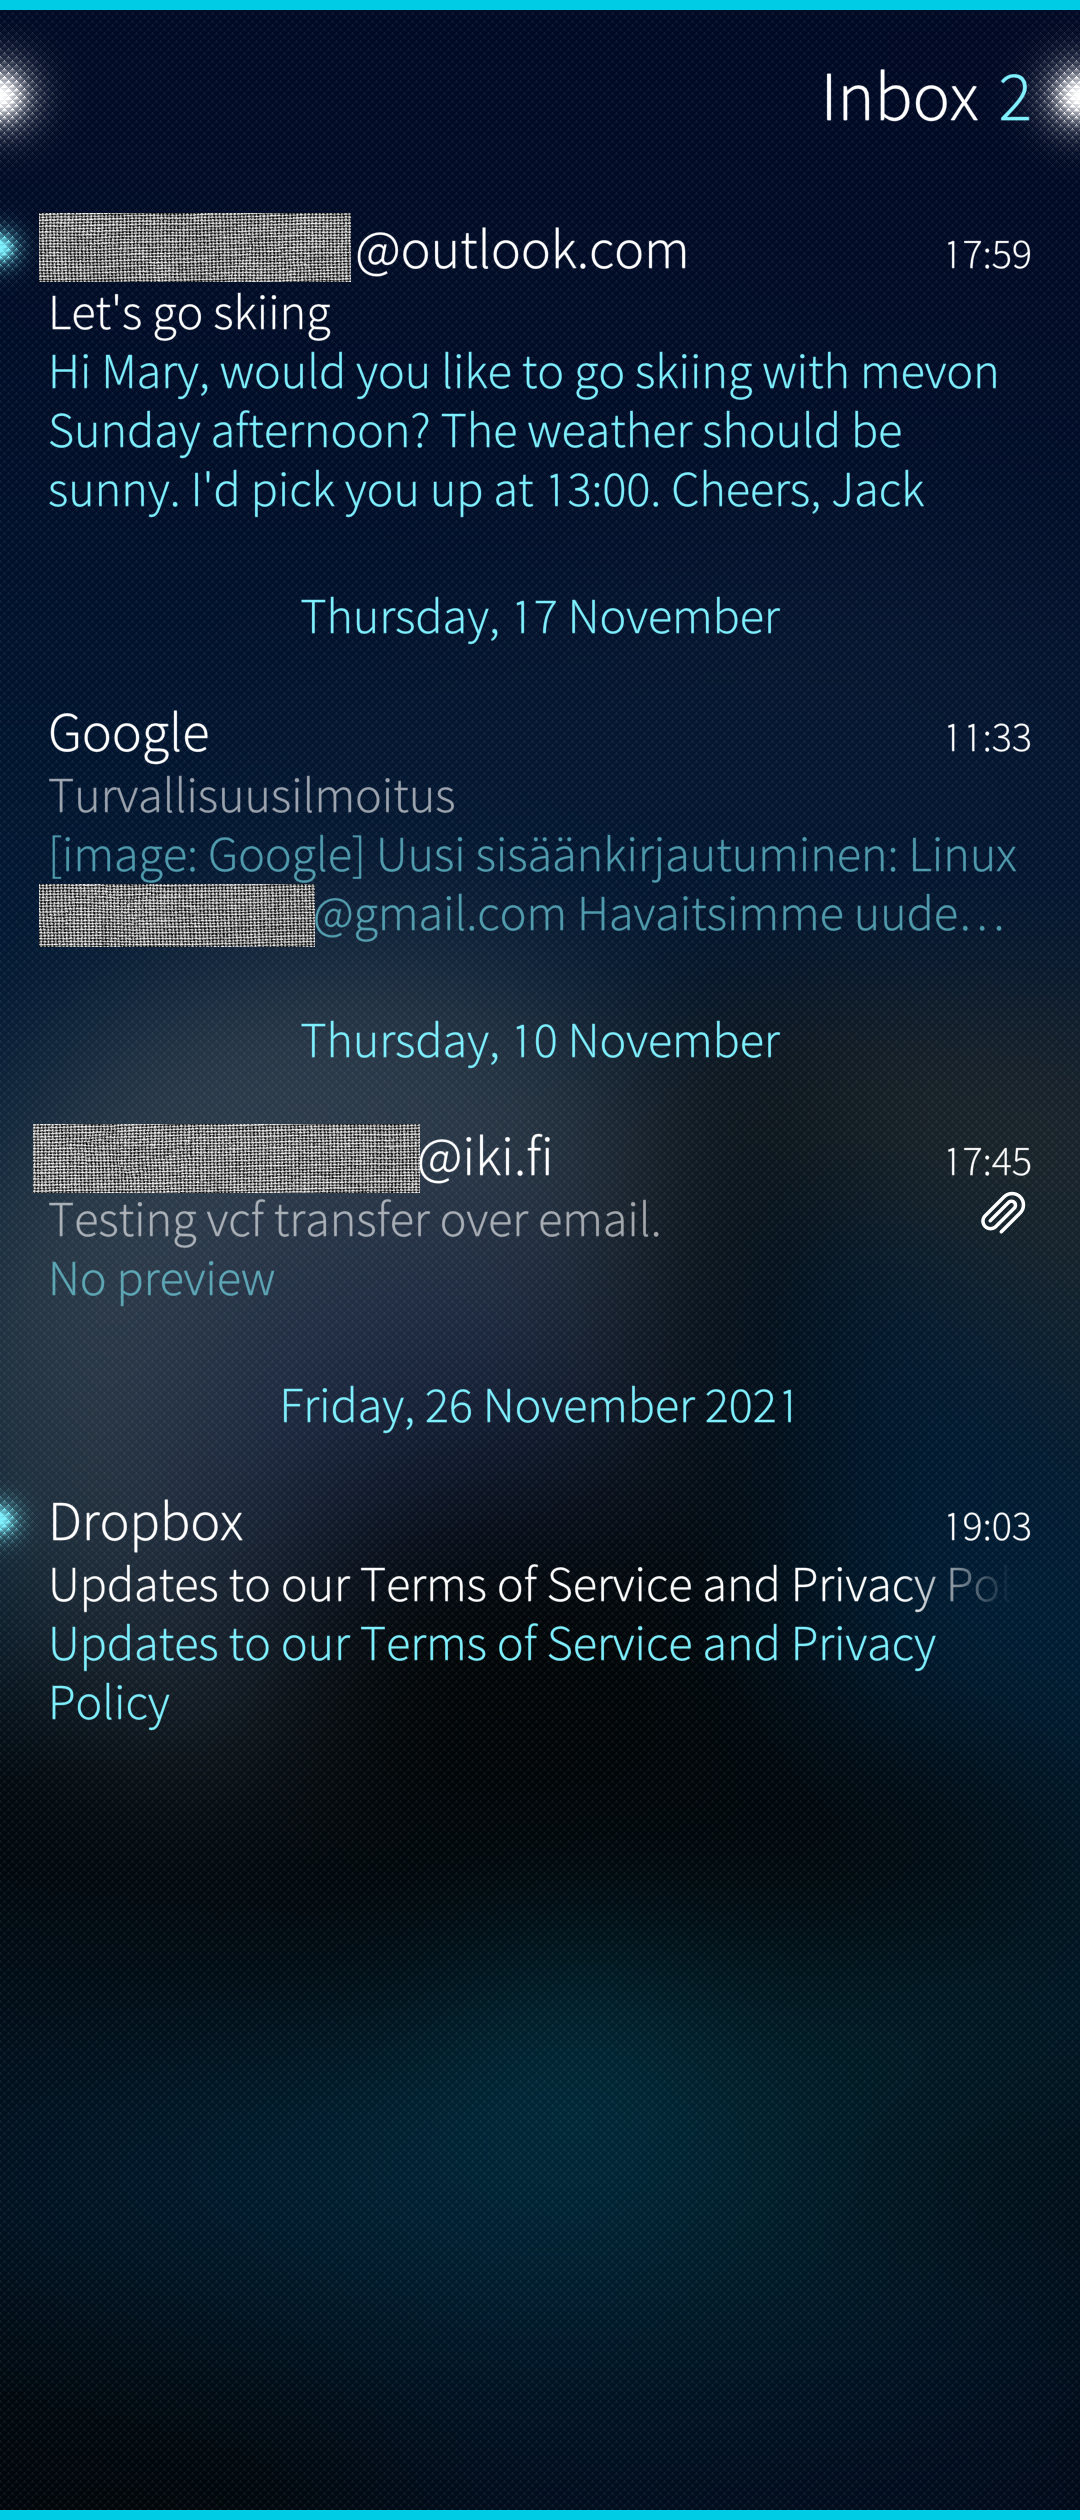
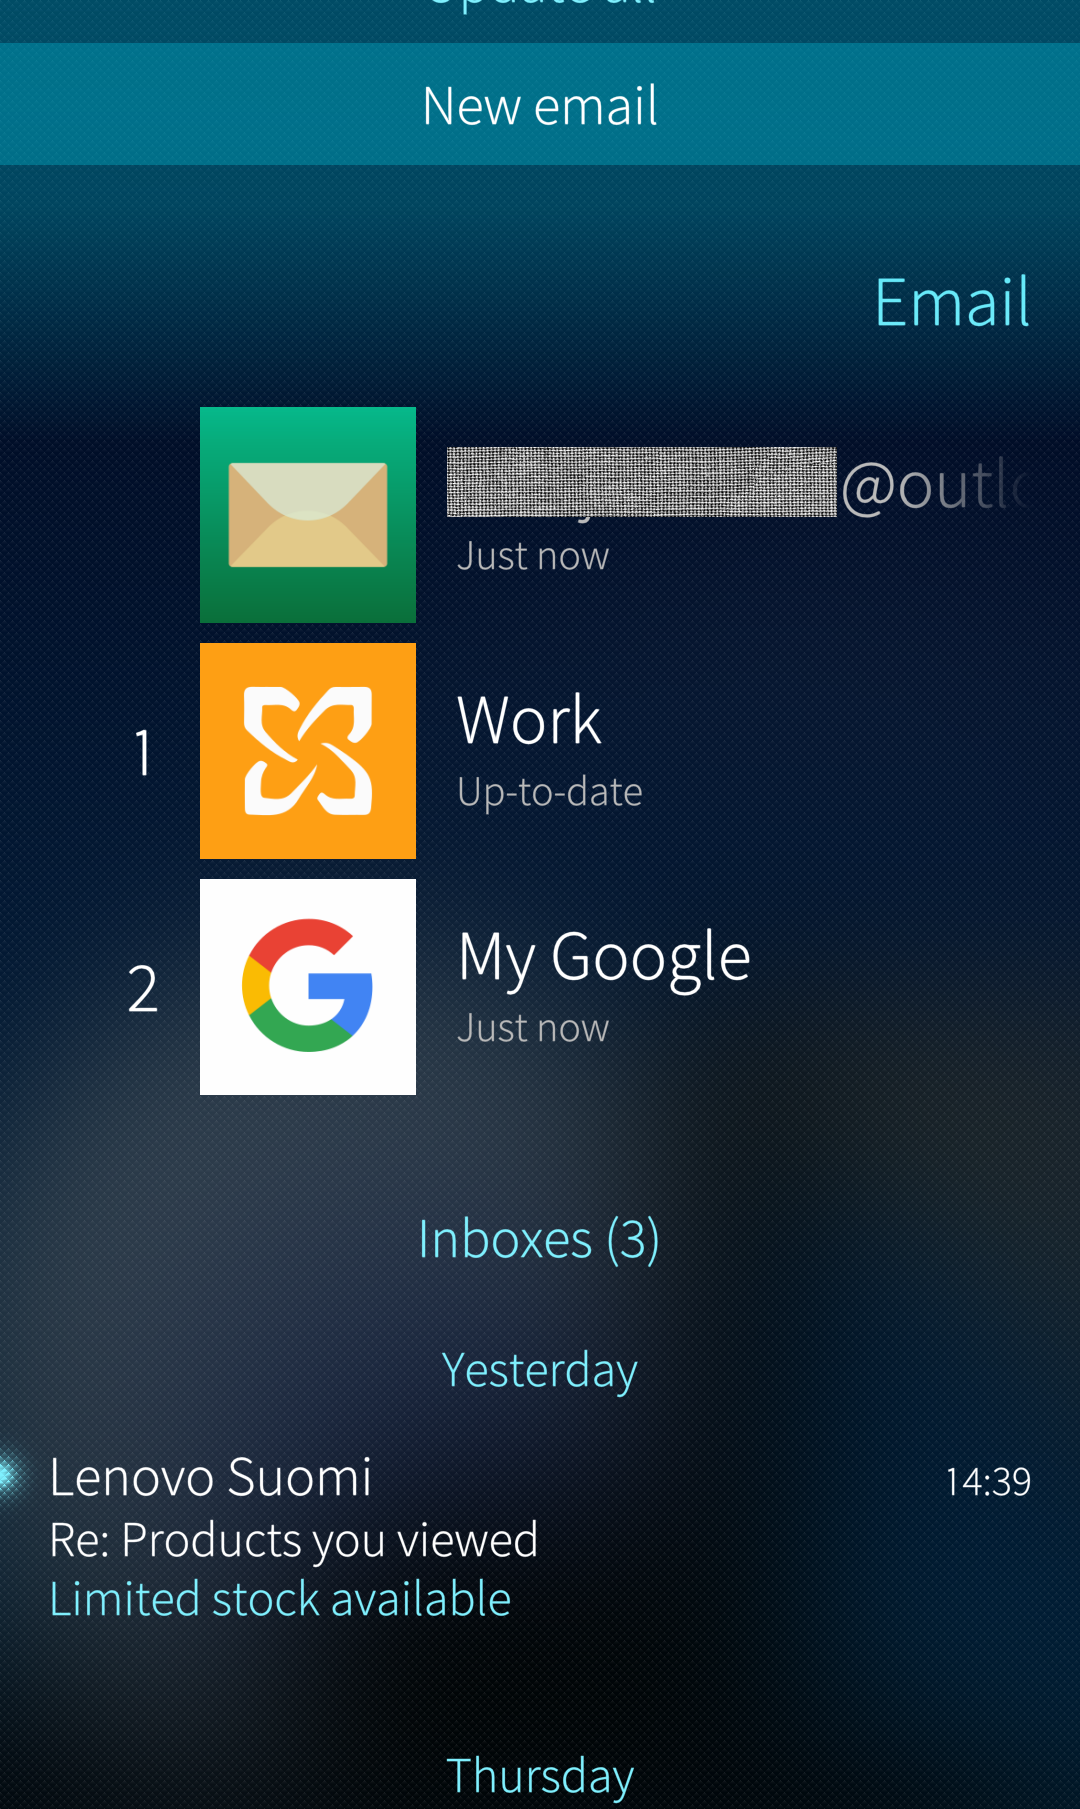
Unified inbox
When you tap on the Email application icon, the following unified Inbox view appears:
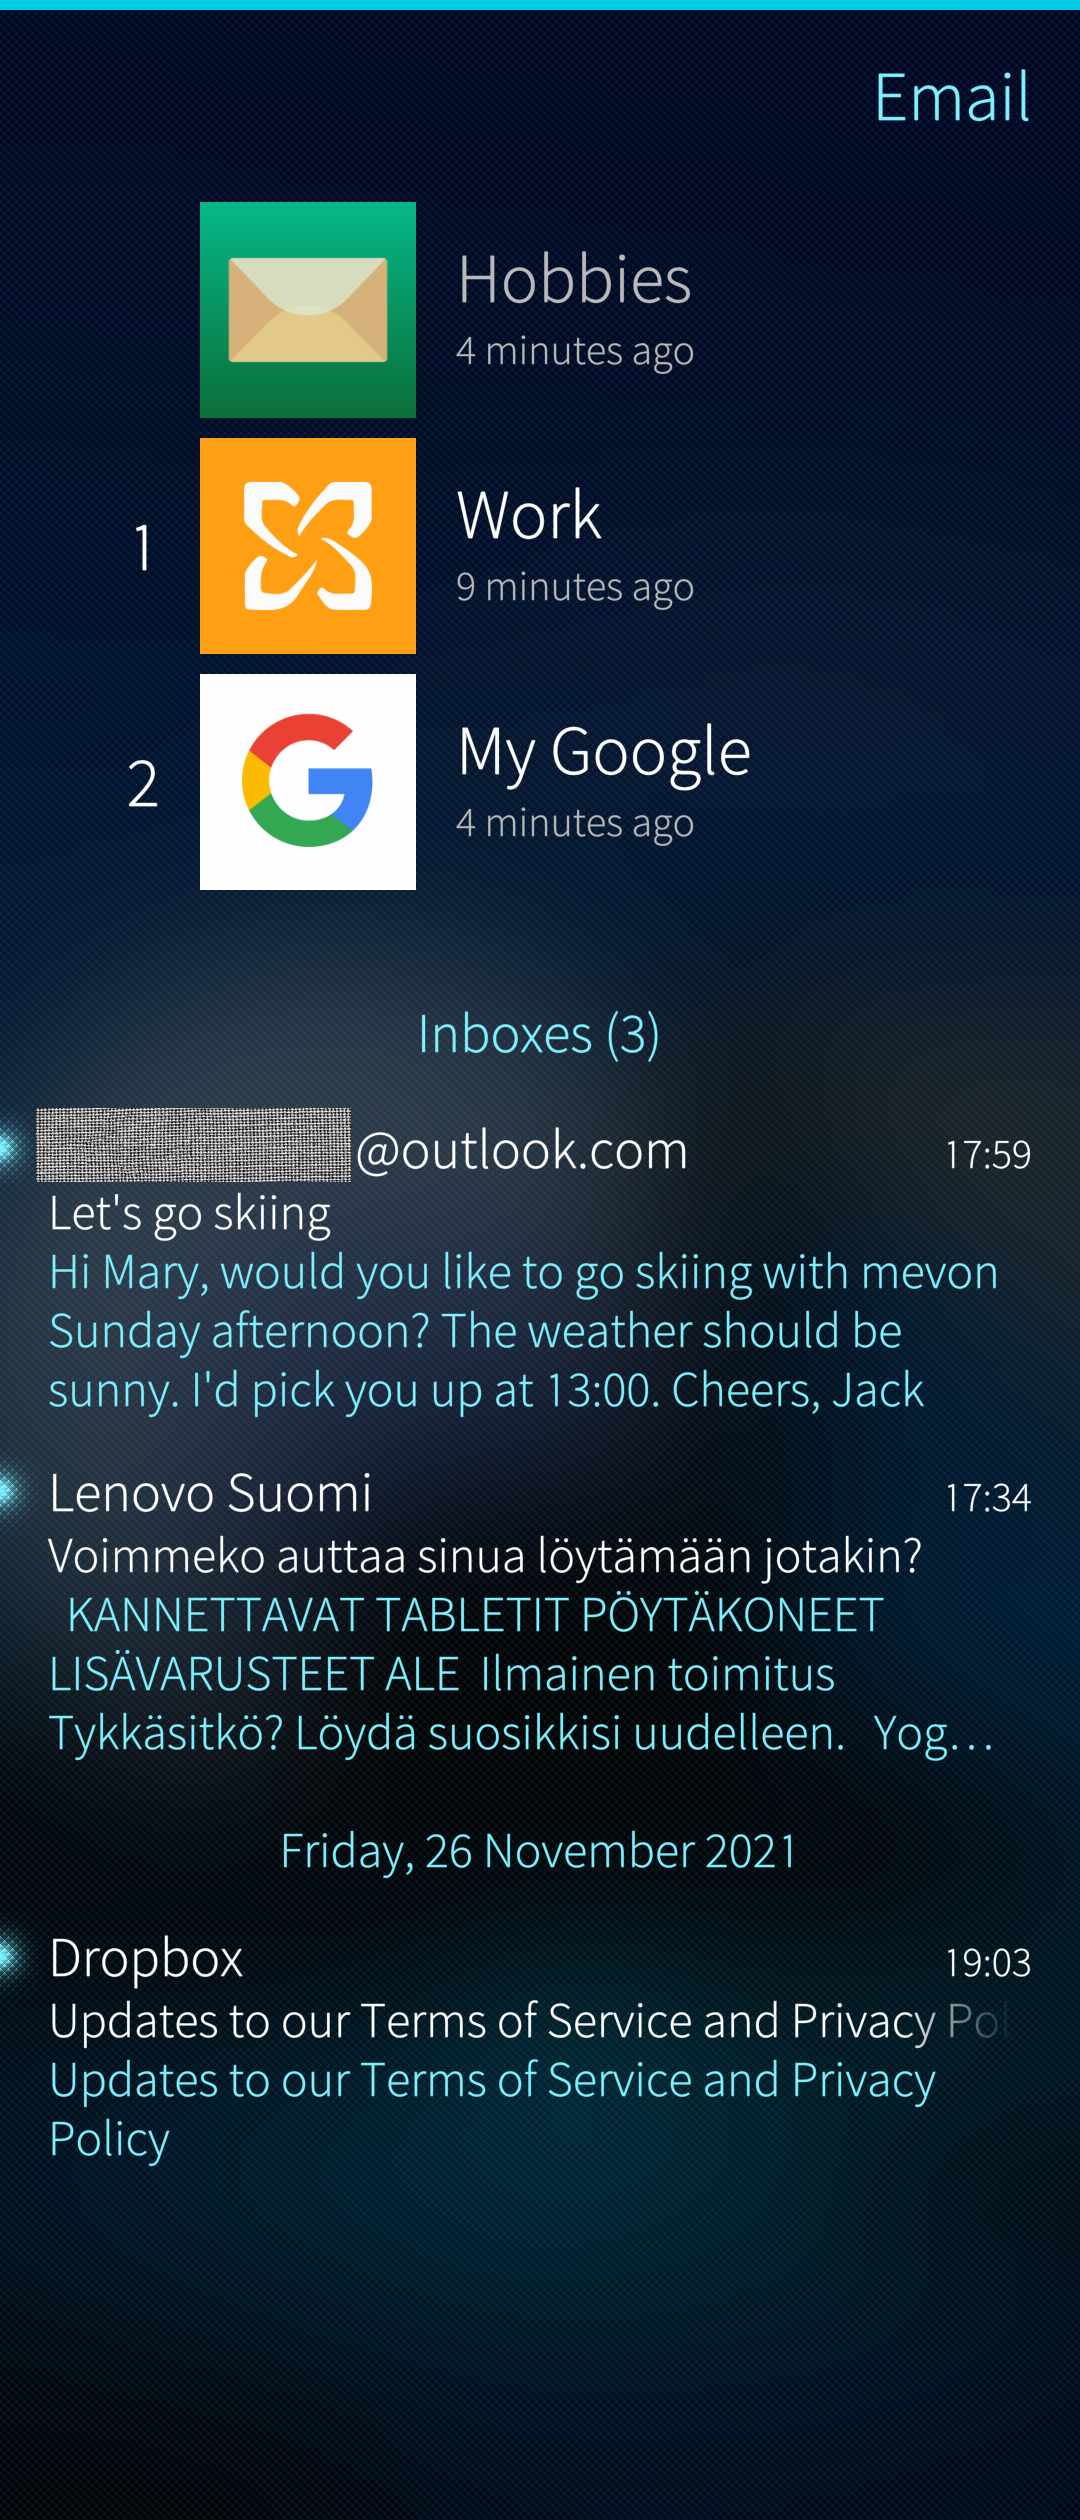 Pic 3: Unified inbox
At the top of the screen, you see all your email accounts active on your Sailfish device. There is a number to the left of each account indicating how many unread messages there are on that account. Under the account name, there is status information on when the account was previously updated on this device.
The bottom half of the screen shows the latest unread emails from all of your email accounts. The account a message belongs to is not shown. The messages are sorted by their times of arrival, with the latest on top. There is a snippet of the message content under the sender. If you tap a message to read it, the whole message is shown to you. Swipe to the right to return to the unified view. Note that the message you just read is no more shown in this view.
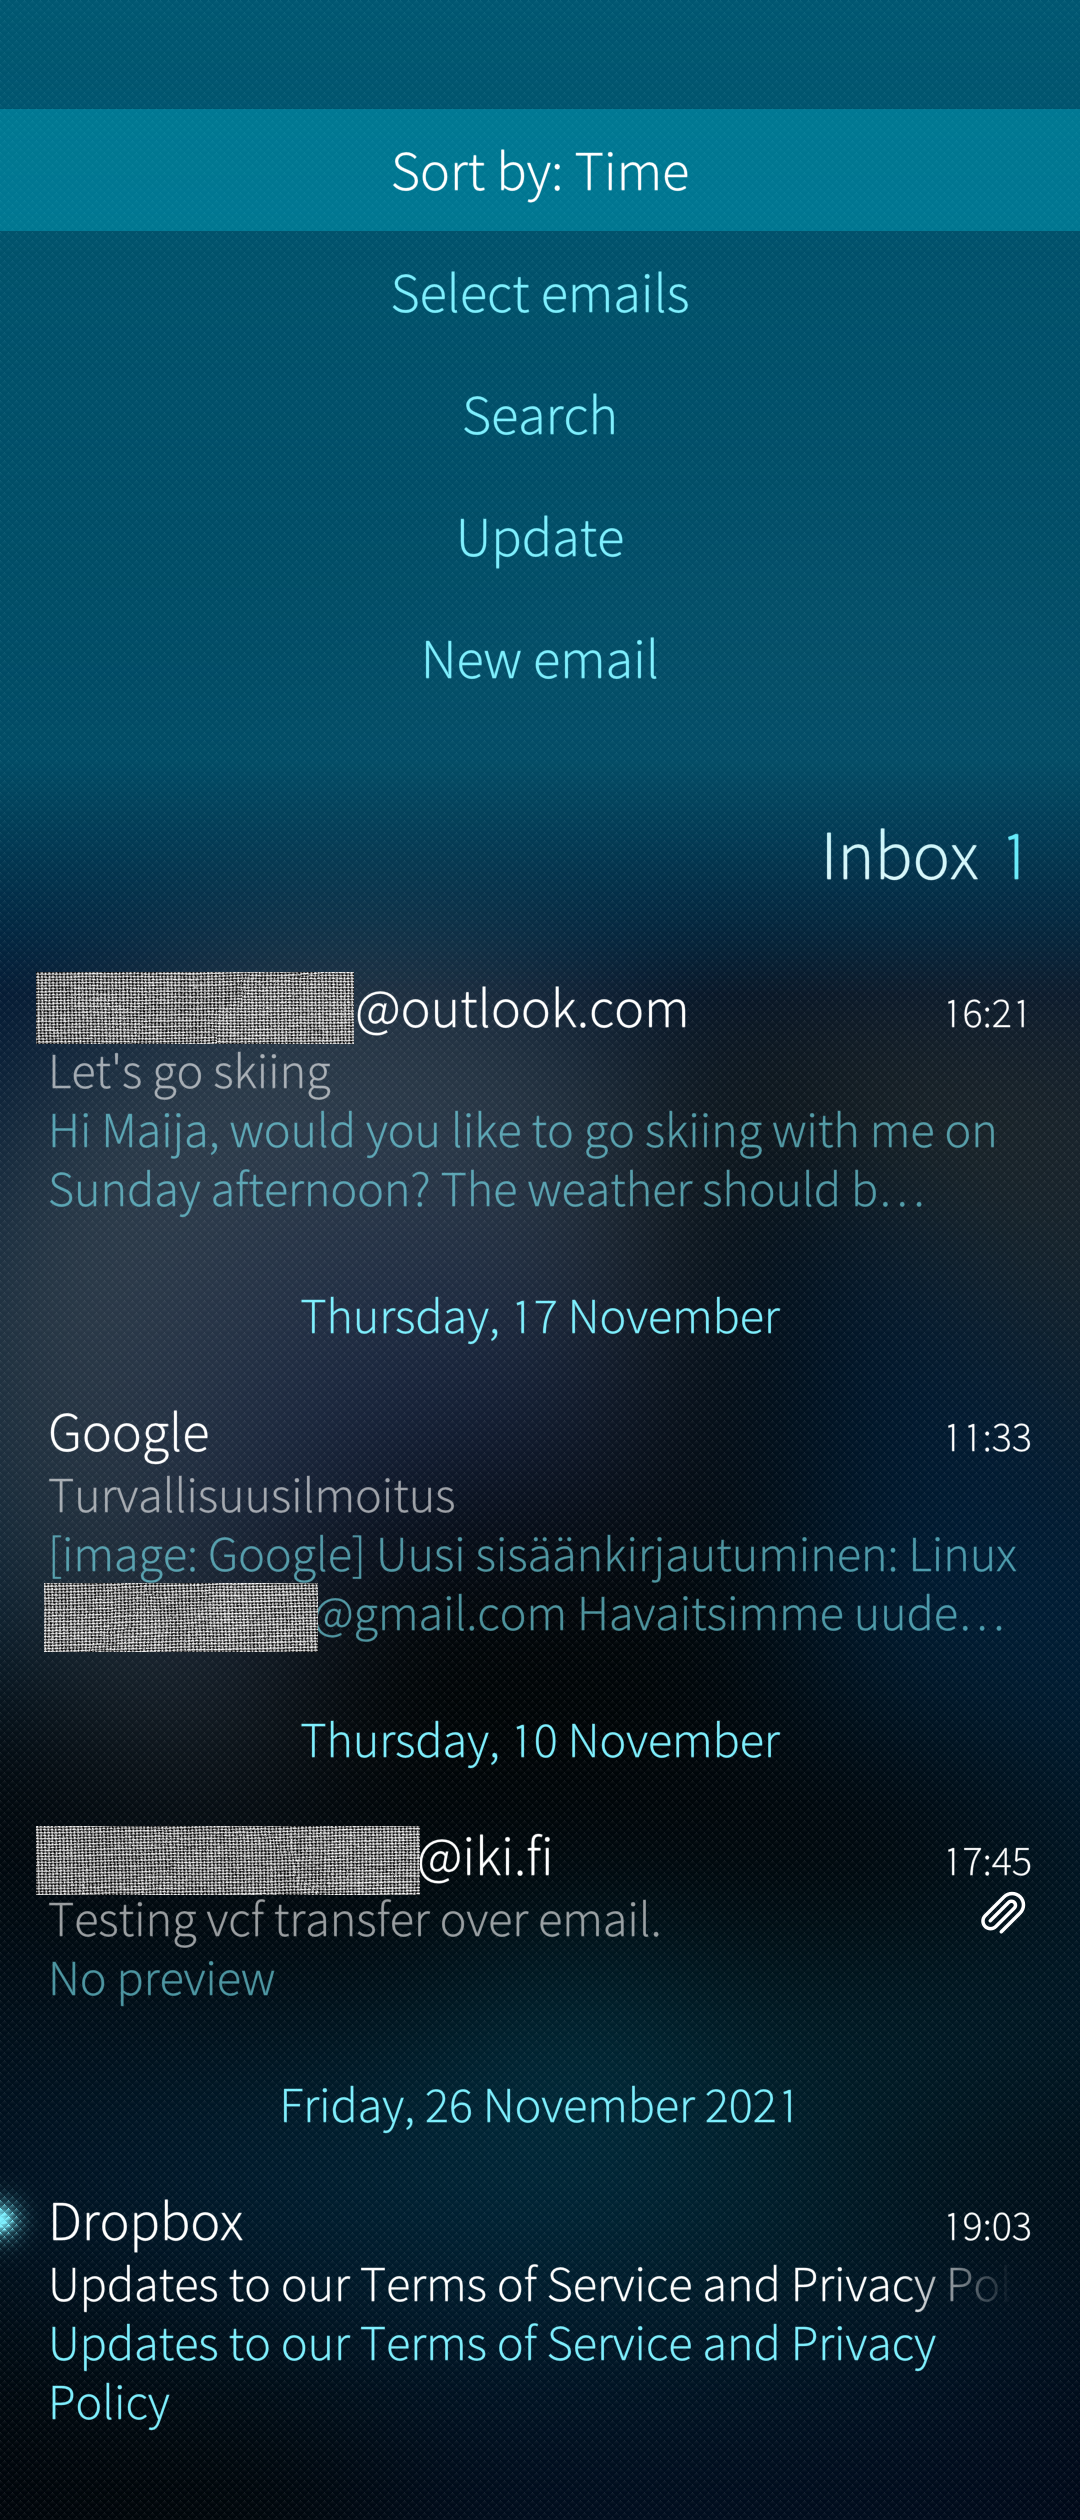
 Pic 4: Pulley menu of unified inbox
The pulley menu of this view allows you to quickly create “New email”, “Update all” your email accounts or begin to “Select emails”. The selected messages can be either deleted (trash bin button) or marked as read (envelope button) in one go.
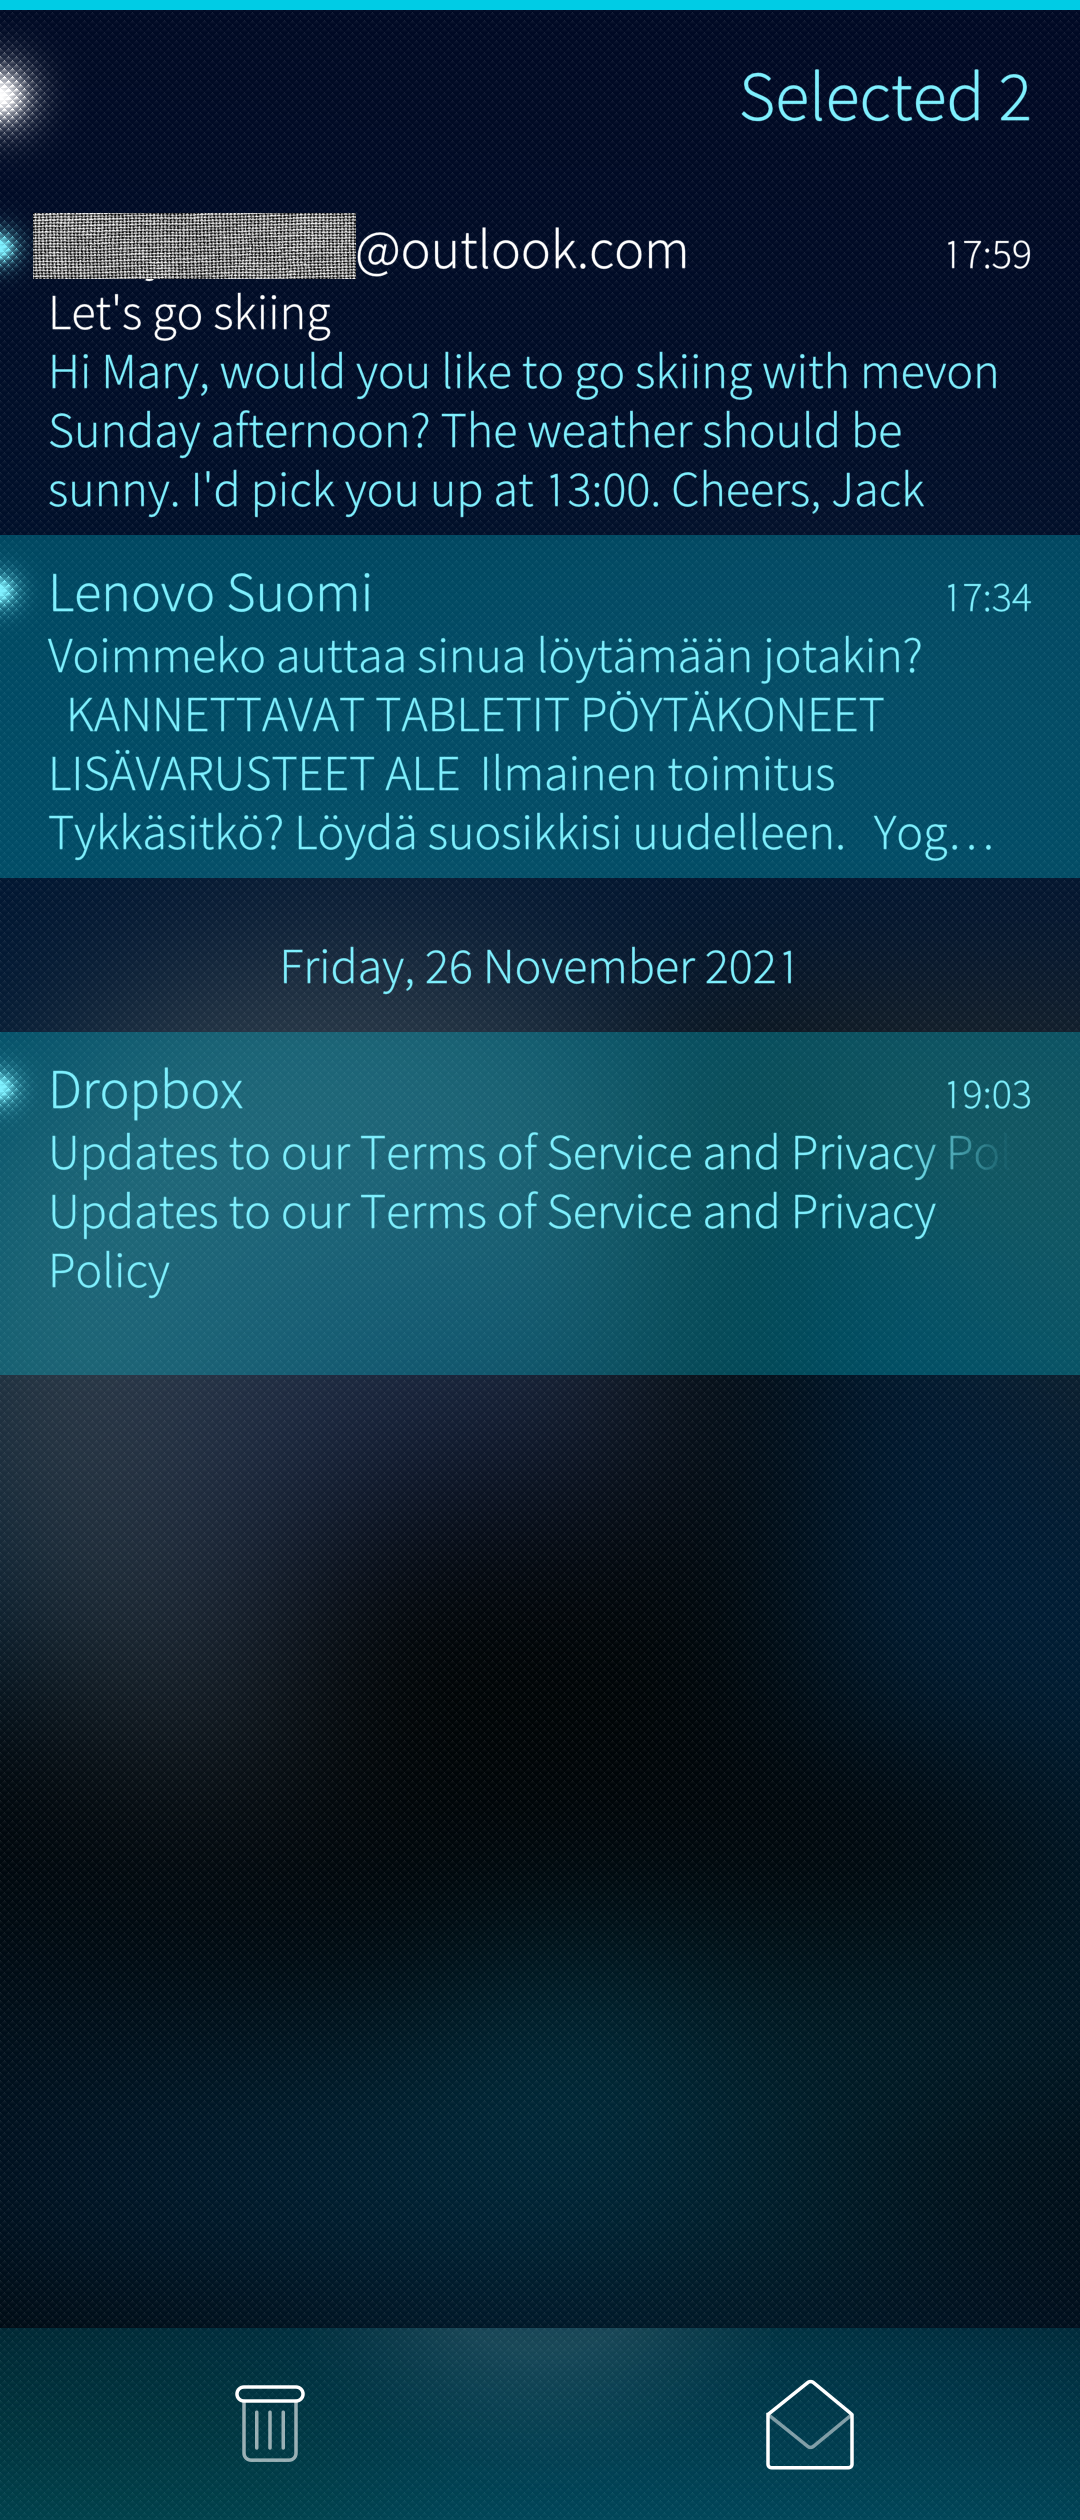 Pic 5: Email messages selected
Individual inboxes
Tap on an individual email account (Pic 3, upper part) to expose this email account’s inbox (see Pic 6 below). The messages are sorted by their reception dates and times, the latest on top. Messages containing attachments are indicated with the clip icon.
 Pic 6: Email inbox of one account
From the pull-down menu (Pic 7) one can:
- Change how messages are sorted
- Select multiple emails
- Search with a keyword
- Update the inbox
- Start creating a new message
The inbox has also the push-up menu (Pic 8) for downloading more messages from the server to the phone.
 Pic 7: Pull-down menu of email inbox
  Pic 8: Push-up menu of email inbox
If you swipe to the left in the inbox, you will see the Folders view of this account. Tap any folder to see its contents.
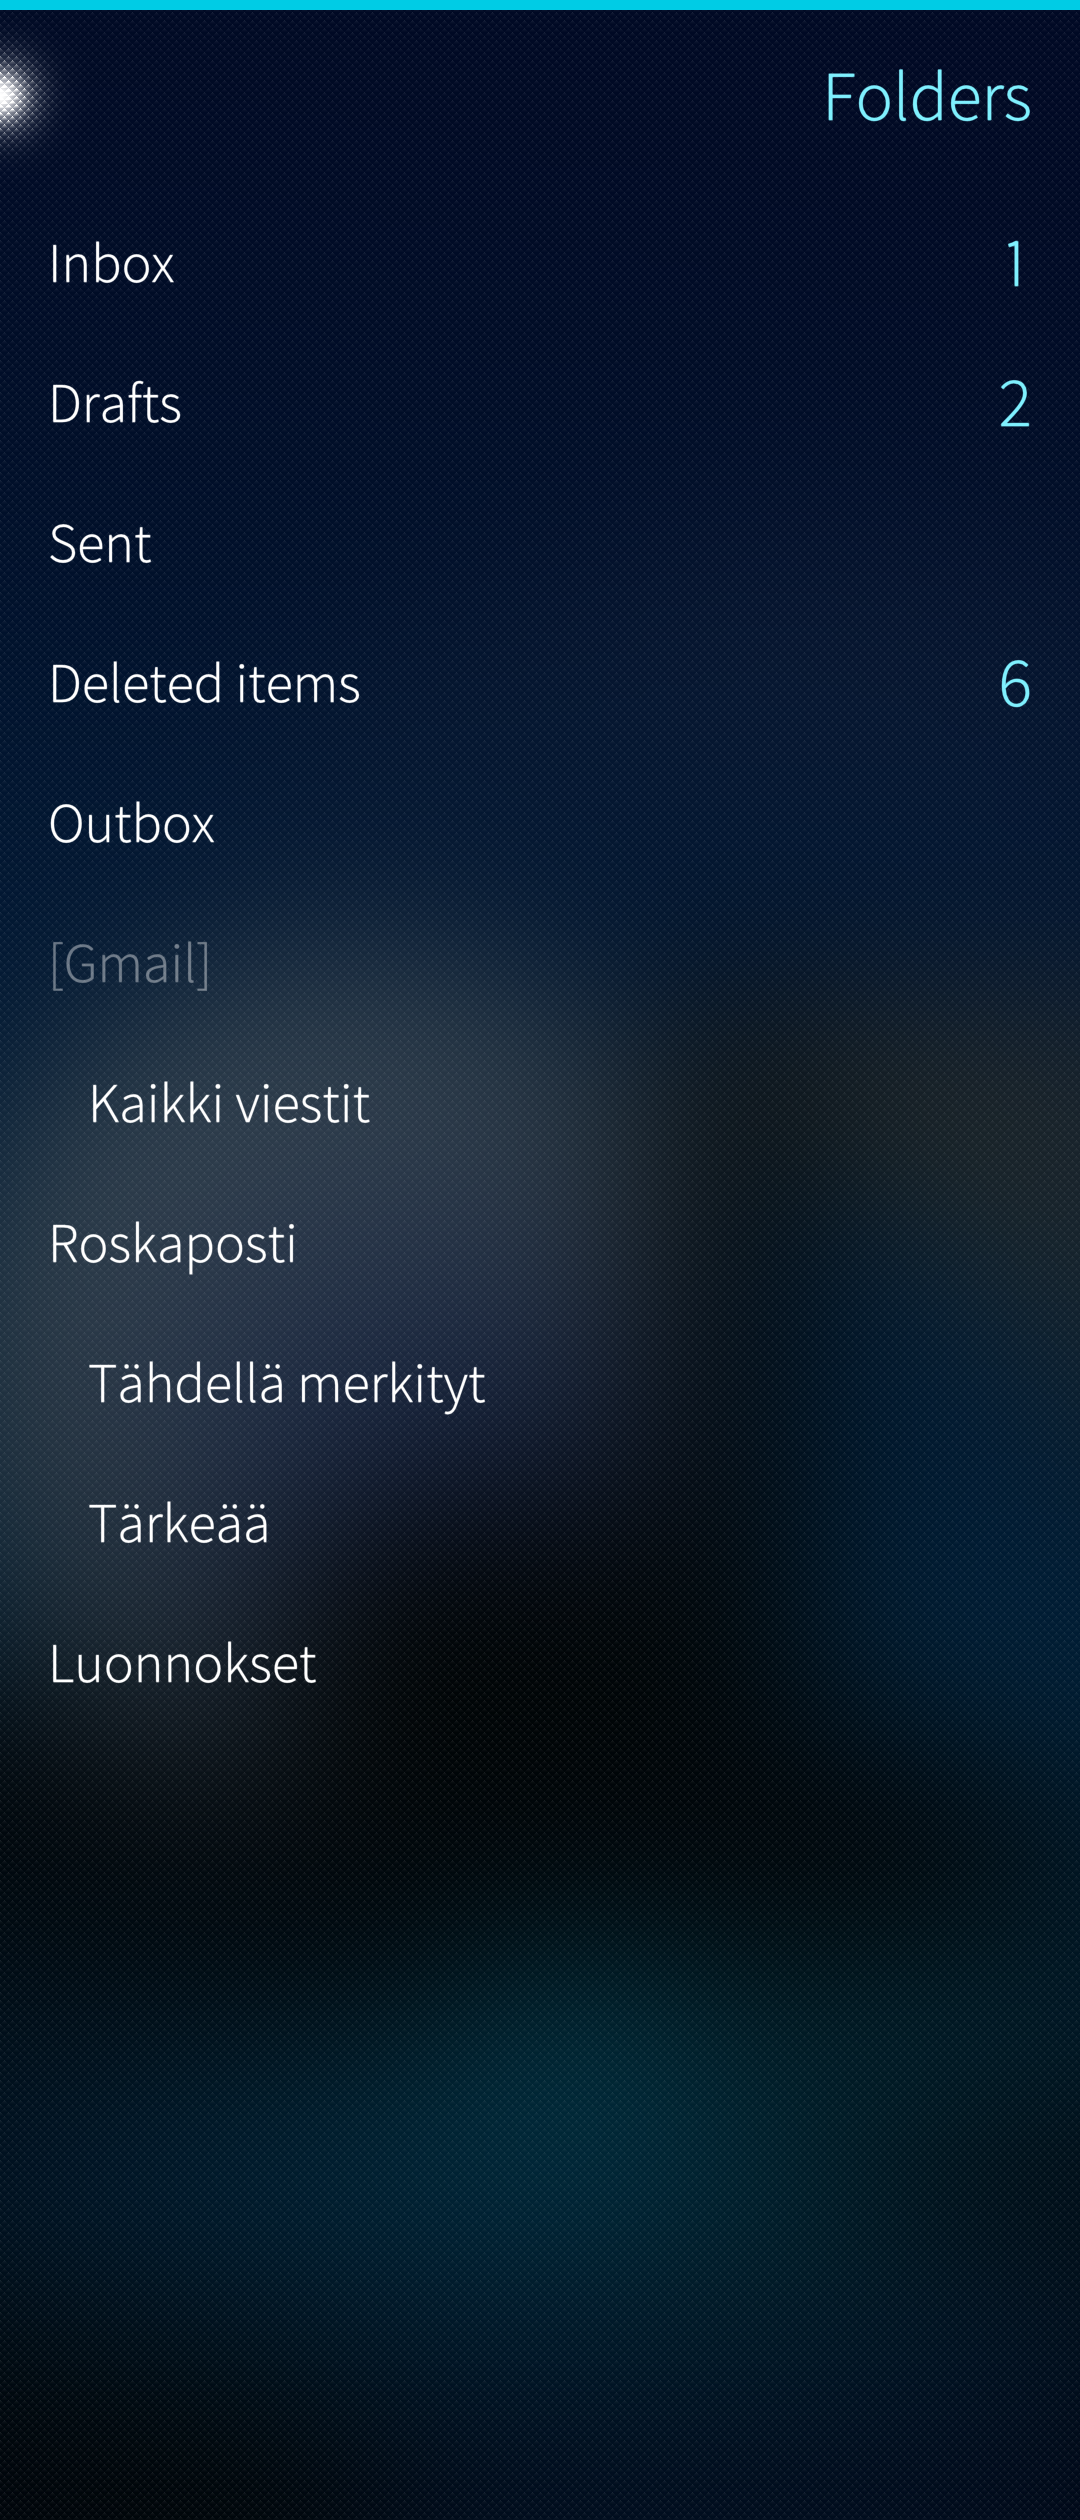 Pic 9: Email folders
 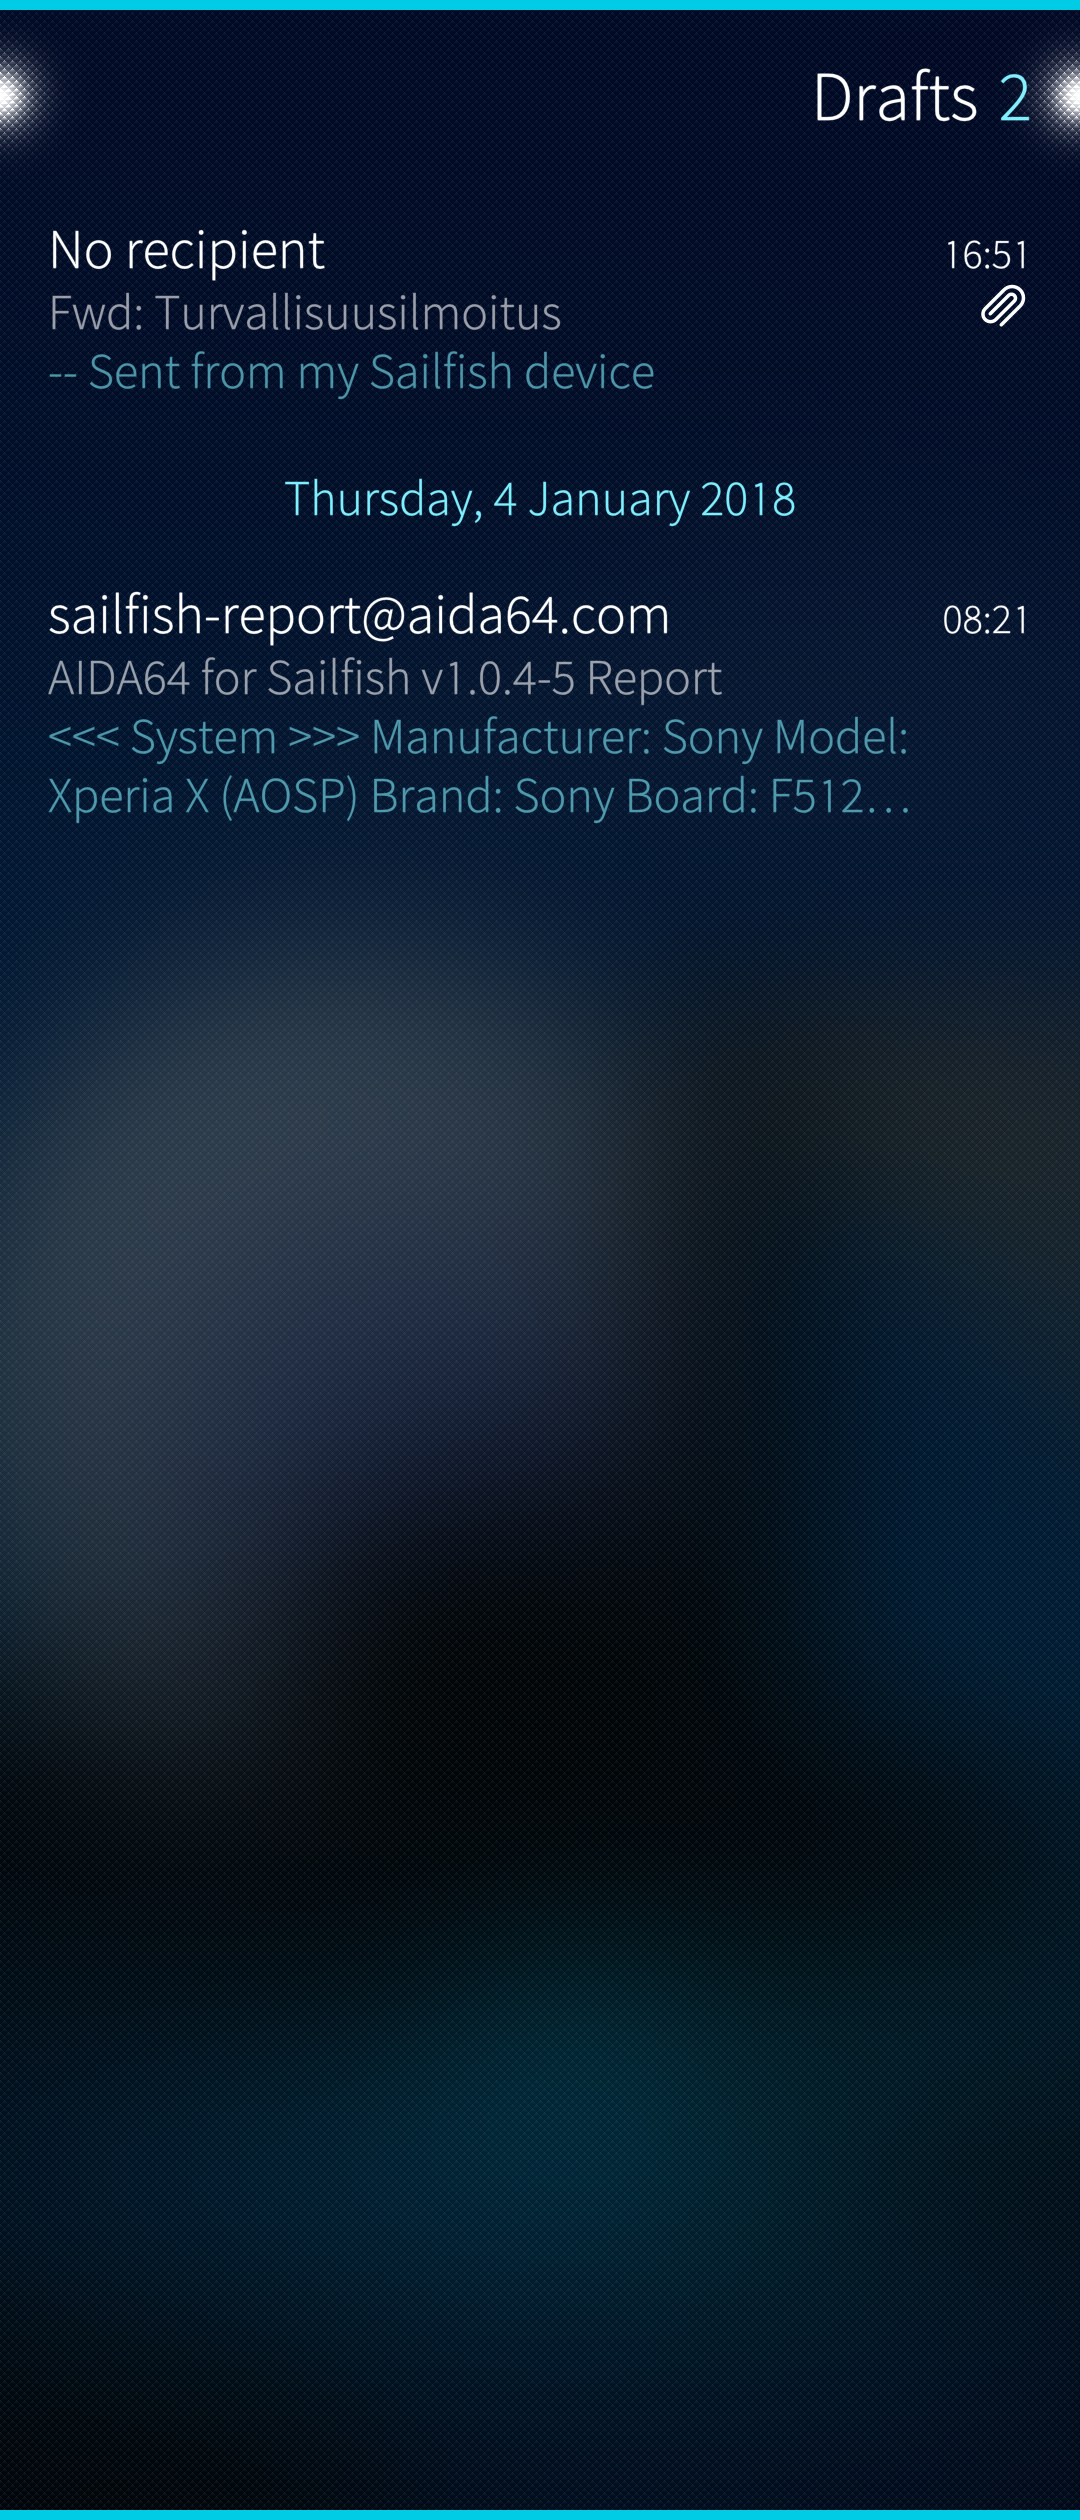 Pic 10: Example: drafts folder
Tip: If you aren’t sure if you’ve sent an email, check the Outbox folder for unsent mails.
Composing and sending email
Writing a new message begins by selecting the command “New email” from the pulley menu of the Email app. You need to be in either the Unified Inbox (Pic 3 above) or in the inbox of any of the email accounts configured with your phone (Pic 6 above) to see this option in the pulley menu.
 Pic 11: Start composing a new email message
The command “New email” will take you to the message composition screen:
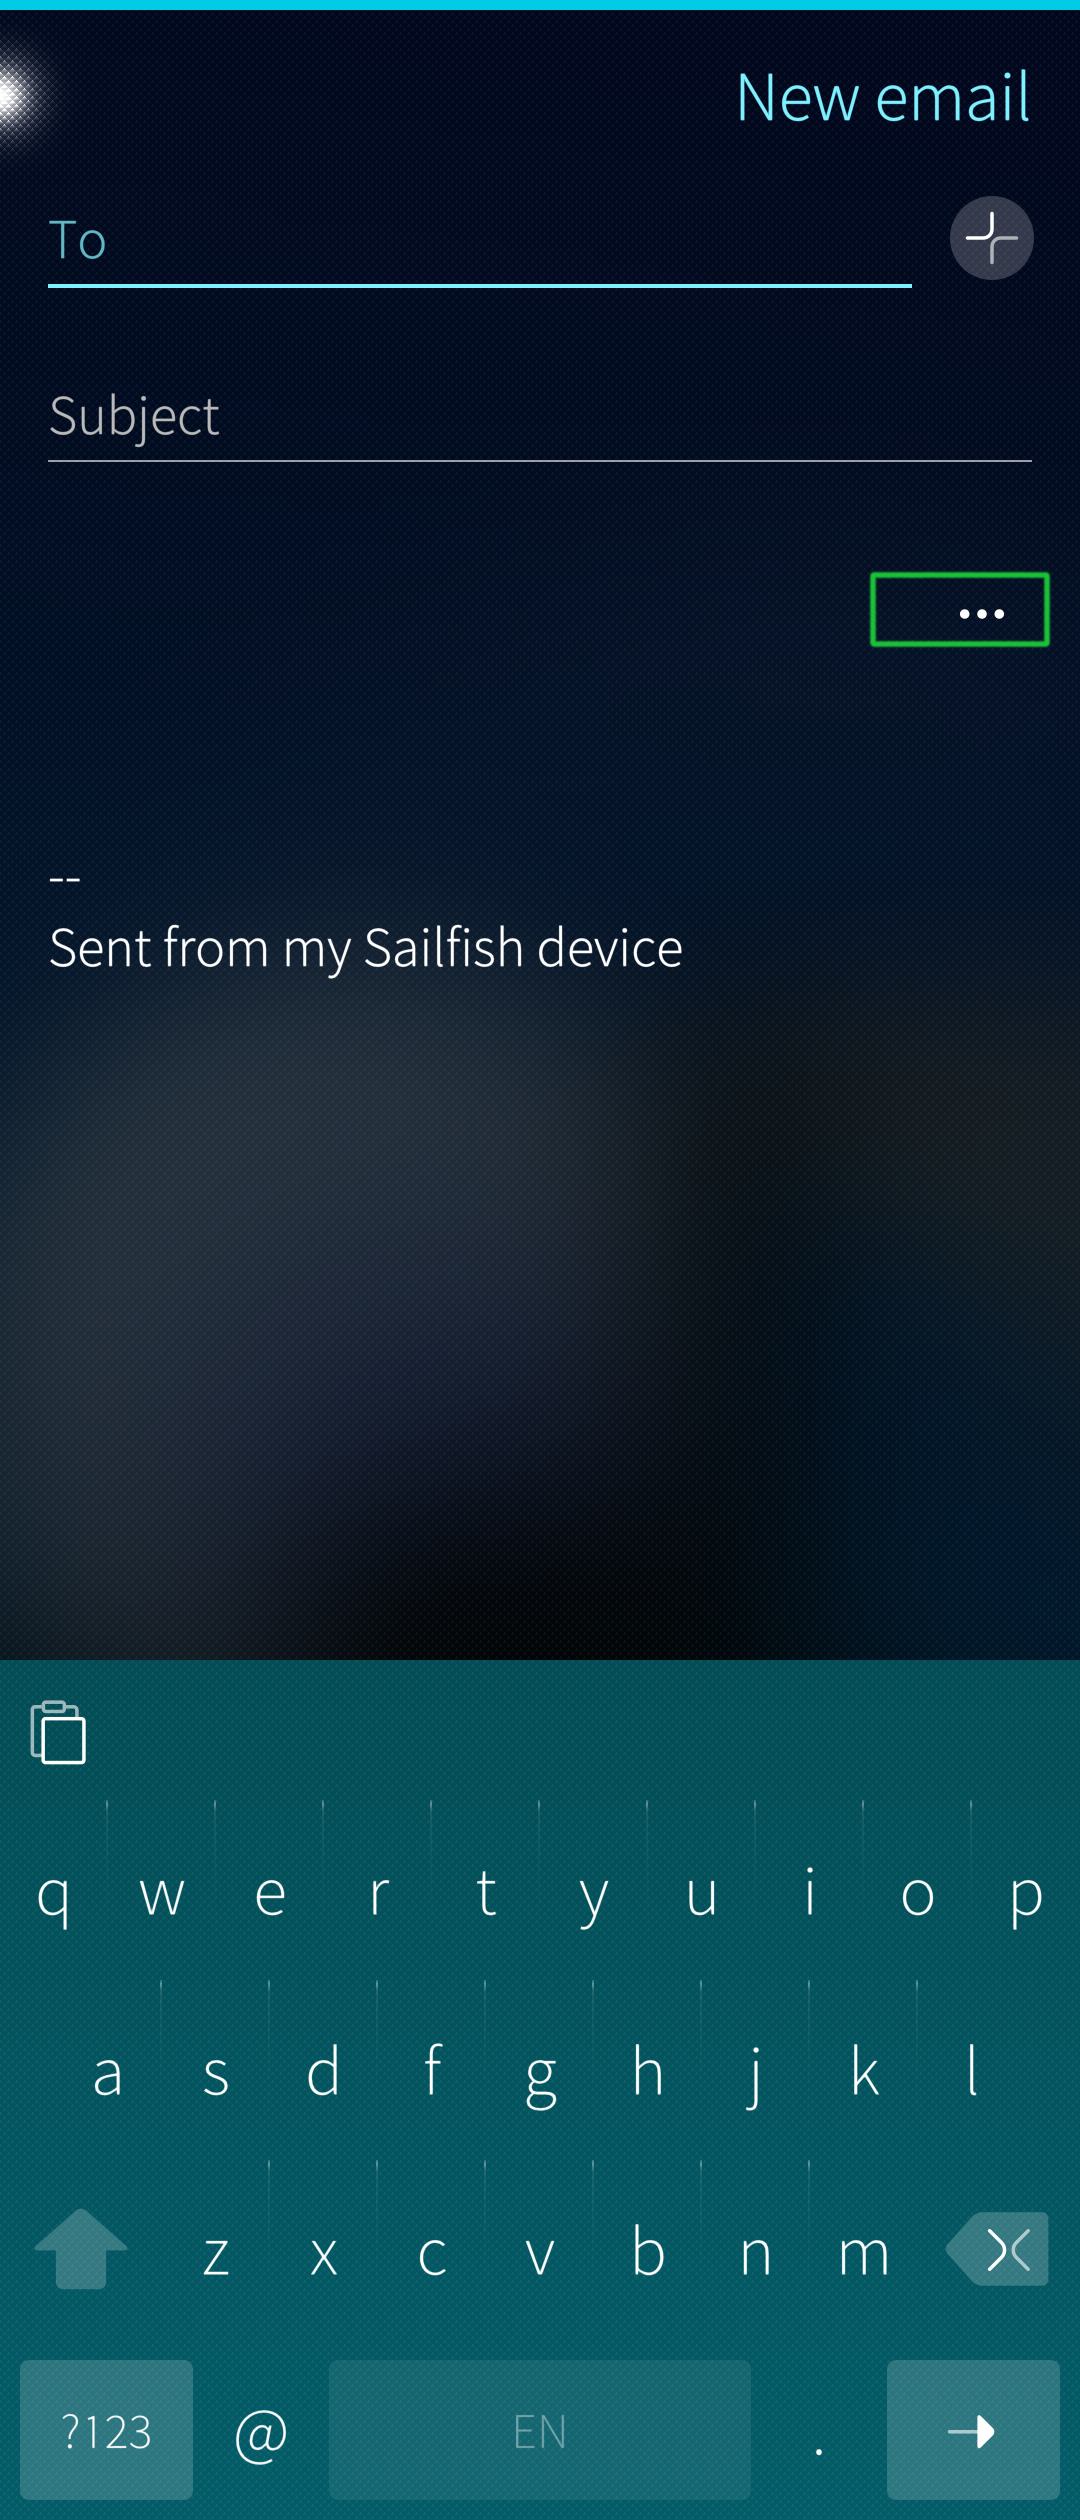 Pic 12: Body of new email
You can type the recipients’ addresses on the “To” line or fetch contacts from the People app by using the (+) icon.
Once you’ve specified the recipient(s) & subject, you can “Send” the email by using the pulley menu.
Note that this message would be sent from your default email account. See chapter Account from which to send the message below for details.
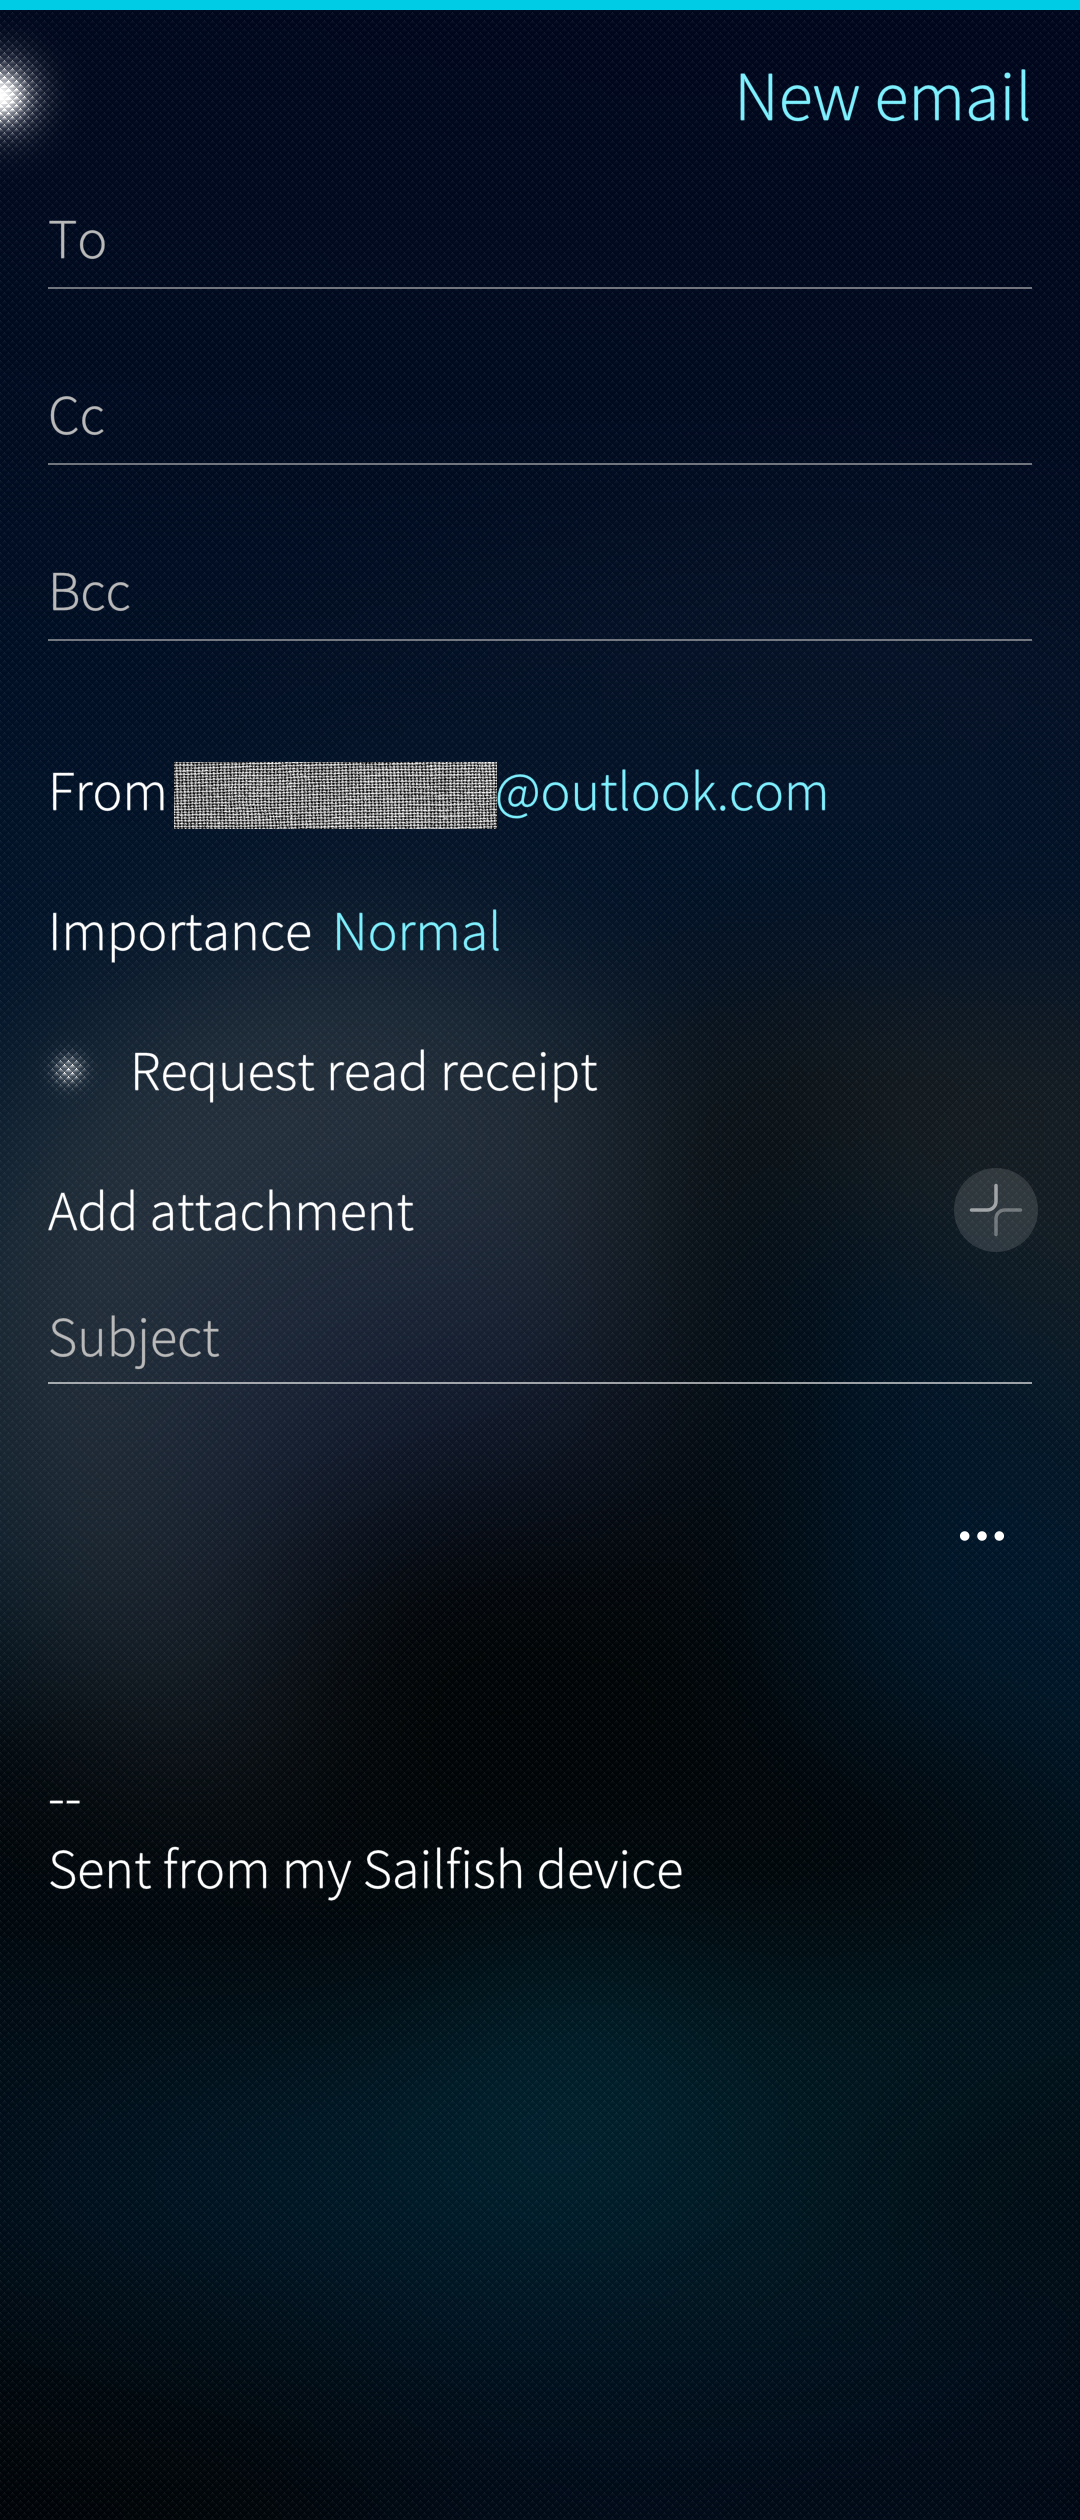
Additional settings for outbound emails
Tap the three dots button near the right edge (marked with a green rectangle in Pic 12 above) to reveal additional settings for sending the email.
More recipient categories
The view of additional settings brings to more lines for the recipients, the usual CC and the BCC.
Attachments
If you want to add an attachment file, tap “Add attachment”. Note that the size of the attachments should not exceed 5 to 10 Mbytes (depending on the limit set by your service provider). We recommend that you upload really big files to a cloud service first (e.g. Dropbox or the like) and that you send only a link pointing to that file in the cloud.
 Pic 13: New email - additional settings
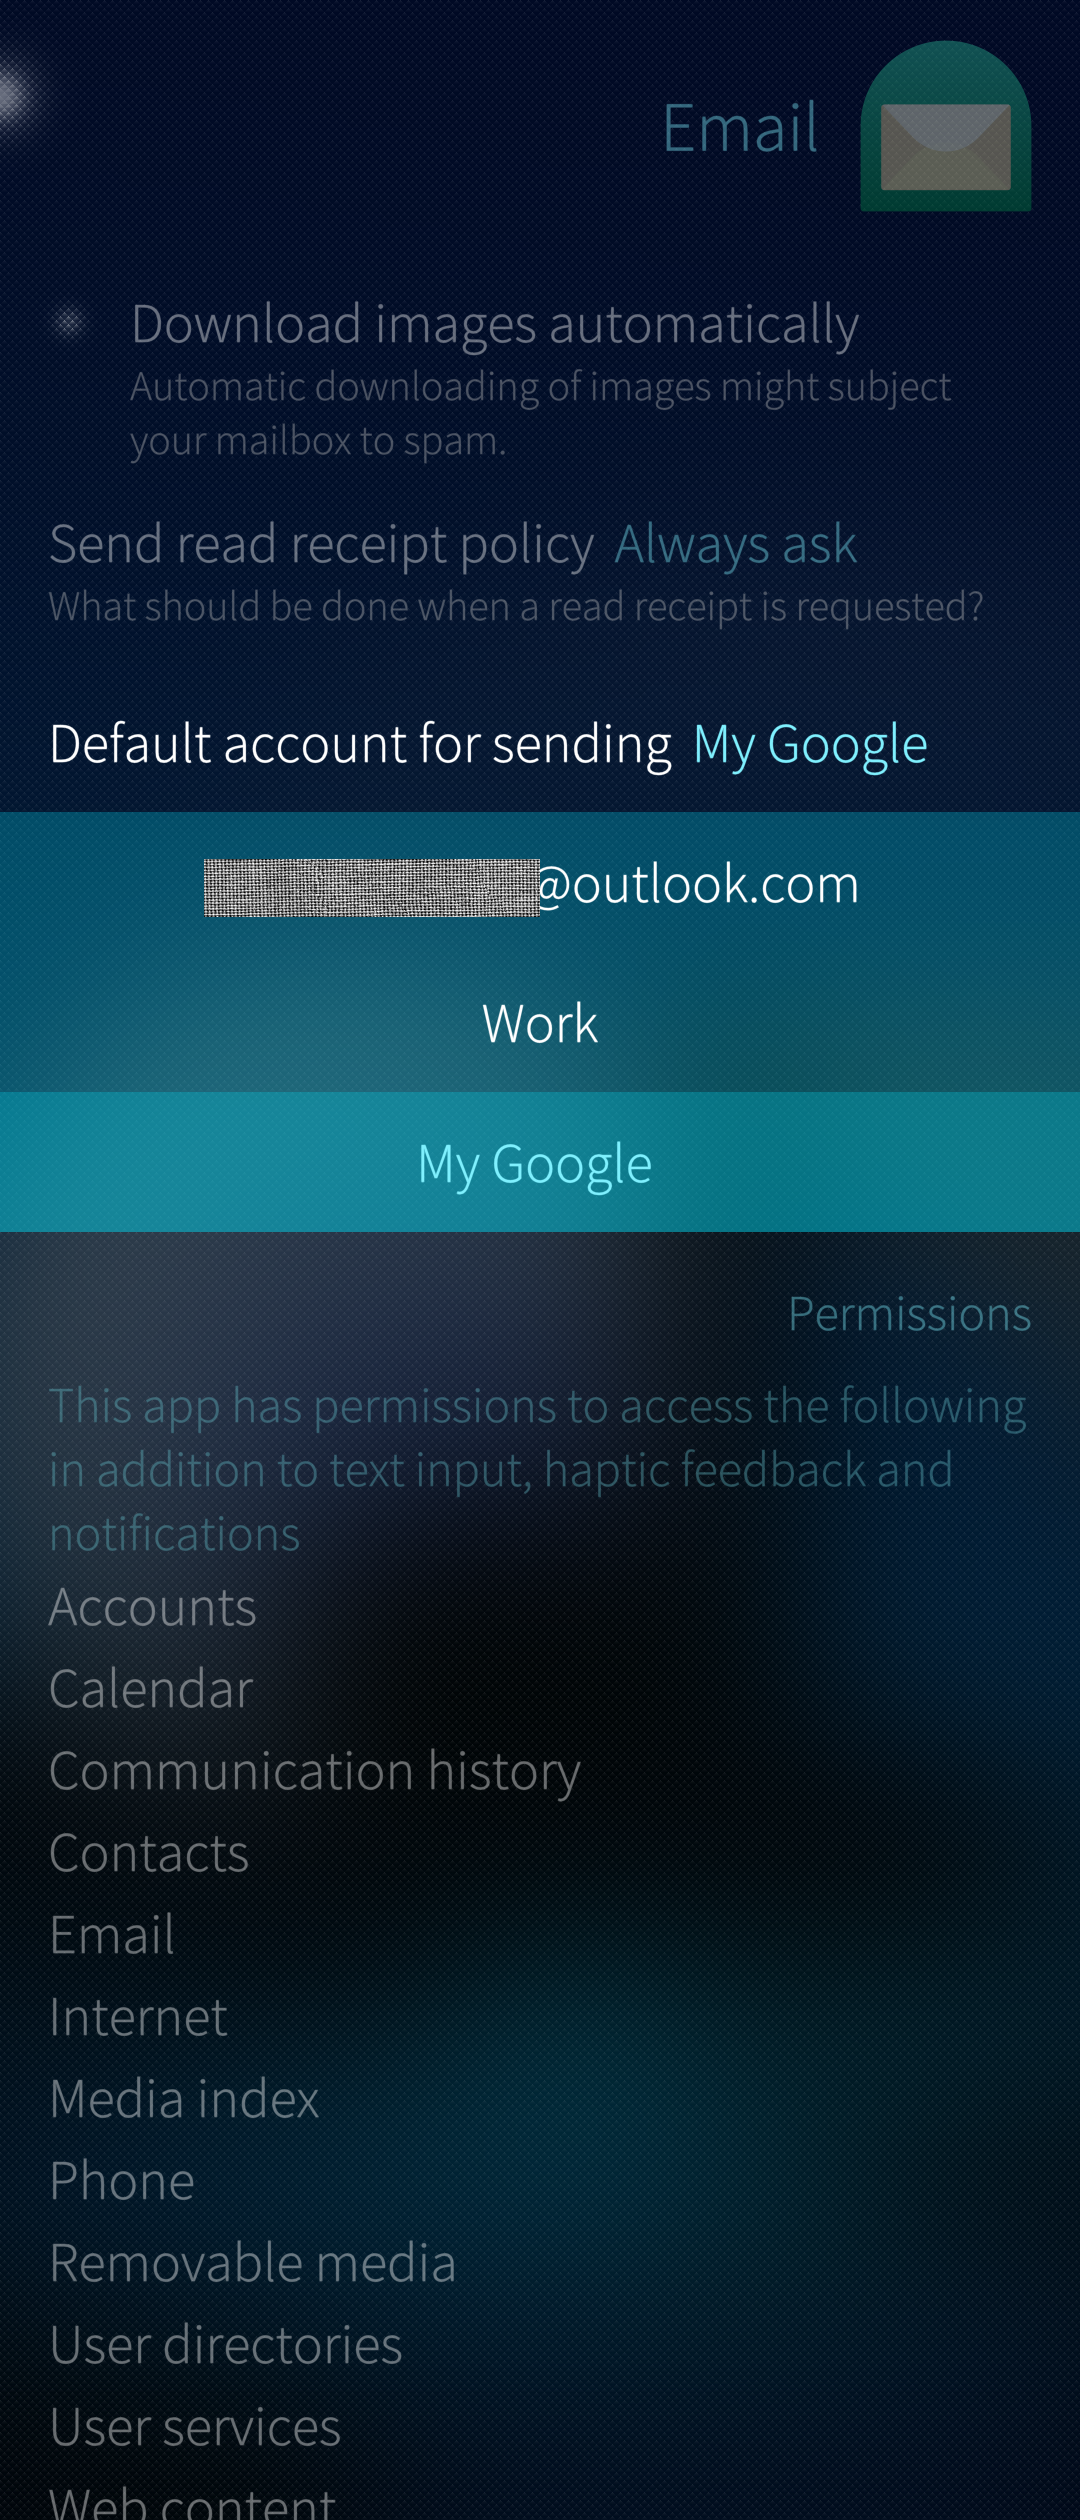
Account from which to send the message
There is a default setting for the account (if you have configured two or more emails accounts on your device) to be used for sending email messages. This setting is located at “Settings > Apps > Email” and it appears there with the title “Default account for sending” (see Pic 14 below).
It is possible to override the default account for an individual message by tapping “From” in the additional settings (see Pic 13 above) and by selecting another account. If you did not touch the “From” field then it keeps showing the default account.
The recipients of your messages will see your messages arriving from the account shown at the “From” field (be it the default or the one chosen for the current message).
 Pic 14: Setting the default email account
Other settings
There are also the options to indicate the importance of the outbound message and to request read receipts.
Adding a new email certificate
Email certificate is a security method which can be attached to an email in order to verify that the sender is the one claiming to be. It can also be used to encrypt the message and verify that the message is not altered. The pre-installed email certificates can be viewed at “Settings > Certificates > Email certificates”. In case you need additional email certificates it is possible to add more certificates using the command line (as the UI does not support adding them). The certificates discussed here shall be in the PEM format. In this help article, we use the certificate by the name “JSCCinternalCA.crt” as an example. Replace it with the certificate you want to add. For executing the commands below you will need the Developer mode.
- Copy the certificate file (*.crt) from the PC to the home folder “$HOME” of your Sailfish OS device, first. Use the method of your preference as suggested in this help article.
- In your Sailfish device, get the super-user rights (SSH password) first. See the Developer mode article, if needed. Copy the certificate further to folder “/etc/pki/ca-trust/source/anchors”.
cd $HOME export MYHOME=$(pwd) devel-su ## you will need your SSH password here cp $MYHOME/JSCCinternalCA.crt /etc/pki/ca-trust/source/anchors - Run the command update-ca-trust
update-ca-trust - Open the menu page “Settings > Certificates > Email certificates”. Check that the added certificate “JSCC internal CA” can be found in the list. Select that certificate. Restart your device.
- Turn Developer mode off if you do not need it anymore.
Related articles
Setting up a General Email account (IMAP/POP) on Sailfish
Setting up an Exchange account on Sailfish
Setting up a Google Account on Sailfish
Read more about Covers and Cover actions. ↩