
Your First App
Contents
Your First App
If you don’t have the SDK installed and running yet, follow the installation guide.
Launch Sailfish IDE
You can launch from the ‘Sailfish IDE’ entry in the system menu (or from ~/SailfishOS/bin/qtcreator if you’re a Linux terminal person).
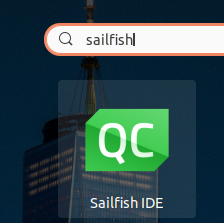
As an example, on Ubuntu, open the dash, type in ‘sailfish’. Click on the ‘Sailfish IDE’ icon to launch the IDE.
Create a Sailfish application Project
The SDK comes with Sailfish application template projects that makes it very easy to get started. There is one project template for pure QML applications, and another for projects combining QML and C++. Below we go through the steps for creating a project of the latter type.
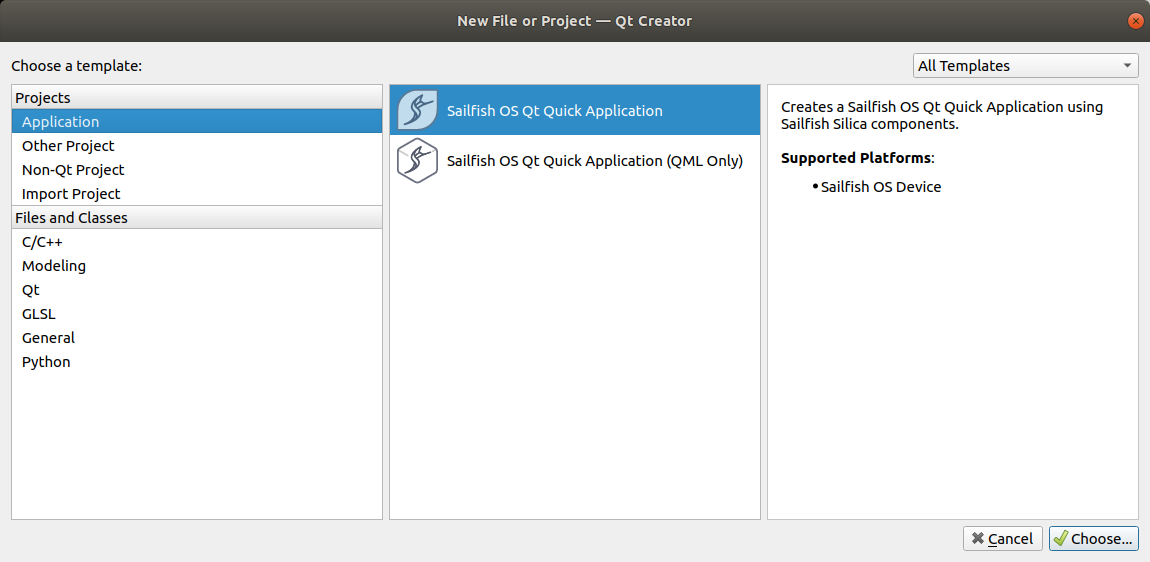
1. In the IDE, click on File→New File or Project.

2. Select Application→Sailfish OS Qt Quick Application and then click Choose. Alternatively, if you want to create a QML only project, select Application→Sailfish OS Qt Quick Application (QML Only).
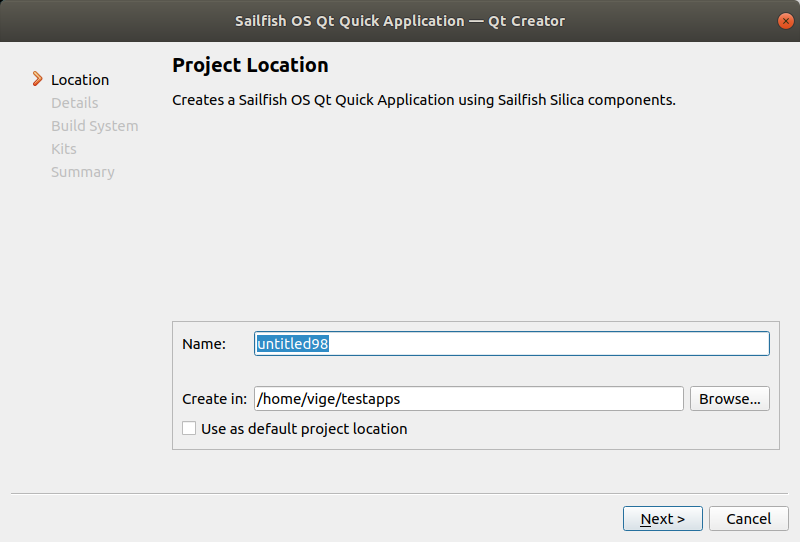
3. Give a name to your project. Ensure it is created somewhere under your workspace (by default your home directory) and click Next.
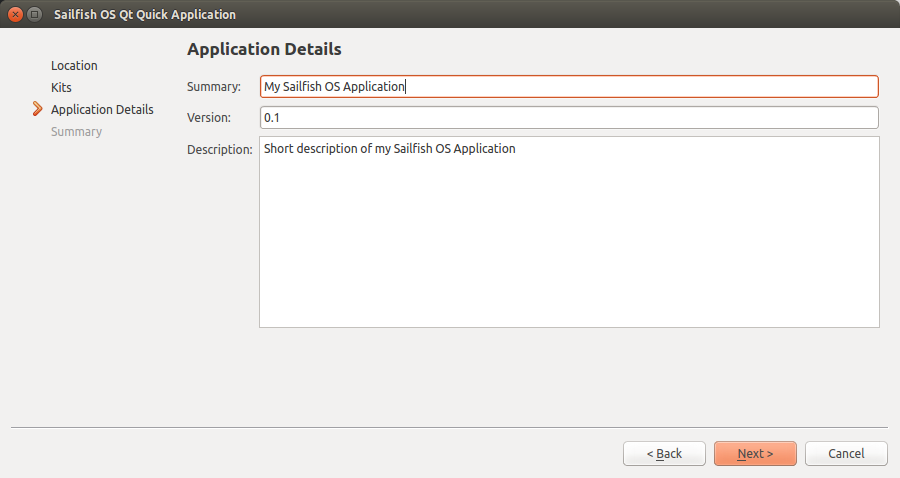
4. You can edit the short description of your project or just click Next.
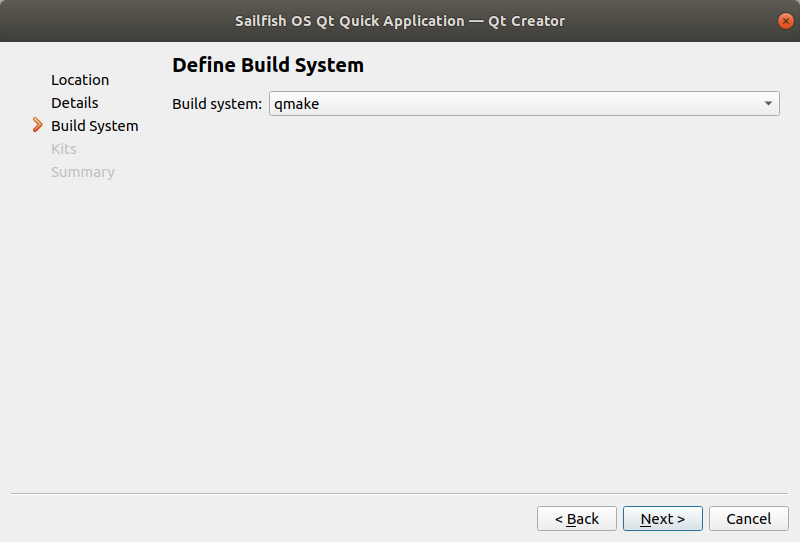
5. Select a build system. The default (qmake) is a good choice, but we do support CMake as well, so if you are more familiar with it you may want to try it instead.
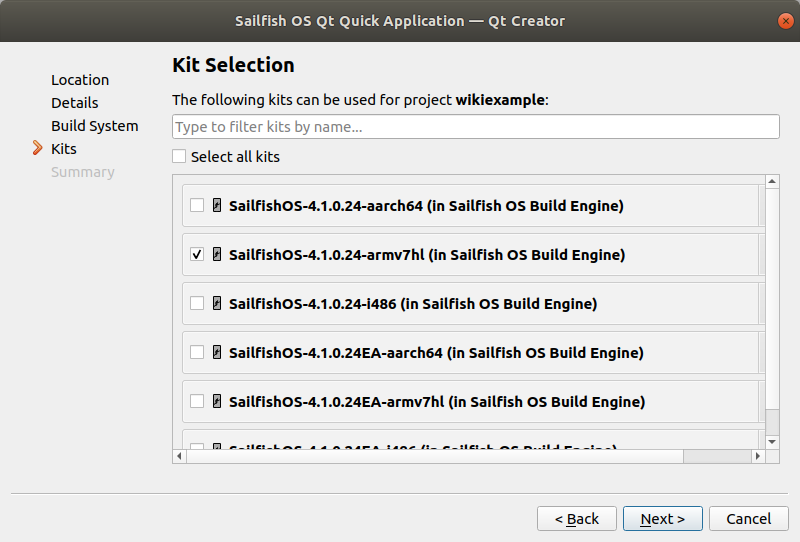
6. Select the kit(s) used for building the project. Select SailfishOS-<version>-armv7hl for 32-bit ARM devices, SailfishOS-<version>-aarch64 for 64-bit ARM devices (e.g. Sony Xperia 10 II) or SailfishOS-<version>-i486 for the emulator.
6. Click Finish.
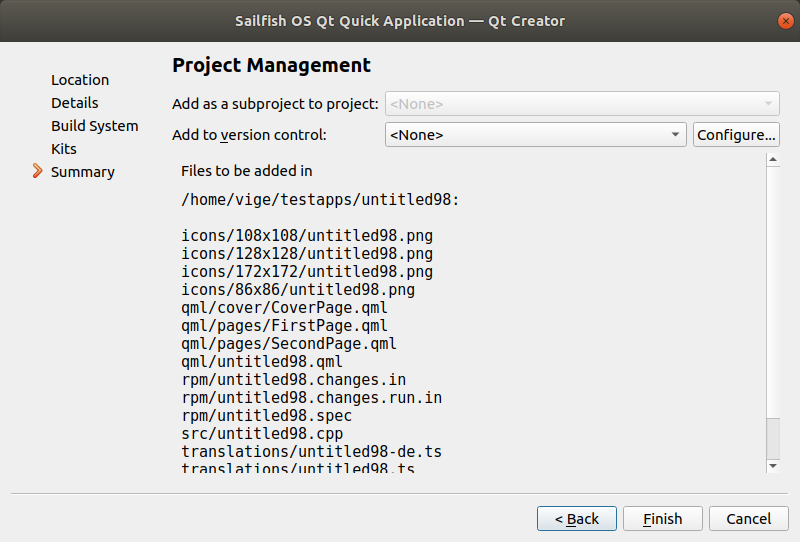
7. The project template is imported into your project and opened in the editor.
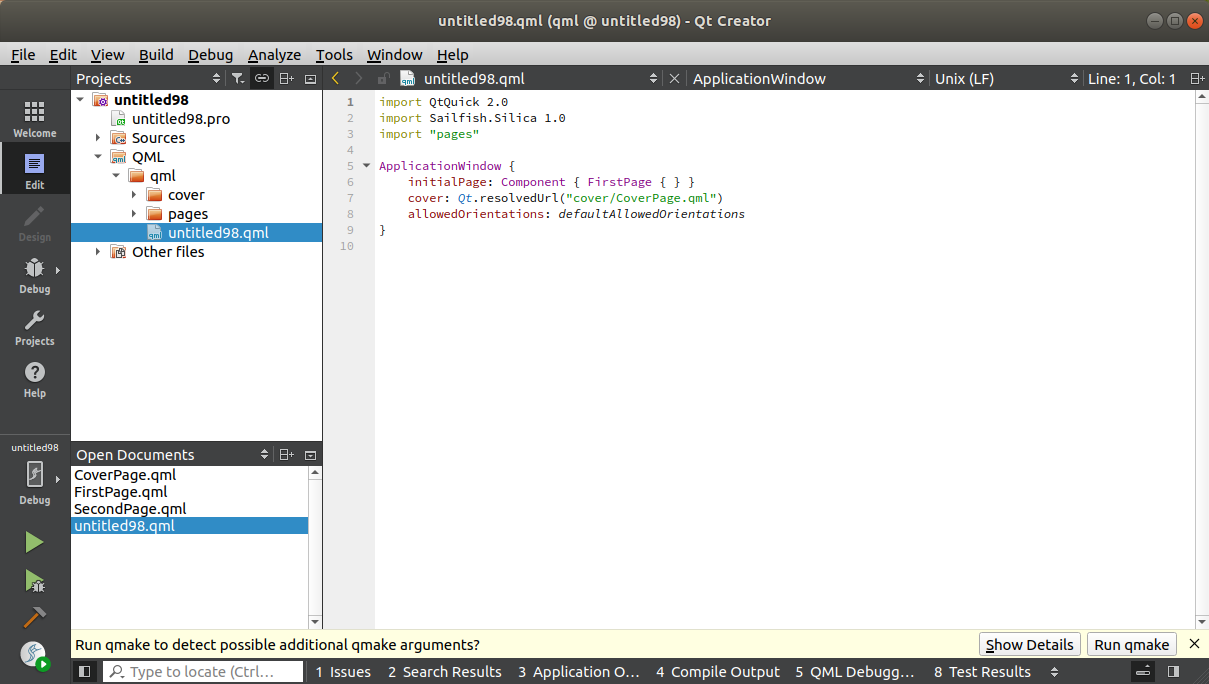
8. The IDE suggests to run qmake in order to detect possible additional qmake arguments. Select “Run qmake”.
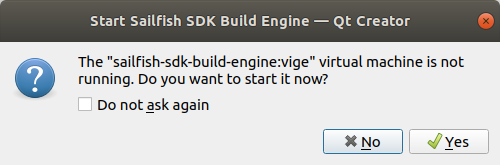
9. If your Build Engine was not running before, the IDE suggests starting it now, in order to run qmake. Please read below for more information about the Build Engine
Launch the Build Engine and the Emulator
The Sailfish SDK uses a build engine (virtual machine or Docker container) to compile your code and another virtual machine to run an emulator. If these are not running when you attempt to build or deploy an application you will be asked to start them.
Note: The Build Engine needs access to your source code to compile it. Your workspace, which you defined when installing the SDK, is shared to the Build Engine – this is why the project should be in your workspace. You can change the workspace folder in Tools→Options→Sailfish OS
When a Sailfish OS project is open, the SDK automatically displays two control buttons in the left toolbar for starting/stopping the Build Engine and Emulator.
![]()
Click on the
 icon to launch the Build Engine.
The Build Engine is started in the background and the icon will turn gray until the build engine has booted up.Click on the
 icon to launch the emulator.
NOTE: This icon is only available if theSailfishOS-<version>-i486kit is active. You can activate theSailfishOS-<version>-i486kit from menu Build → Open Build and Run Kit Selector….
A new VirtualBox window opens and boots up the emulator.
Successful connection
When the Qt Creator can successfully connect to both the Emulator and the Build Engine, the icons are updated as shown below.
Before connection:
Connection established:
Create a Connection to Sailfish OS Hardware Device
Sailfish SDK can also deploy application to Sailfish OS hardware device. This feature requires a valid Sailfish OS hardware device to be set-up with USB or WLAN connection to computer and making sure that it is possible to connect to it over SSH with password. When using Sailfish OS hardware device as development device in SDK a valid kit needs to be selected (such as SailfishOS-armv7hl target).
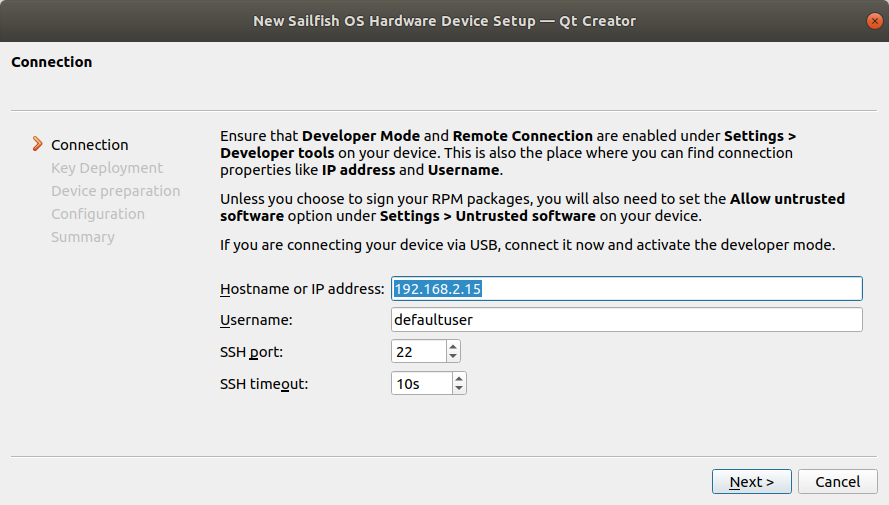
Sailfish OS hardware device setup is done using Qt Creator’s device settings. Depending on your host environment this is found from either the menu Tools→Options→Devices or Qt Creator→Preferences→Devices. In this settings view, click Add… to start creating device settings.
Unless some custom configuration is used, these default values work just fine. The default IP address matches the IP address of a Sailfish device connected via USB. If you use WLAN to connect to the device, you need to specify the IP address of the device.
If you encounter timeouts with SSH connections on your PC, you can modify the timeout setting also after the device has been created.
In the next phase, you can deploy a SSH key to the device. If you don’t have such a key, you can create one.
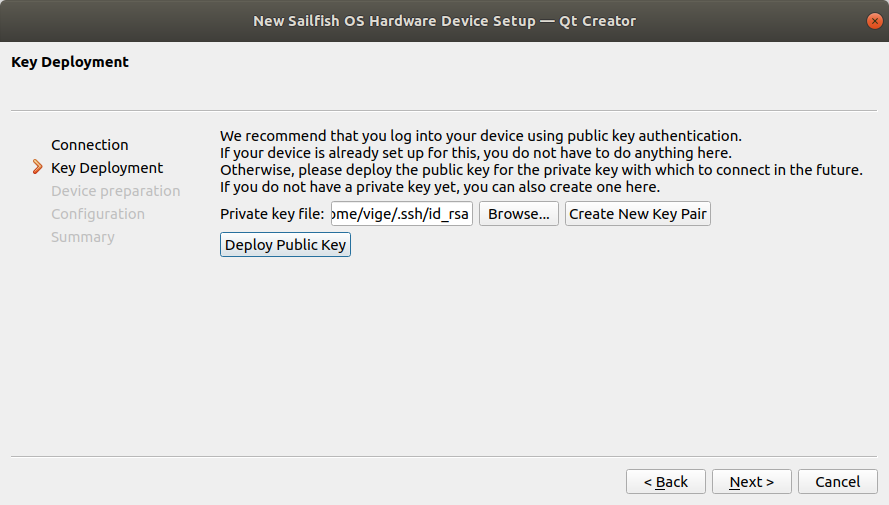
You will be asked for a device password. This is the password which is set in the Developer Mode settings on the device.
After you click Next, the SDK will prepare your device for software development.
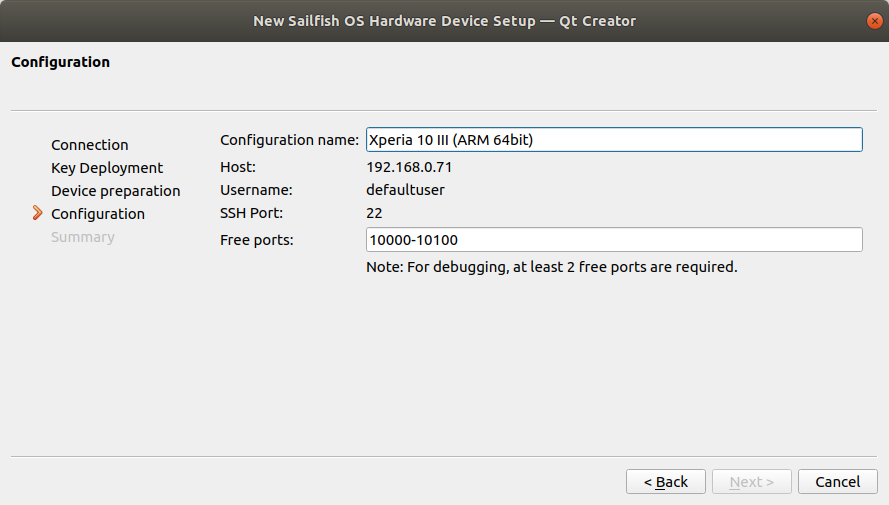
In the next dialog, you can review and further adjust connection related configuration. Click Next to continue.
In next dialog just click Next unless you want to abort device creation. In that case click Cancel.
Qt Creator shall then create device configuration and test the setup. In those dialogs user can only click Close to go to next phase.
Once tested and verified, Qt Creator shows a view which shows the created device.
That’s it. Now Qt Creator can deploy your application to device.
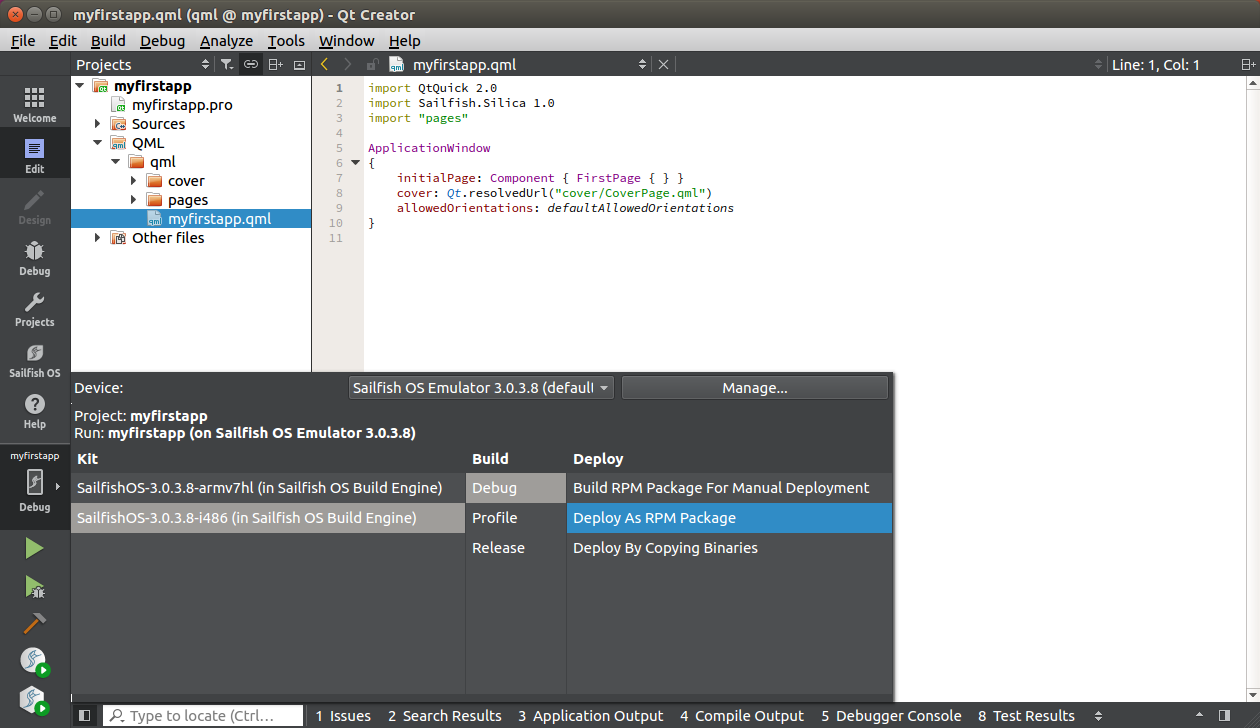
Set ARM or aarch64 Kit to Deploy to Device
The kit selector (Build→Open Build and Run Kit Selector) allows you to select a deployment method. The deploy option Build RPM Package for Manual Deployment does not even try to deploy to the device, it just creates RPM packages. Deploy as RPM Package and Deploy by Copying Binaries methods allow deployment to the device. The former installs the application from RPM package, just like the end user would install it. The latter method simply copies the binaries directly to the device.
Congratulations! Now you can build and deploy to Sailfish ARM device.
Build and Deploy the App
Press the  button in the toolbar to compile and run the project on the emulator.
That’s it! You just ran your first Sailfish OS application. It should be running in the emulator as shown below.

Build RPM Package for Manual Deployment
If “Build RPM Package for Manual Deployment” is selected as the deploy method, the Run and Debug buttons are replaced with single Deploy button. That button can be used to create the RPM packages. Alternatively the menu Build → Deploy Project “projectname” can be used to trigger package creation.
Next steps: exploring how to use the application.